OneSpan Sign for Beginners: You Sent a Package, What Now? (OneSpan Sign UI)

In my last blog, I covered creating a Sandbox account and creating and sending a document package using the OneSpan Sign UI. Now that you have sent your document package, what happens next? In this blog, I will cover what happens after sending your package: the package signing process, downloading the signed documents, viewing the evidence summary, and archiving the completed package.
Sent Package for Electronic Signature Process
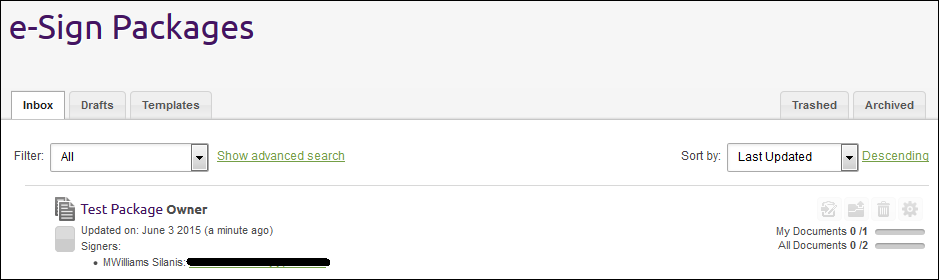
We will pick up right where we left off, in the last blog. We had just clicked "Send" on our package after adding the signature boxes. In the inbox of your OneSpan Sign account, you will see the sent package you created:
Signing Your Documents
You will see on the right side that nothing has been completed. "My Documents" is 0/1 complete and "All Documents" are 0/2 complete. This is expected since nothing has been signed. Let's change that.

OneSpan Developer Community
Join the OneSpan Developer Community! Forums, blogs, documentation, SDK downloads, and more.
Join TodaySigner's Experience
Your signer will have received an email that they have a document to sign. The signer can sign their document from wherever they have access to this email. Let’s say our user is on the go, but has a mobile device with them. In my example, I have notifications turned on, so as soon as I got my email, I received a notification on my phone that I had a new email:
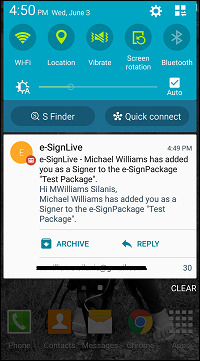
I can now click into the email to see the full email text:

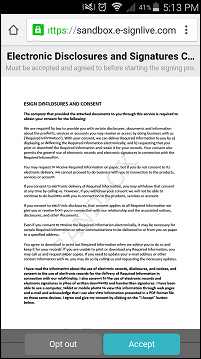
Your signer will see an option to "Go to Documents". When they click on this option, they will be forwarded to OneSpan Sign. First, they will get the "Electronic Disclosures and Signature Consent" agreement that I talked about in my last blog:
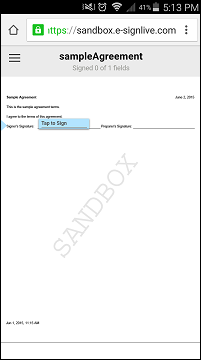
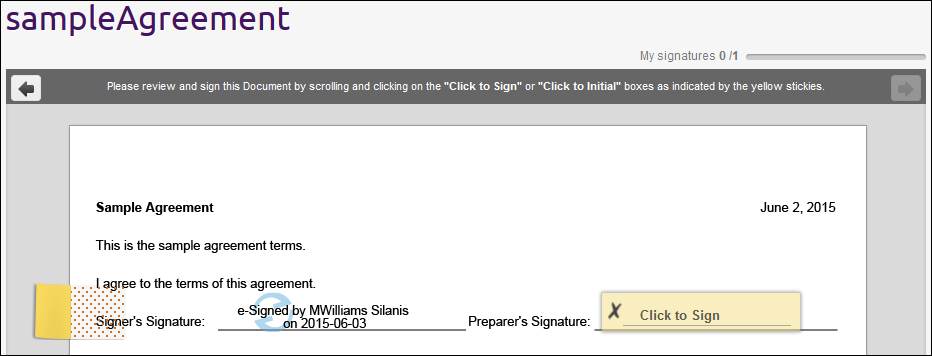
Once this is accepted, they will move on to the documents that require their signature. As you can see in the image below, their signature box has a click to sign link on it and the preparer’s signature is unsigned.
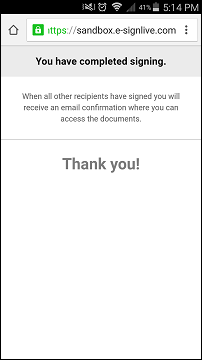
Once they tap to sign, they will be prompted to confirm that they intended to sign the document. This helps prevent accidental signatures. When the signer accepts that and has completed signing all of their documents, they will be informed that they will receive an email once all signers have signed the document.
What You See
After your signer has signed their portion of the package, you will see this in your OneSpan Sign inbox:
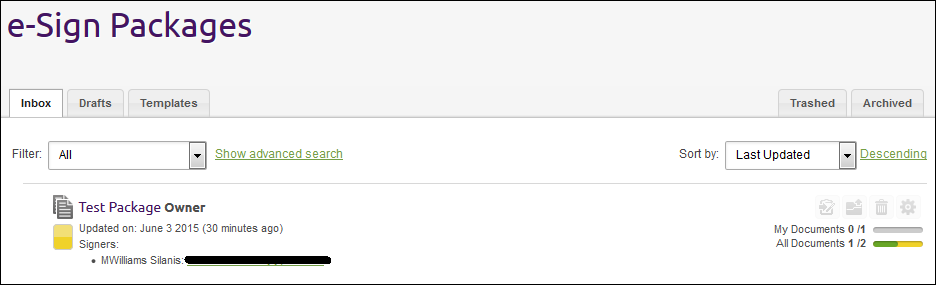
On the right side, you will now see that some progress has been made in "All Documents". One document is completed and the other is partially complete (indicated by the yellow). When you open your package, you will see the full breakdown of the package:
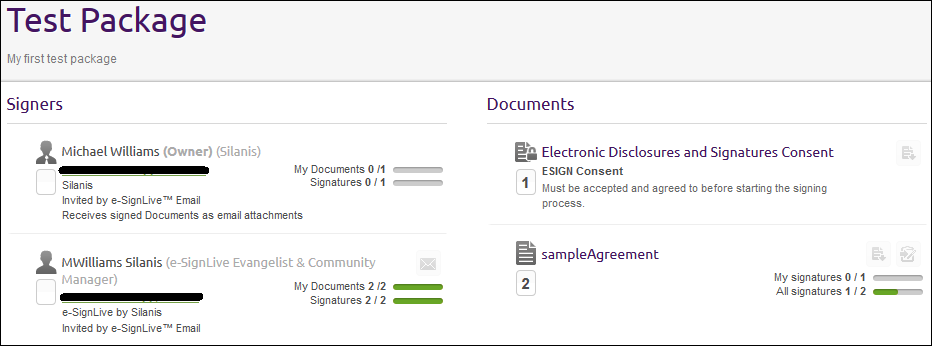
Select the "sampleAgreement" document. You will see that the signer signed their portion, and the signature box for you to sign is waiting for your signature.
After clicking to sign, you will be asked to confirm that you intended to sign, just like the signer was.
Downloading the Documents
At this point, the first signer will now be notified via email that their documents are available for download. Now, when both of you view the document, you will see both signatures on the report.

As you can see in the image above, you will be allowed to download the individual documents. You can also download the entire package by going back out to the "Package" view and clicking "Download all files".

This will download a zip file containing all of the documents from the package.
Viewing/Downloading the Evidence Summary
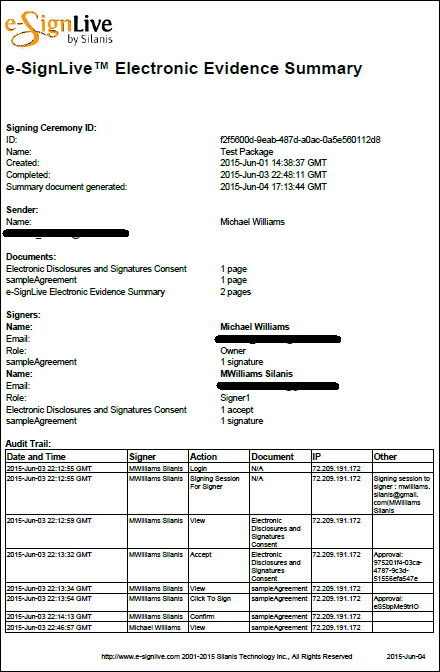
You will also see, in the above image, a link to the "Evidence Summary". If you click this link, your browser may ask if you would like to view or save the file. Either way you choose, once you open the file, you will see all sorts of info about the package, including documents, sender, signers, and an audit trail of all the activity from the package after it was sent. I have included the first page of my summary, below.
Archiving/Deleting a Package
If you look at the image above where we chose "Download all files", you will see options for deleting and archiving your package. If you click on one of these, you will be prompted to confirm your choice. Once archived, you can still view your package and also have the ability to unarchive it. If you delete your package, you can restore it from the trash or choose to delete it permanently.
That is it. You now know how to create, send, sign, download, archive, delete, and view the evidence summary of a package using the UI.
Thanks for reading! If you have questions, feel free to post questions in the comments section. Next time, I will dive further in with using the APIs to create and send a package. Links to all of the posts from this blog series can be found, below.
OneSpan Sign for Beginners Blog Series
- Create and Send a Package Using the UI
- You Sent a Package, What Now? (UI)
- Create and Send a Package with the Java SDK
- Check Package Status and Download Files with the Java SDK
- Create and Send a Package with the .NET SDK
- Check Package Status and Download Files with the .NET SDK
- Create and Send a Package using REST with C#
- Check Package Status and Download Files using REST with C#
- Create and Send a Package using REST with Java
- Check Package Status and Download Files using REST with Java