OneSpan Sign How To: Création d'une application de bureau JavaFX simple

JavaFX est une bibliothèque GUI (Graphical User Interface) qui vous permet de créer une variété d'applications de bureau. Il est dans le processus actuel de remplacement swing comme la bibliothèque gui d'interface graphique standard pour Java SE, bien que Swing est encore très utilisé aujourd'hui. JavaFX offre de nombreux avantages par rapport à Swing, tels que:
- Amélioration de la gestion des événements
- Supporte les propriétés
- Prend en charge les feuilles de styles en cascade (CSS)
- Contrôles plus cohérents
JavaFX et Swing utilisent la gestion d'événements pour répondre aux événements d'entrée des utilisateurs. Cependant, JavaFX est plus cohérent dans la gestion de ces événements que leurs équivalents dans Swing. Cela est principalement dû au fait que JavaFX prend en charge le concept de propriétés. En d'autres termes, une propriété est une variable dont la valeur peut être observée et vous permet d'écrire du code qui est trigged automatiquement chaque fois que la propriété change. Vous pouvez également lier les propriétés les unes aux autres, ce qui signifie que si la valeur d'une propriété change, l'autre valeur de propriété change avec elle. Dans ce blog, je vais vous montrer comment créer une application de bureau JavaFX simple dans lequel votre utilisateur est tenu de remplir un formulaire et ensuite signer un contrat d'échantillon en utilisant OneSpan Sign.
Exigences
Avant de plonger dans le code, vous devrez configurer votre environnement pour créer votre application de bureau JavaFX. Pour ce blog, vous aurez besoin de netBeans IDE, JavaFX Scene Builder 2.0, et OneSpan Sign Java SDK.
Téléchargement de NetBeans 8.1
NetBeans est l'IDE officiel pour Java 8. Par conséquent, il prend en charge les dernières technologies Java. Vous pouvez aller de l'avant et télécharger n'importe quel IDE que vous souhaitez, mais tout ce qui est couvert dans ce blog sera en utilisant NetBeans. Si vous choisissez d'installer un autre IDE, assurez-vous qu'il prend en charge JavaFX. Vous devrez également installer JDK 8, si vous ne l'avez pas déjà fait. Vous pouvez télécharger NetBeans et JDK 8 à partir du lien ci-dessous.
Téléchargement de JavaFX Scene Builder 2.0
JavaFX Scene Builder est un outil de mise en page visuelle qui vous permet de concevoir rapidement des interfaces utilisateur (Interfaces utilisateur) sans avoir besoin d'écrire de code. Lorsque vous construisez la mise en page de votre interface utilisateur, le code FXML (plus sur ce code plus tard) pour la mise en page est automatiquement généré. Vous pouvez télécharger JavaFX Scene Builder à partir du lien ci-dessous.
Télécharger JavaFX Scene Builder 2.0
Téléchargement de Java SDK de OneSpan Sign
Le lien ci-dessous vous mènera à une page où vous pouvez télécharger Java SDK de OneSpan Sign et fournit également un lien vers quelques exemples d'utilisation du Java SDK sur GitHub. Après avoir téléchargé le SDK, décompresser les fichiers JAR à un endroit de votre choix. Télécharger Java SDK de OneSpan Sign
Installation et configuration
NetBeans IDE 8,1
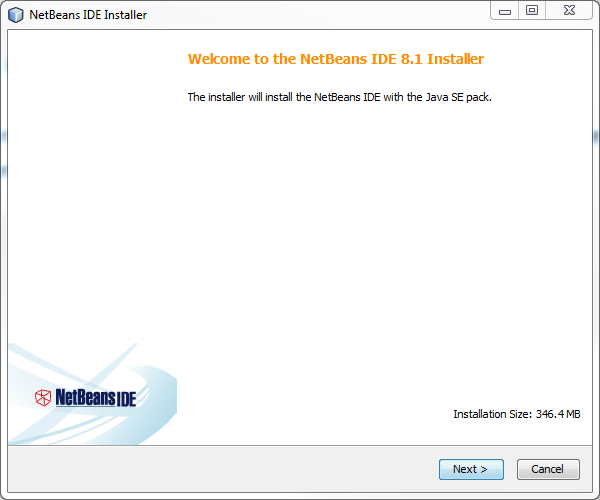
Après avoir téléchargé NetBeans, allez-y et exécutez le fichier exécutable. À la page Bienvenue de l'assistant d'installation, cliquez sur Suivant.
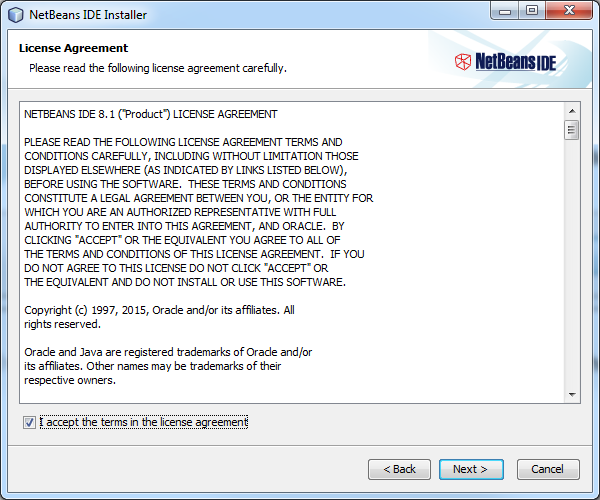
Ensuite, vous serez présenté avec la page de l'accord de licence. Allez-y et cliquez sur la case d'acceptation, et cliquez sur Suivant.
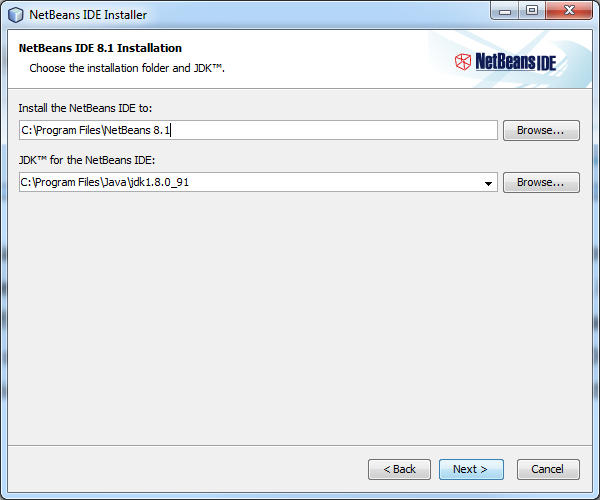
Sur la page d'installation NetBeans IDE, vous pouvez soit accepter l'annuaire par défaut, soit spécifier l'un des vôtres. Par défaut, l'installateur remplira automatiquement l'annuaire JDK par défaut, s'il est trouvé. Si l'assistant d'installation n'a pas trouvé d'installation JDK compatible à utiliser avec le NetBeans IDE, votre JDK n'est pas installé dans l'annuaire par défaut. Dans ce cas, spécifiez le chemin vers un JDK installé et cliquez sur Suivant, ou annulez l'installation en cours. Après l'installation de la version JDK requise, vous pouvez redémarrer l'installation.
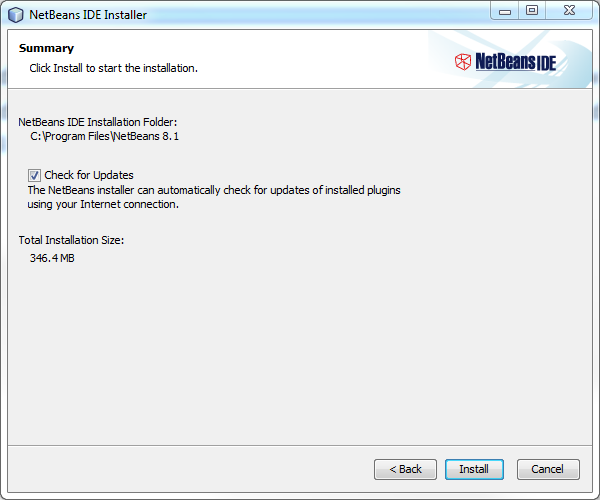
Ensuite, vous serez présenté avec la page Résumé. Ici, vous pouvez choisir si vous voulez que l'installateur vérifie automatiquement les mises à jour des plugins installés. Cette étape est purement facultative et je laisserai cette étape à votre discrétion. Cliquez sur Installer pour commencer l'installation.
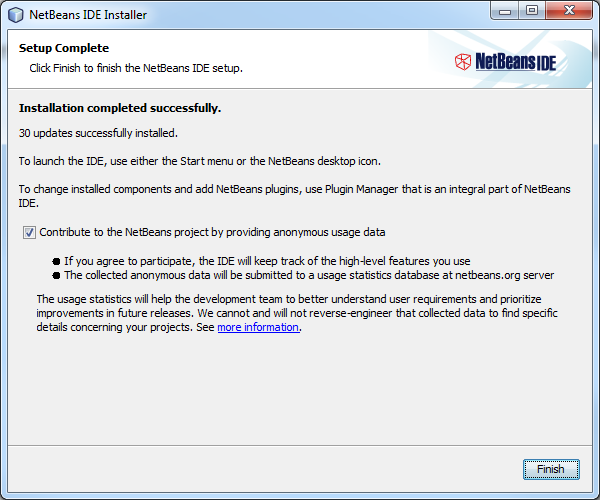
À la page Setup Complete, vous pouvez choisir de fournir des données d'utilisation anonymes, si vous le souhaitez, et cliquez sur Finish.
JavaFX Scène Builder 2.0
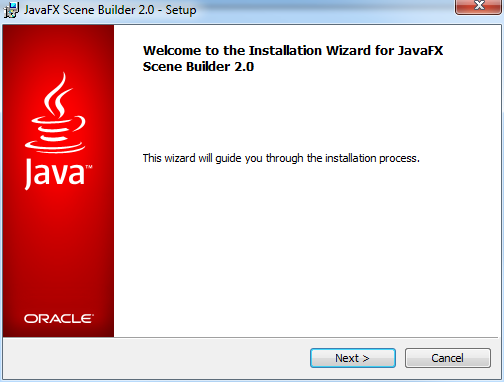
Après avoir téléchargé JavaFX Scene Builder 2.0, allez-y et exécutez le fichier exécutable. À la page Bienvenue de l'assistant d'installation, cliquez sur Suivant.
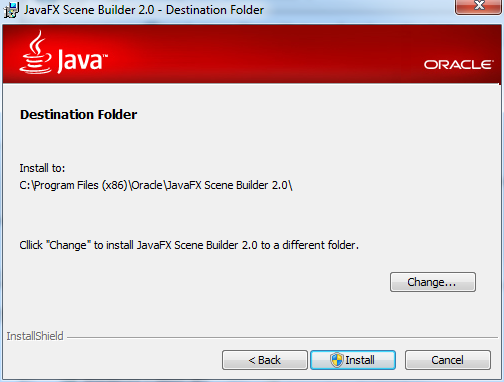
Sur la page d'installation JavaFX Scene Builder 2.0, vous pouvez soit accepter l'annuaire par défaut, soit spécifier l'un des vôtres. Après cela, allez-y et cliquez sur Installer.
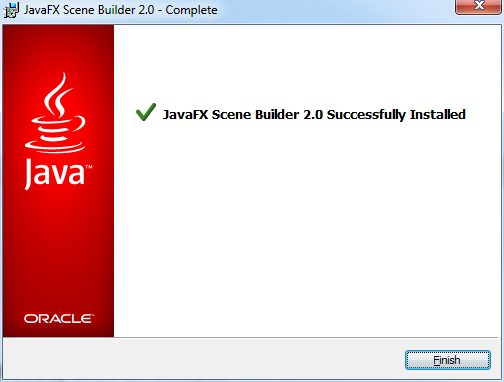
Lorsque l'installation est terminée, cliquez sur Finition.

OneSpan Sign Developer Community
Rejoignez la communauté OneSpan Sign Developer! Forums, blogs, documentation, téléchargements SDK, et plus encore.
Joignez-vous aujourd'huiLe code
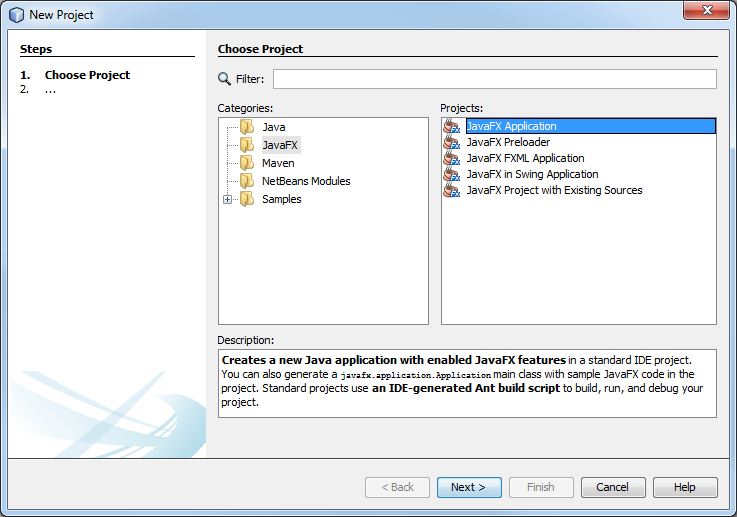
Nous sommes maintenant prêts à plonger dans le code. Allez-y et exécutez le NetBeans IDE. Dans le menu de la barre d'outils, sélectionnez Fichier et Nouveau Projet. À partir de la fenêtre Nouveau projet, sélectionnez « Application JavaFX » et appuyez sur Suivant.
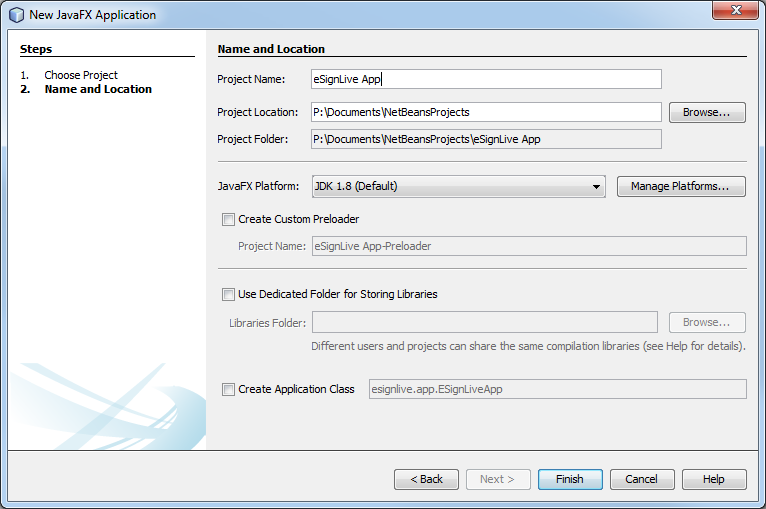
Donnez un nom à votre projet (p. ex. OneSpan Sign App) et cliquez sur Finish.
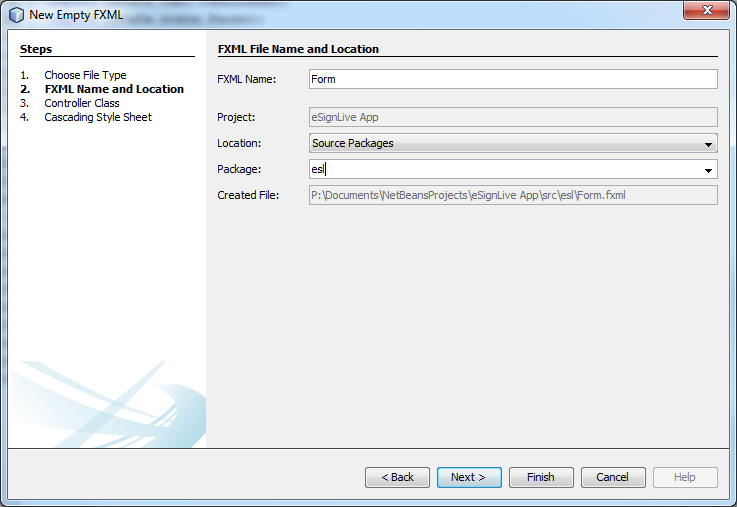
Ensuite, dans la fenêtre Projects Explorer, élargissez le dossier "Sources Packages" et cliquez à droite sur le package par défaut. Ensuite, sélectionnez Nouveau FXML vide. Nommez votre FXML "Form" et Package "esl" et cliquez sur Suivant.
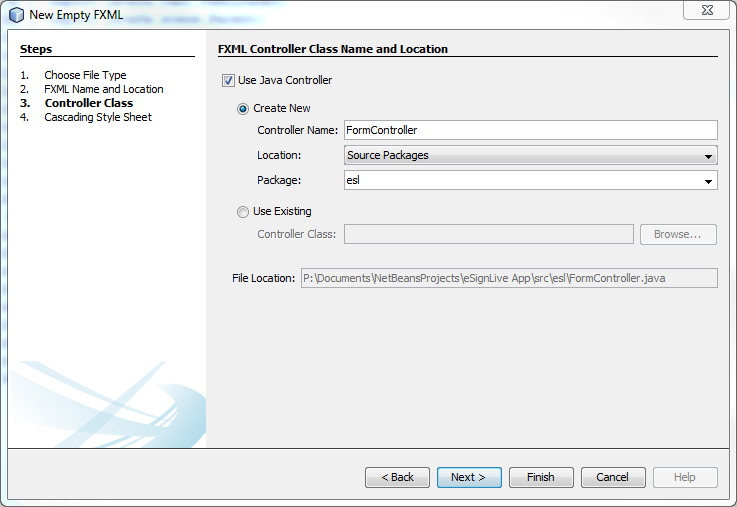
Sélectionnez ici la case à cocher " Utilisez le contrôleur Java " et cliquez sur Finish.
FXML est un langage de marque xML (Extensible Markup Language) pour décrire les interfaces utilisateur. Nous utiliserons FXML pour créer un formulaire. En outre, les applications JavaFX définissent le conteneur d'interface utilisateur au moyen d'une étape et d'une scène. La classe Stage est le conteneur JavaFX de haut niveau (c'est-à-d. fenêtre) tandis que la classe de scène est le conteneur pour tout le contenu.
L'étape suivante consiste à créer un fichier "Form.java". Ce fichier inclura le code pour la configuration de la classe principale de l'application et pour définir la scène et la scène. Dans la fenêtre Projects Explorer, cliquez à droite sur votre package "esl" et sélectionnez Nouvelle classe Java. Nommez votre classe "Form" et appuyez sur Finish. Ensuite, ajoutez le code suivant :
paquet esl;
import javafx.application.Application;
import javafx.fxml.FXMLLoader;
import javafx.scene.Parent;
import javafx.scene.Scene;
import javafx.stage.Stage;
/**
*
hhaidary @author
*/
Formulaire de classe publique prolonge la demande
@Override
public vide start (Stage primaryStage) jette Exception
Racine parente - FXMLLoader.load(getClass().getResource("/esl/Form.fxml"));
Scène de scène ' nouvelle Scène (root);
primaryStage.setScene (scène);
primaryStage.setTitle("ESL Package Creation Form");
primaryStage.show();
}
}
Le code ci-dessus utilise la classe FXMLLoader pour charger le fichier source FXML et renvoyer le graphique d'objet résultant.
Maintenant, nous allons modifier le fichier FXML créé précédemment. Dans la fenêtre Projects Explorer, double-cliquez sur "Form.fxml". Cela ouvrira le Facteur de Scène JavaFX.
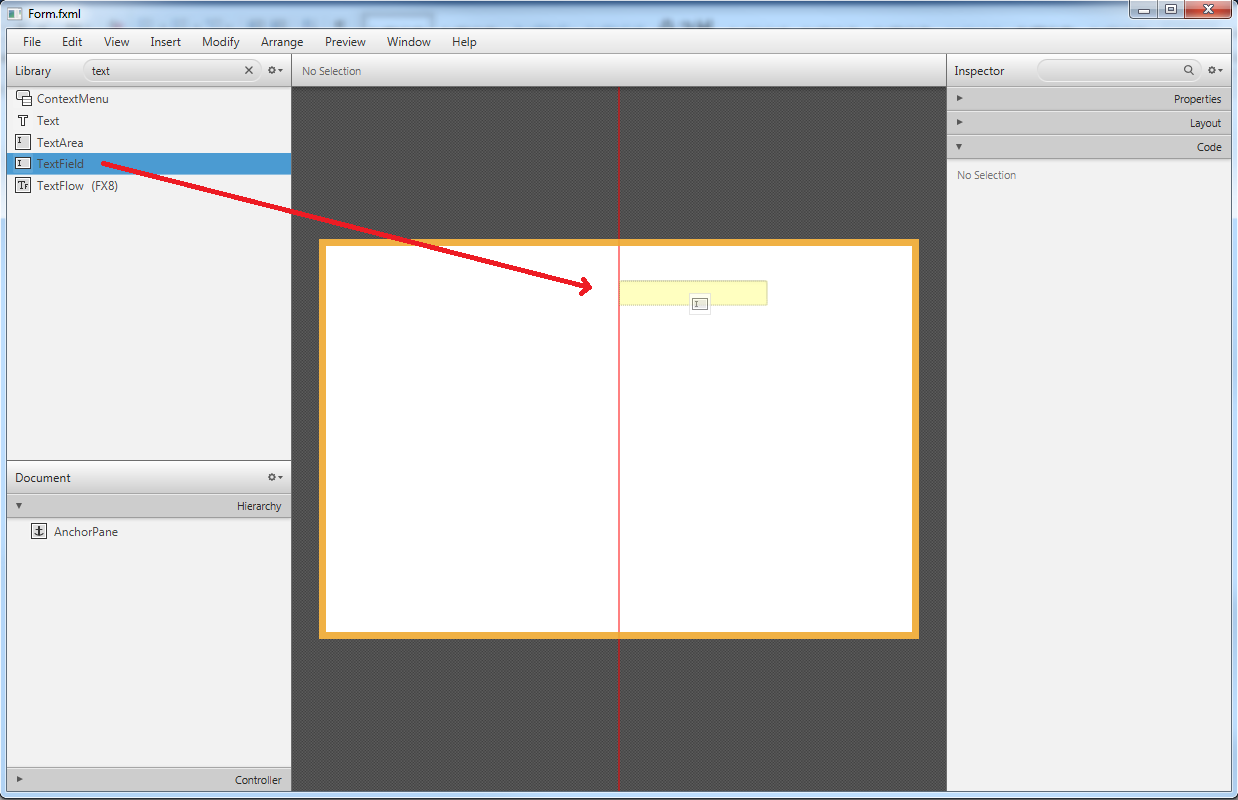
Dans le menu Recherche, entrez "TextField" et faites glisser un conteneur TextField du volet Bibliothèque à votre AnchorPane, comme indiqué ci-dessous.
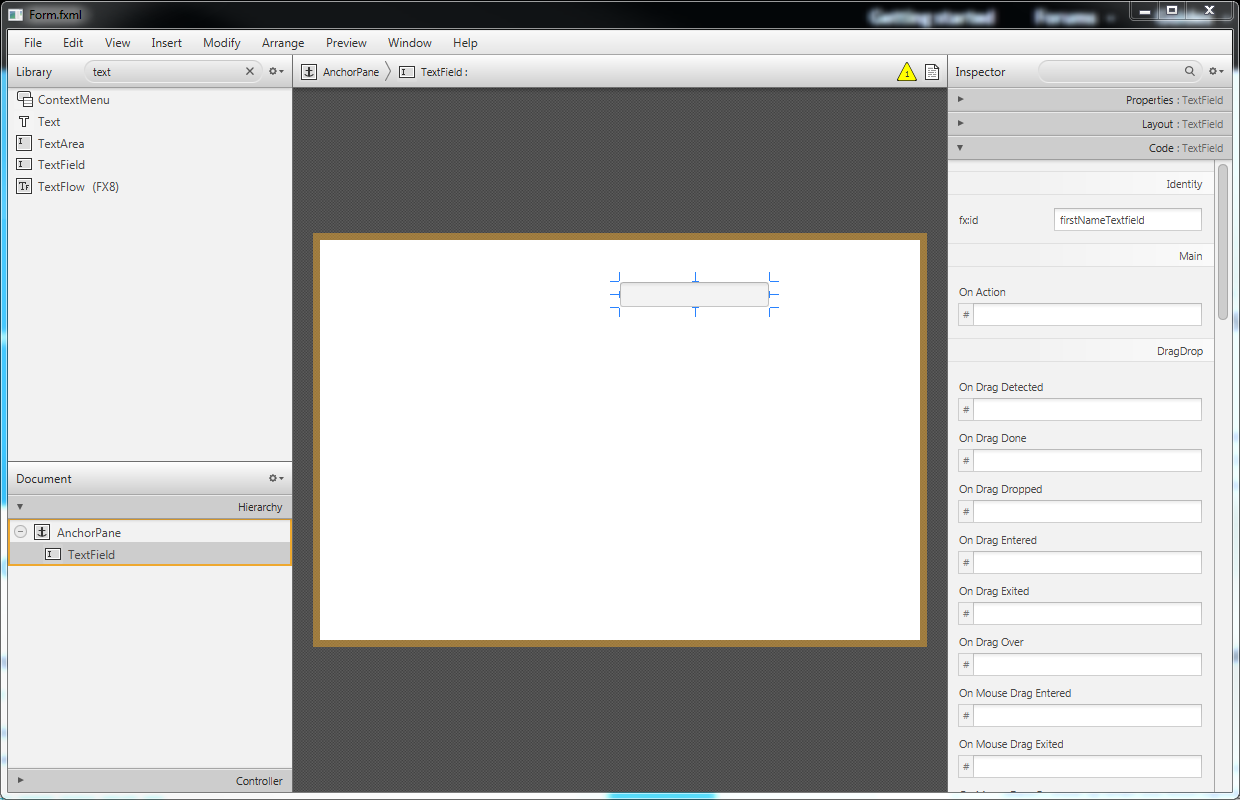
Ensuite, vous devrez définir un identifiant à ce champ de texte afin de récupérer la valeur d'entrée de l'utilisateur. Les objets de FXML sont identifiés avec un attribut fx:id. Cliquez sur la section Code du panneau Inspecteur. Cela permettra d'élargir un menu où vous pouvez définir un identifiant (par exemple firstNameTextfield).
Maintenant, à partir du menu Recherche, ajoutez une étiquette à côté du champ de texte que vous venez de créer et modifiez le texte en "Prénom: ". Répétez ces deux étapes précédentes jusqu'à ce que votre formulaire ressemble à ce qui suit:
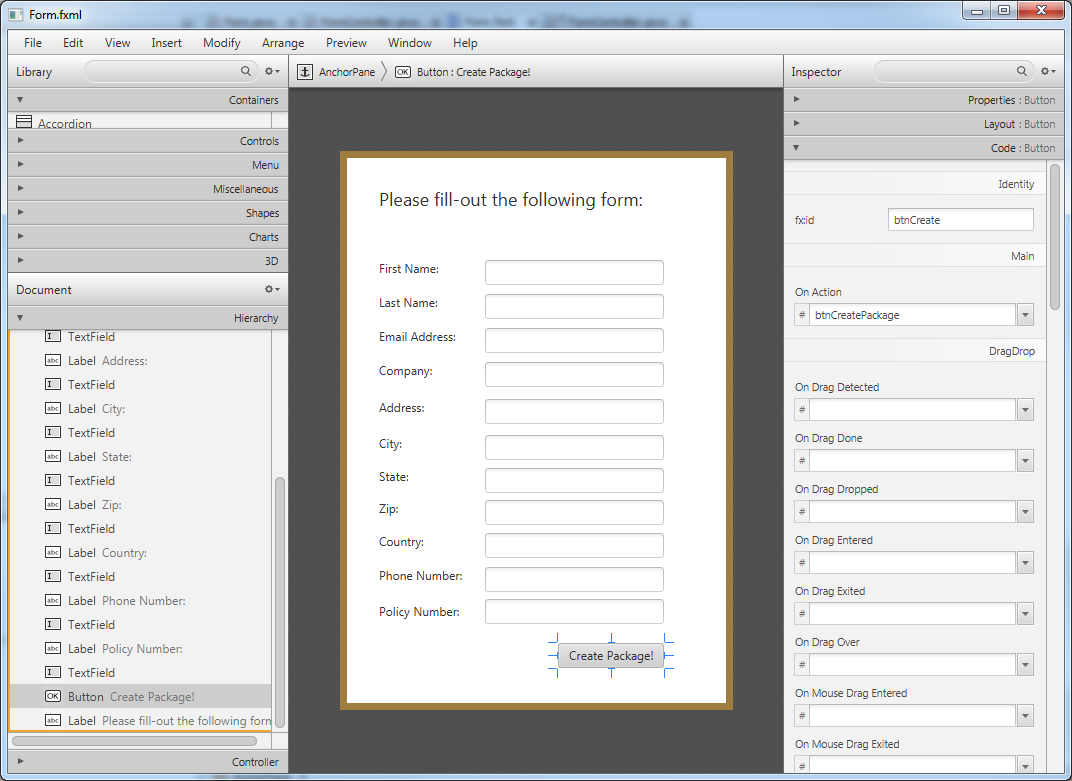
Comme vous pouvez le voir, j'ai ajouté un bouton avec un On Action "btnCreatePackage". Une fois que l'utilisateur clique sur le bouton "Créer le paquet!" (événement), il exécutera la méthode btnCreatePackage() (à définir sous peu). Enregistrez votre fichier FXML.
Nous sommes prêts à modifier notre classe FormController. Tout d'abord, vous devrez déclarer les variables de classe suivantes. Ces variables de classe sont les identificateurs que nous avons précédemment mis dans le FXML.
@FXML
privé TextField firstNameTextfield;
@FXML
privé TextField lastNameTextfield;
@FXML
privé TextField emailAddressTextfield;
@FXML
société privée TextFieldTextfield;
@FXML
adresse textuel textuelTextfield;
@FXML
privé TextField cityTextfield;
@FXML
privé TextField stateTextfield;
@FXML
privé TextField zipTextfield;
@FXML
privé TextField countryTextfield;
@FXML
privé TextField phoneNumberTextfield;
@FXML
politique textuel privéeNumberTextfield;
L'annotation @FXML est utilisée pour marquer les champs de membres des contrôleurs non publics et les méthodes de gestionnaire pour une utilisation par le balisage FXML. Ensuite, nous devrons définir la méthode btnCreatePackage(). Allez-y et ajoutez le code ci-dessous à votre classe FormController.
|
|
Les deux premières lignes interpellent les méthodes createPackage() et createSessionToken() de la classe ESLSDK, qui seront créées prochainement, pour créer un package dans eSignLive en utilisant les entrées des champs de texte.
|
|
Les deux prochaines lignes cacheront la fenêtre actuelle et en ouvriront une nouvelle.
(((Node) (event.getSource())).getScene().getWindow().hide();
Étape de la scène et nouvelle étape();
stage.setWidth (1000.0);
stage.setHeight (1000.0);
Scène de scène ' nouvelle scène (nouveau groupe));
Ensuite, nous utiliserons la classe WebView et WebEngine pour charger l'URL qui redirigera l'utilisateur vers la cérémonie de signature à l'aide du jeton d'authentification du signataire créé précédemment.
|
|
La dernière étape consiste à créer votre classe «ESLSDK». Une fois que vous l'avez fait, vous pouvez copier le code suivant :
|
|
Comme vous le remarquerez probablement, le compilateur lancera une erreur. C'est parce que nous n'avons pas référencé le OneSpan Sign Java SDK. Cliquez à droite sur le dossier Bibliothèques dans l'Explorateur de projets et sélectionnez Ajouter JAR/Folder. Parcourez l'endroit où vous avez enregistré les fichiers JAR, sélectionnez-les et cliquez sur Open. Assurez-vous également de remplacer les détenteurs de la clé api et du chemin de fichier de document par votre propre valeur.
Exécution de votre code
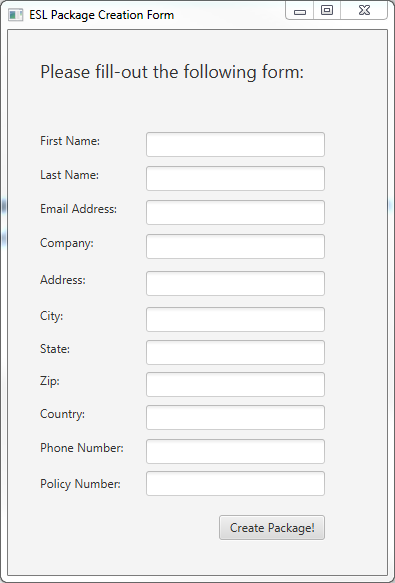
Vous êtes maintenant prêt à exécuter votre application de bureau JavaFX. Cliquez sur Exécuter à partir de la barre d'outils. Vous devriez être en mesure de voir votre formulaire, comme indiqué ci-dessous.
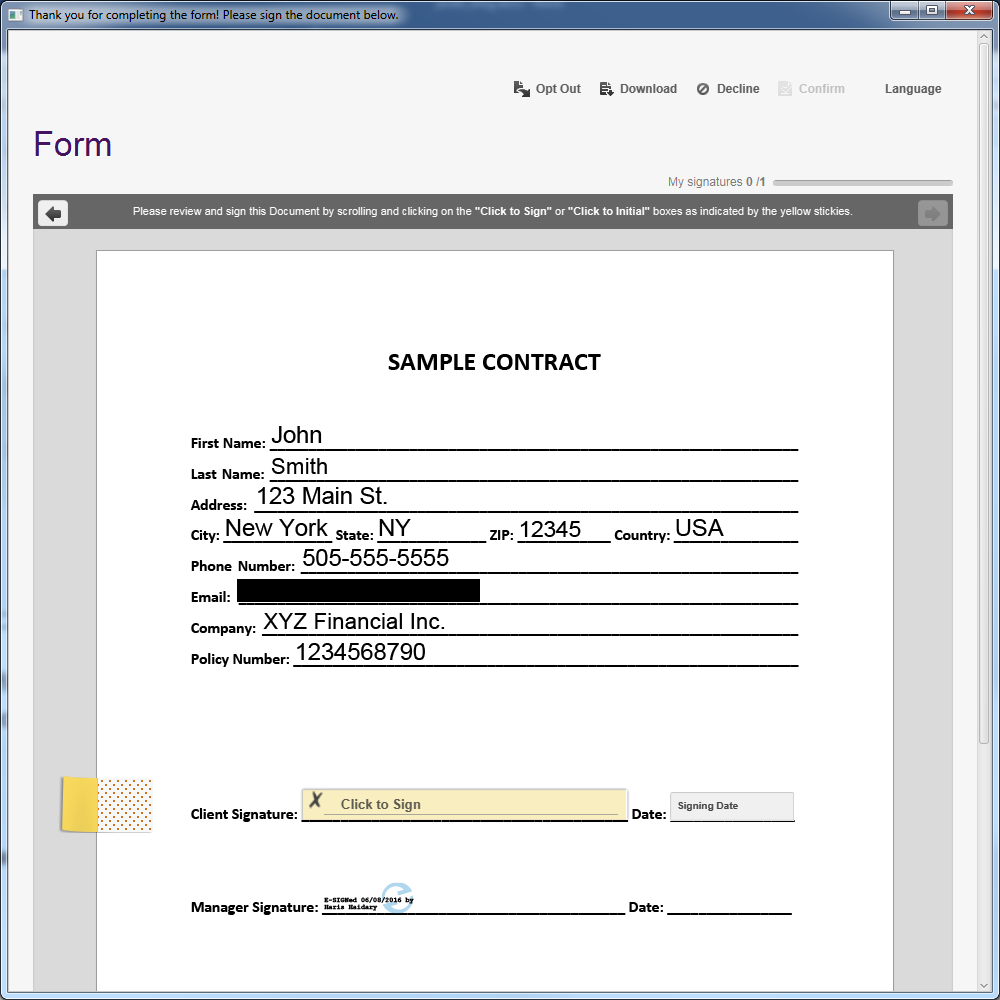
Après avoir rempli quelques exemples d'informations, cliquez sur le bouton "Créer un paquet!" Vous devez être redirigé vers la cérémonie de signature du signe OneSpan, et le document prêt à être signé.
Vous pouvez télécharger le projet complet à partir de la part de code communautaire des développeurs, ici.
Si vous avez des questions concernant ce blog ou toute autre chose concernant l'intégration oneSpan Sign dans votre application, visitez les forums de la communauté des développeurs: https://developer.esignlive.com. C'est moi qui l'ai fait. Merci de lire! Si vous avez trouvé ce message utile, s'il vous plaît le partager sur Facebook, Twitter, ou LinkedIn.
Haris Haidary
Évangéliste technique junior
LinkedIn - France Twitter (en)