Tips & Tricks: How to Use Conditional Fields in OneSpan Sign

OneSpan Sign offers Conditional Fields, giving you the power to create dynamic documents by allowing you to enforce conditional logic to your signing workflow. When creating transactions, you have the ability to configure conditions for fields to be enabled or disabled based on the signer’s responses to other fields.
With conditional fields, you have the flexibility to create multiple rules to trigger fields in different scenarios. For example:
- You can set up different fields to be enabled based on a specific option the signer selects from a list.
- If a specific radio button or checkbox is selected, a text field can be enabled so your signer can provide additional details.
- Configure fields to be optional or required based on the signer’s response from another field.
- And more!
How to Use Conditional Fields in OneSpan Sign
In this example, we’ll send a Mortgage Renewal document that includes fields that will be enabled depending on the signer’s entry in the trigger field that matches the configured conditional logic.
Let’s take a closer look at how to use Conditional Fields in this scenario.
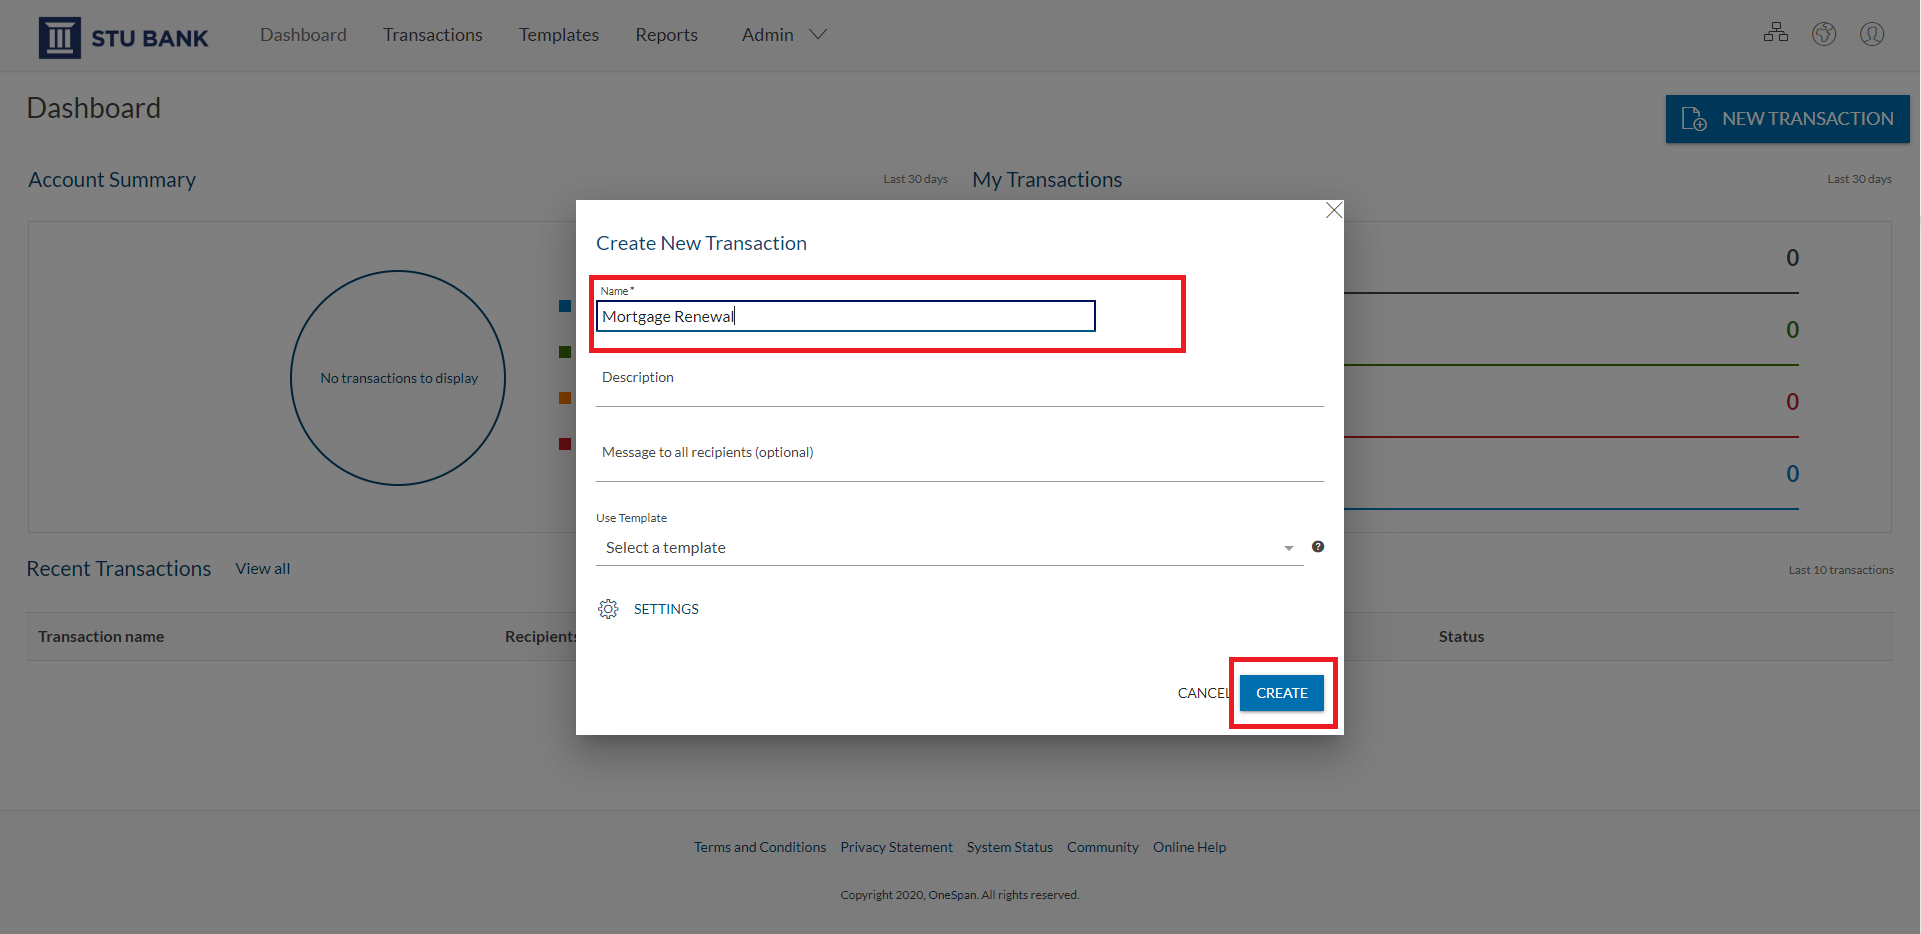
To get started, select ‘New Transaction’ and enter a name for your transaction.
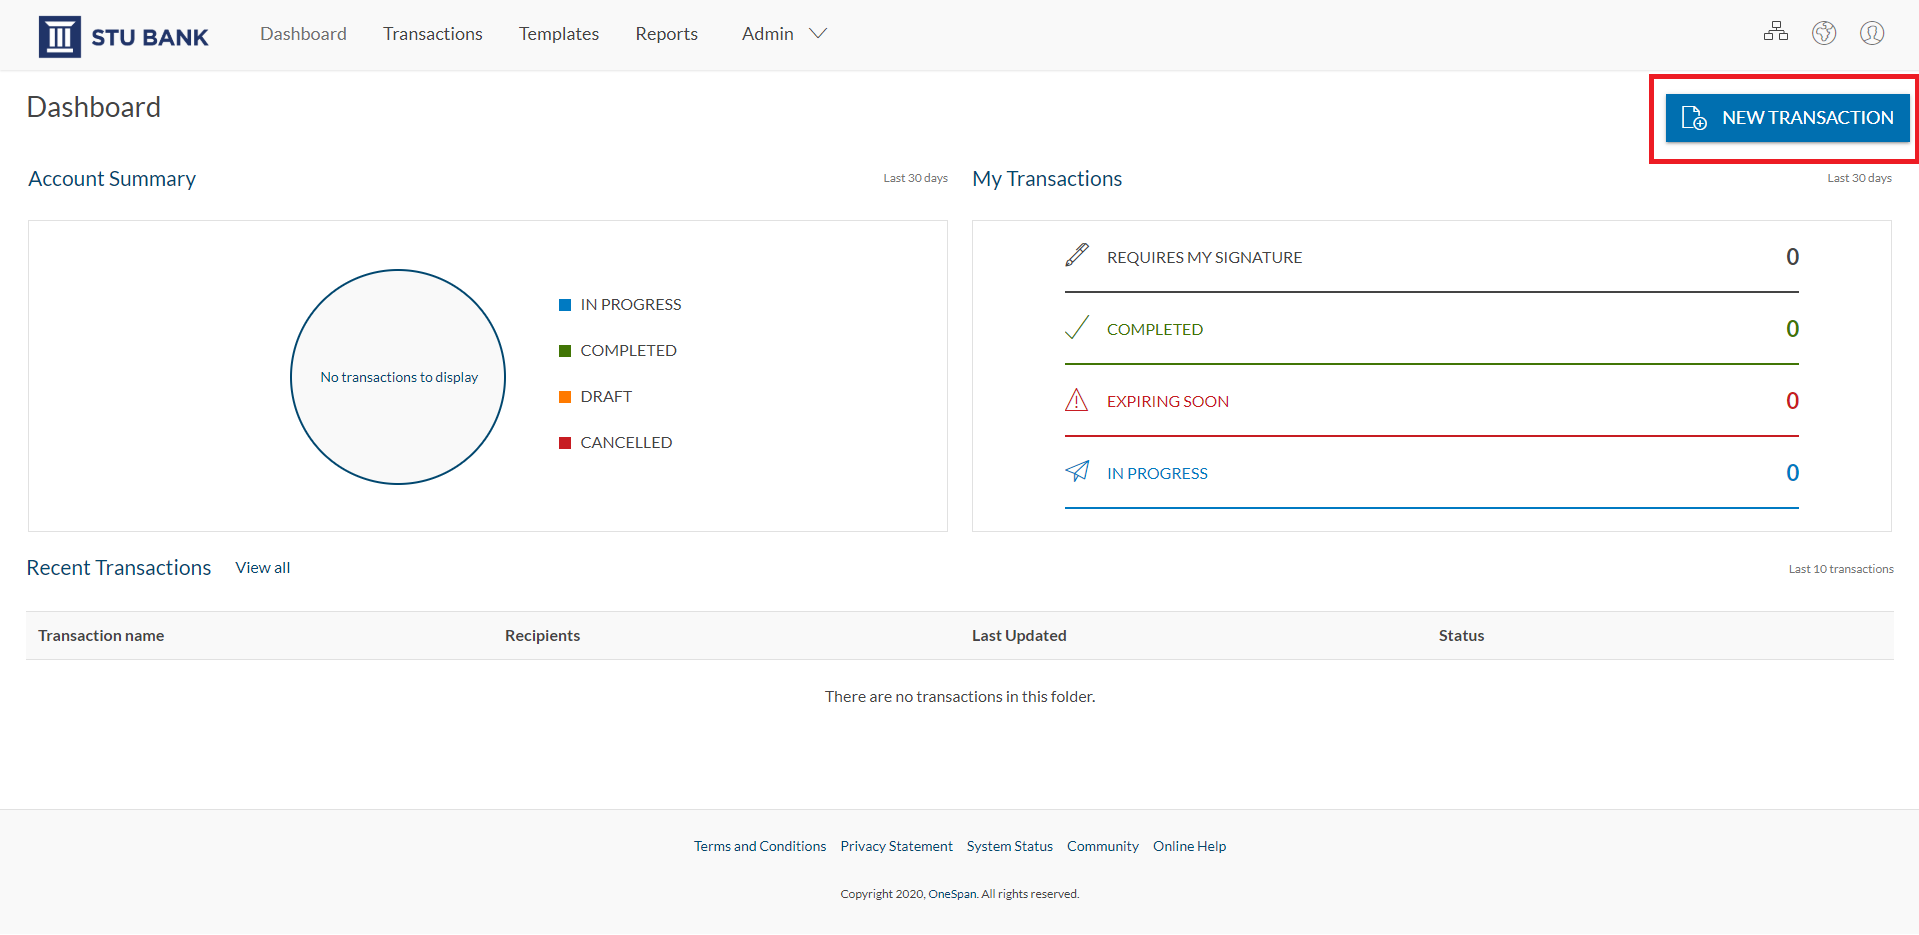
Click the ‘Create’ button to proceed.
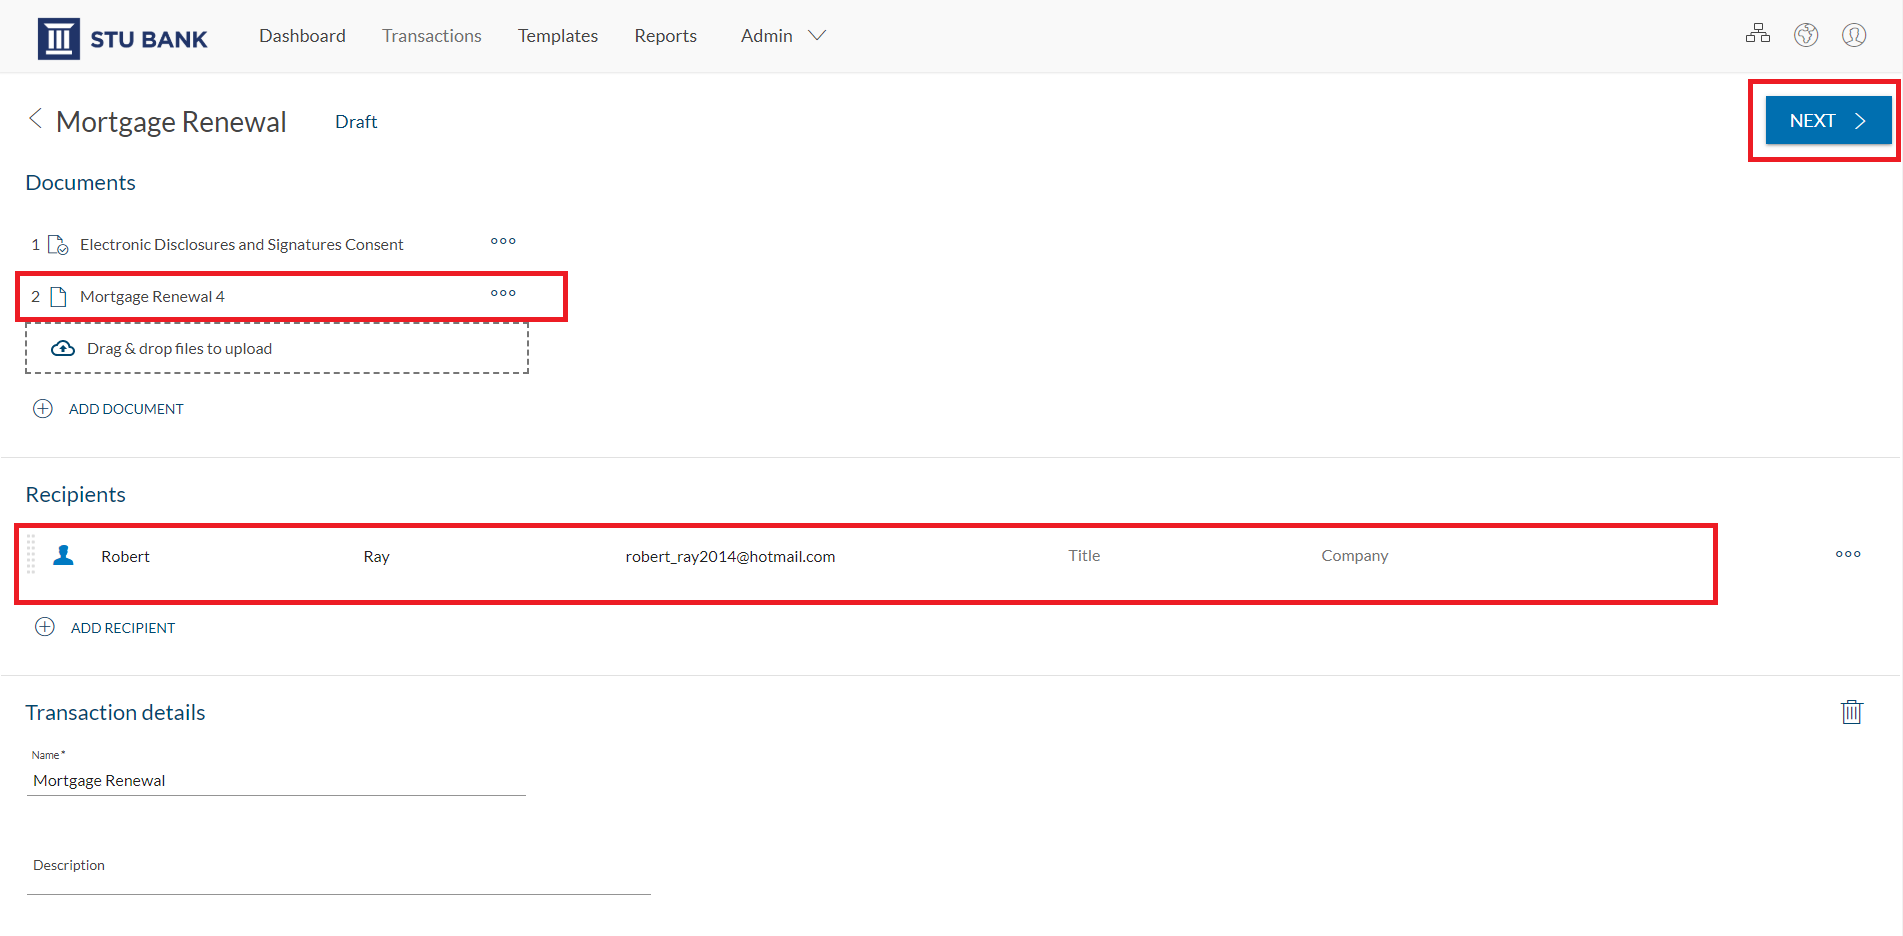
Now it’s time to add a document to your transaction. Click the ‘Add’ button to upload a document from your files.
Next, add your recipient to the transaction.
Click ‘Next’ to prepare your document for signature.
Conditional logic can be used for signature fields, signer initials fields, text fields, text areas, checkboxes, radio buttons, and lists.
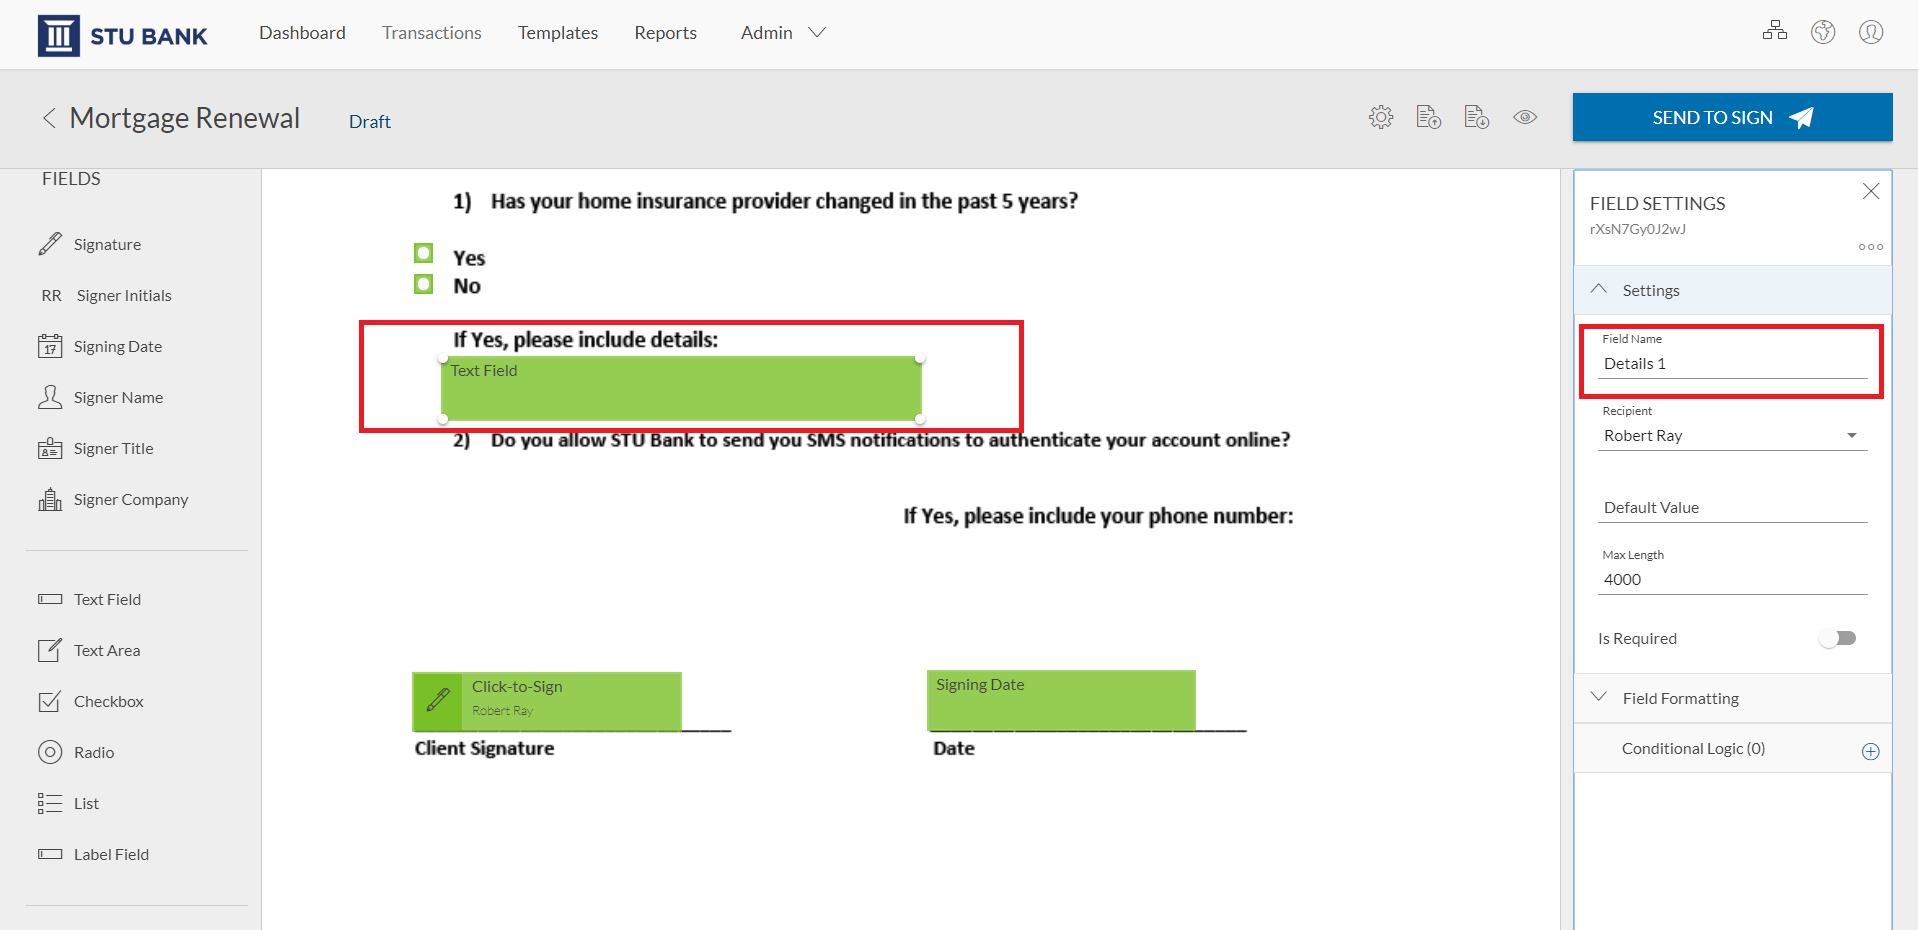
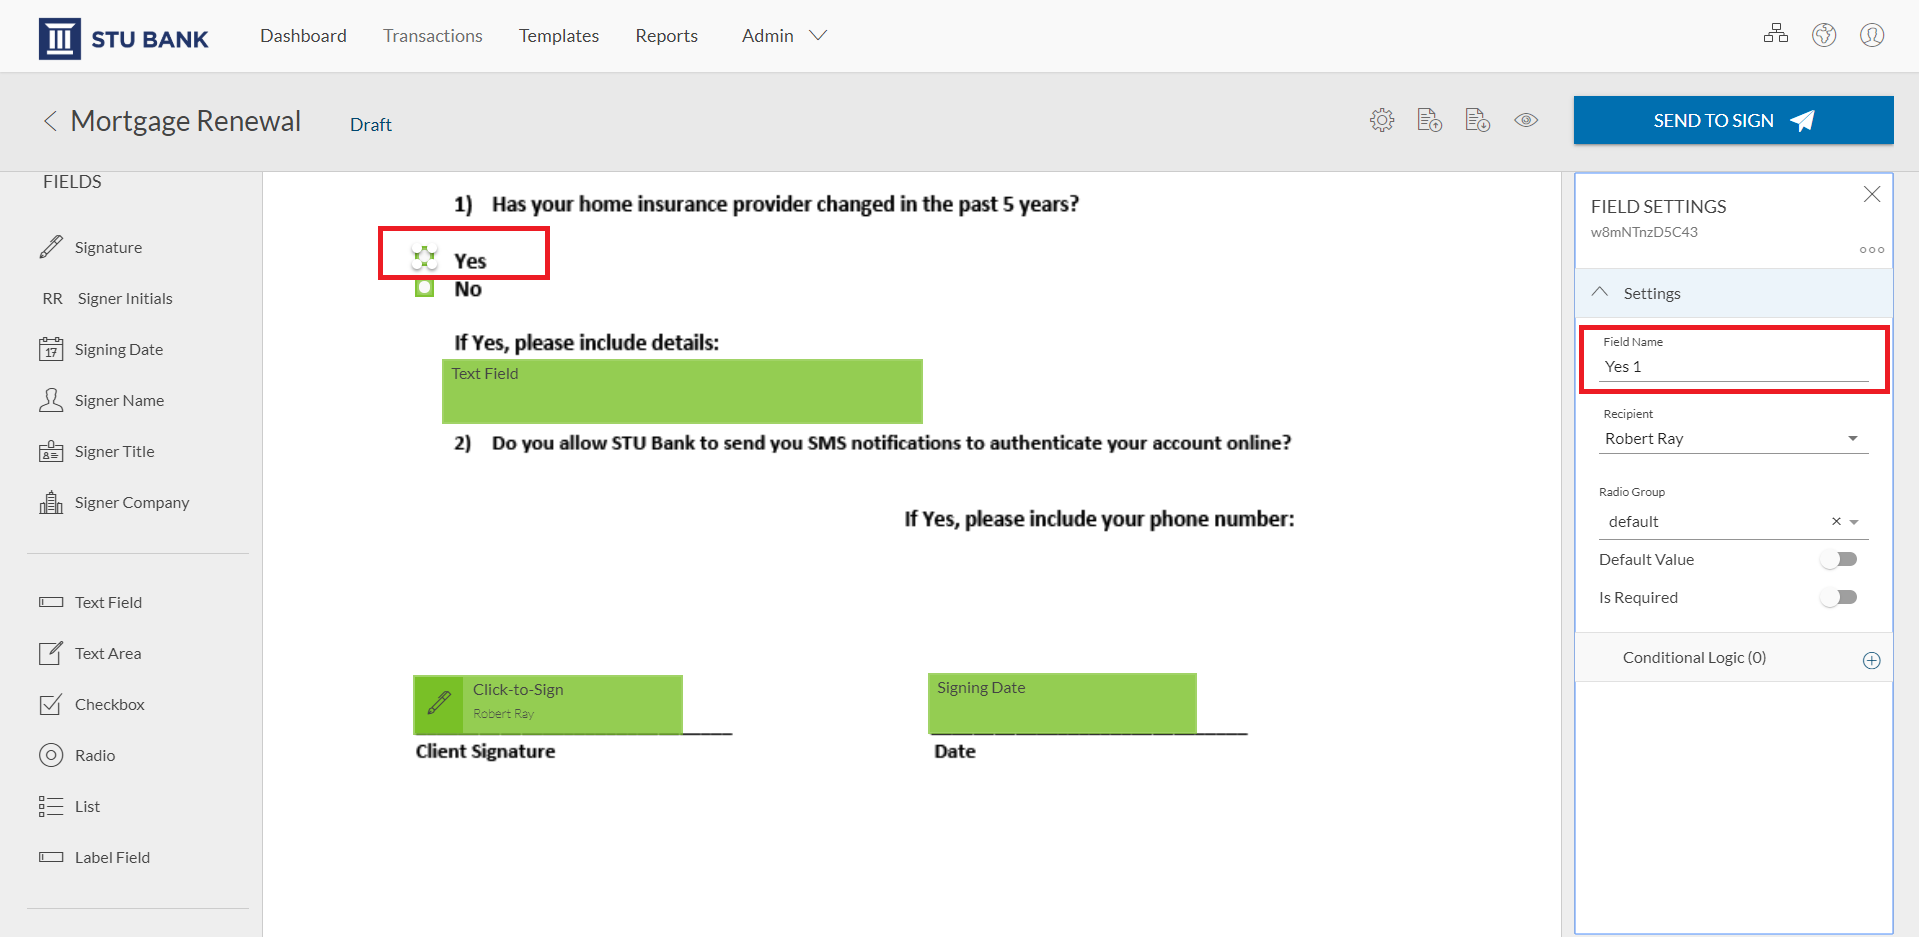
In this example, we’ll use conditional logic to trigger a text field to be enabled when the signer selects a specific radio button.
We’ll designate a Field name for the text field – we’ll call it ‘Details 1’
Now let’s designate a Field name for the radio button – we’ll call it ‘Yes 1’
After designating the field names, now it’s time to add conditional logic to the fields.
In this example, if the signer selects the ‘Yes 1’ radio button option, the text field will be enabled in the document.
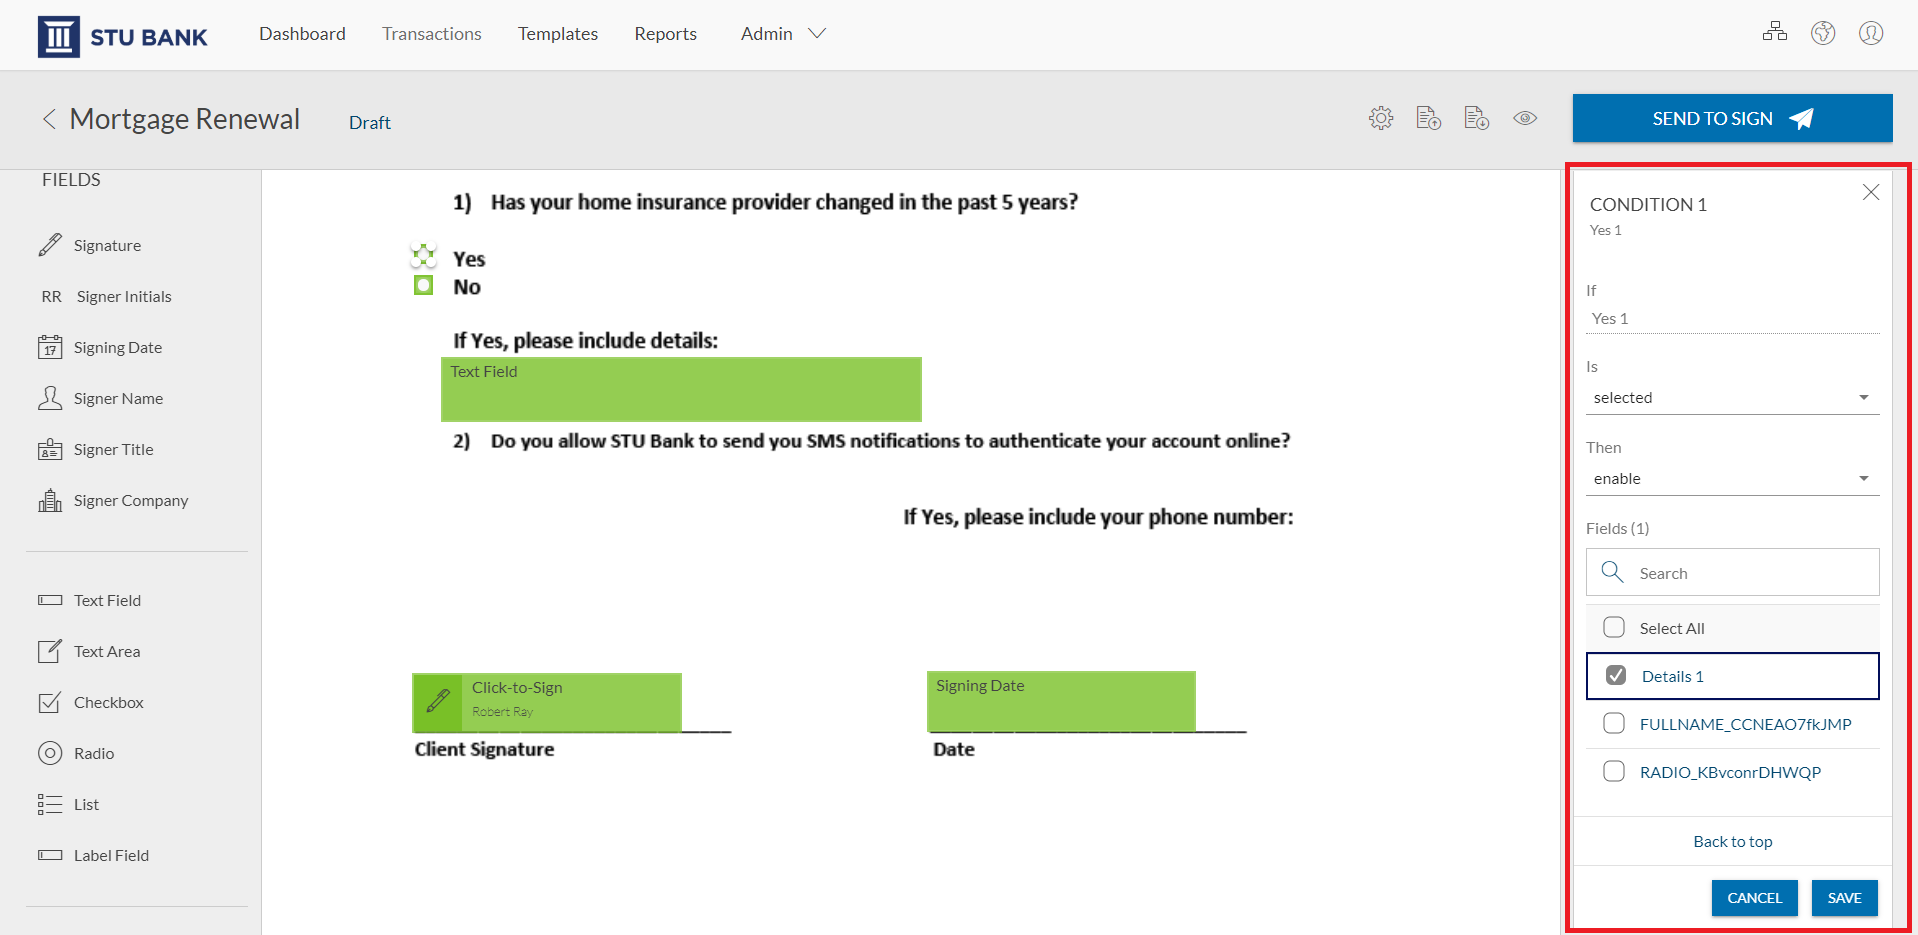
Let’s save our settings.
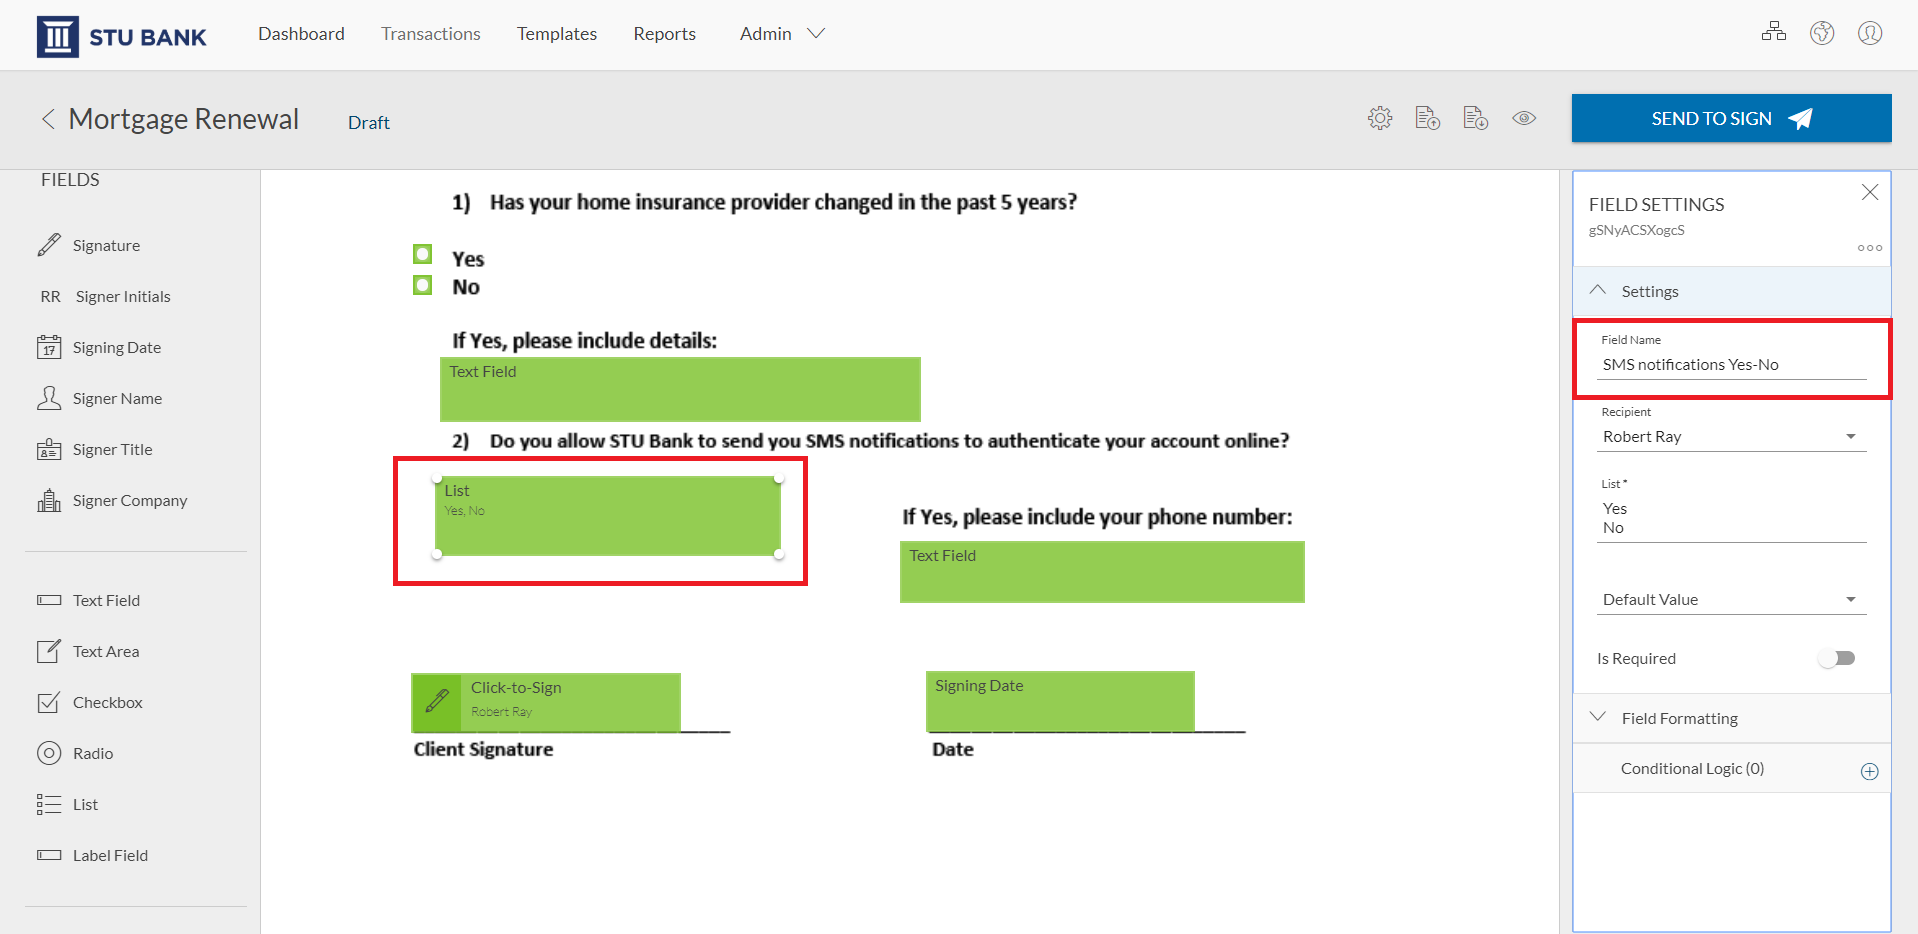
Additionally, we’ll configure conditional logic with a list and a text box. Depending on which option the signer chooses from the list, the text box will either appear as a required field or an optional field.
We’ll designate names for the list options.
Now let’s designate a Field name for the text field – we’ll call it ‘Phone Number’
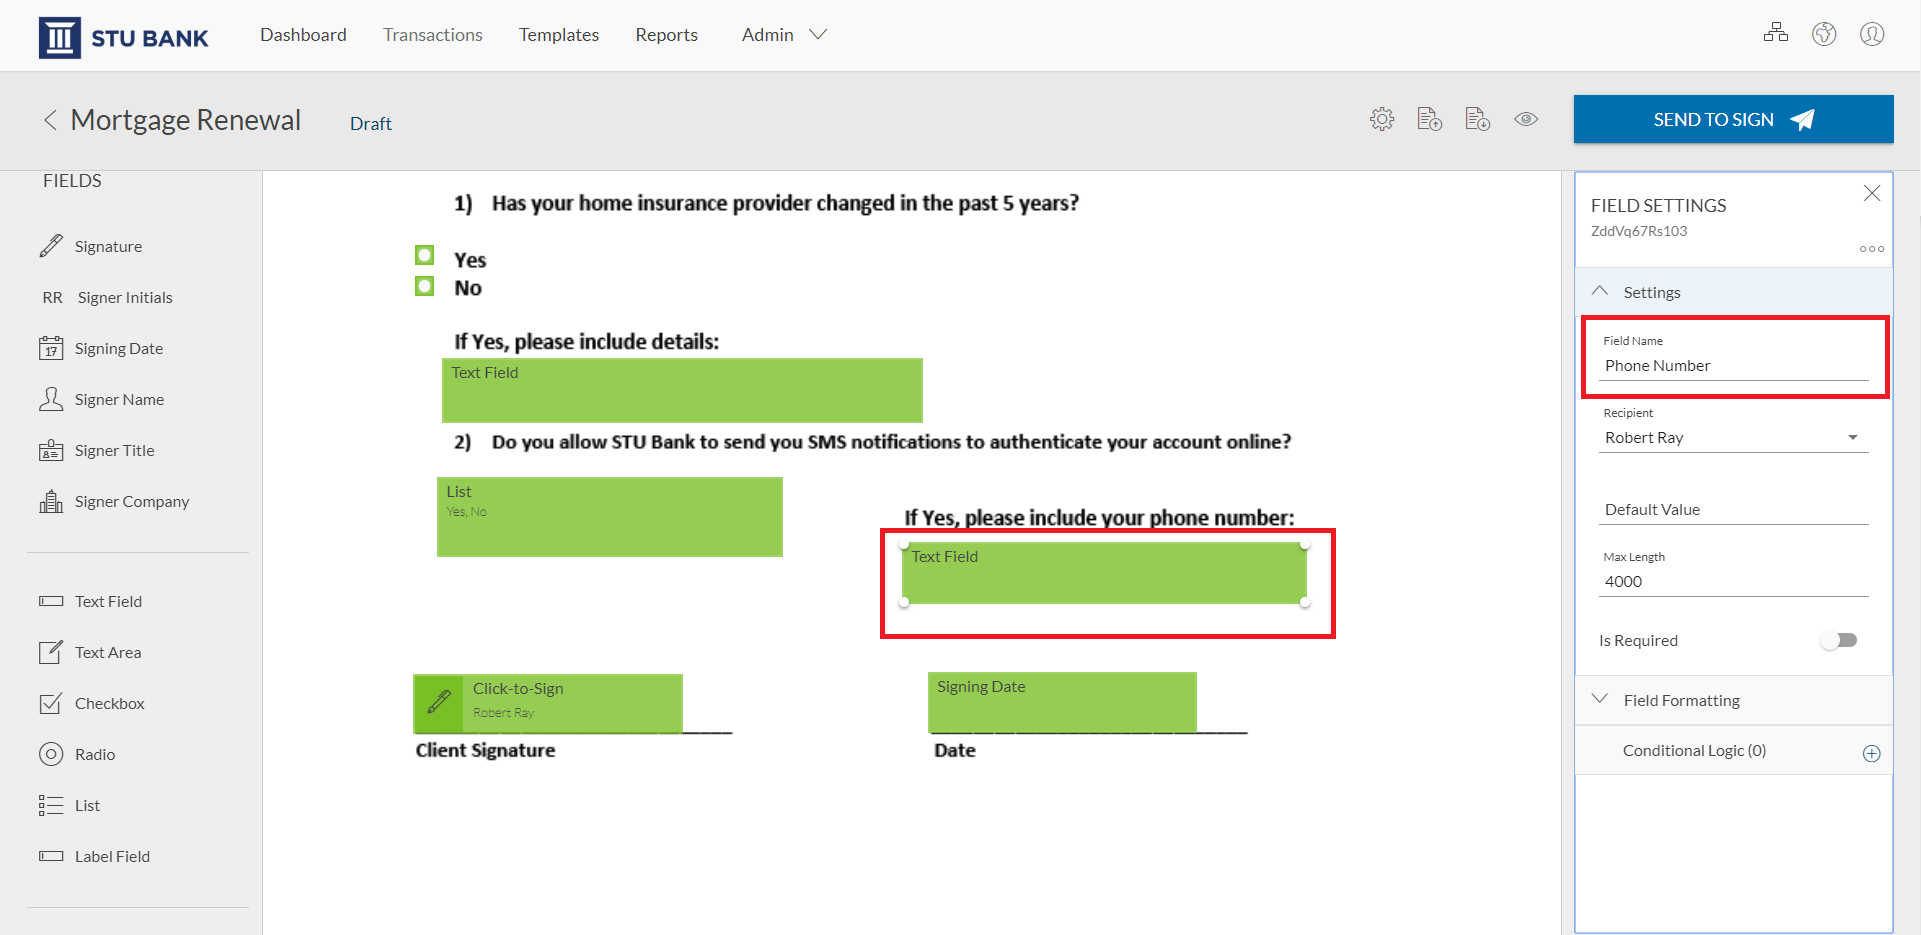
In this example, if the signer selects ‘Yes” from the list, a text field will be enabled in the document as a required field for the signer to add their phone number details. If the signer selects ‘No’, the text field will be enabled as an optional field.

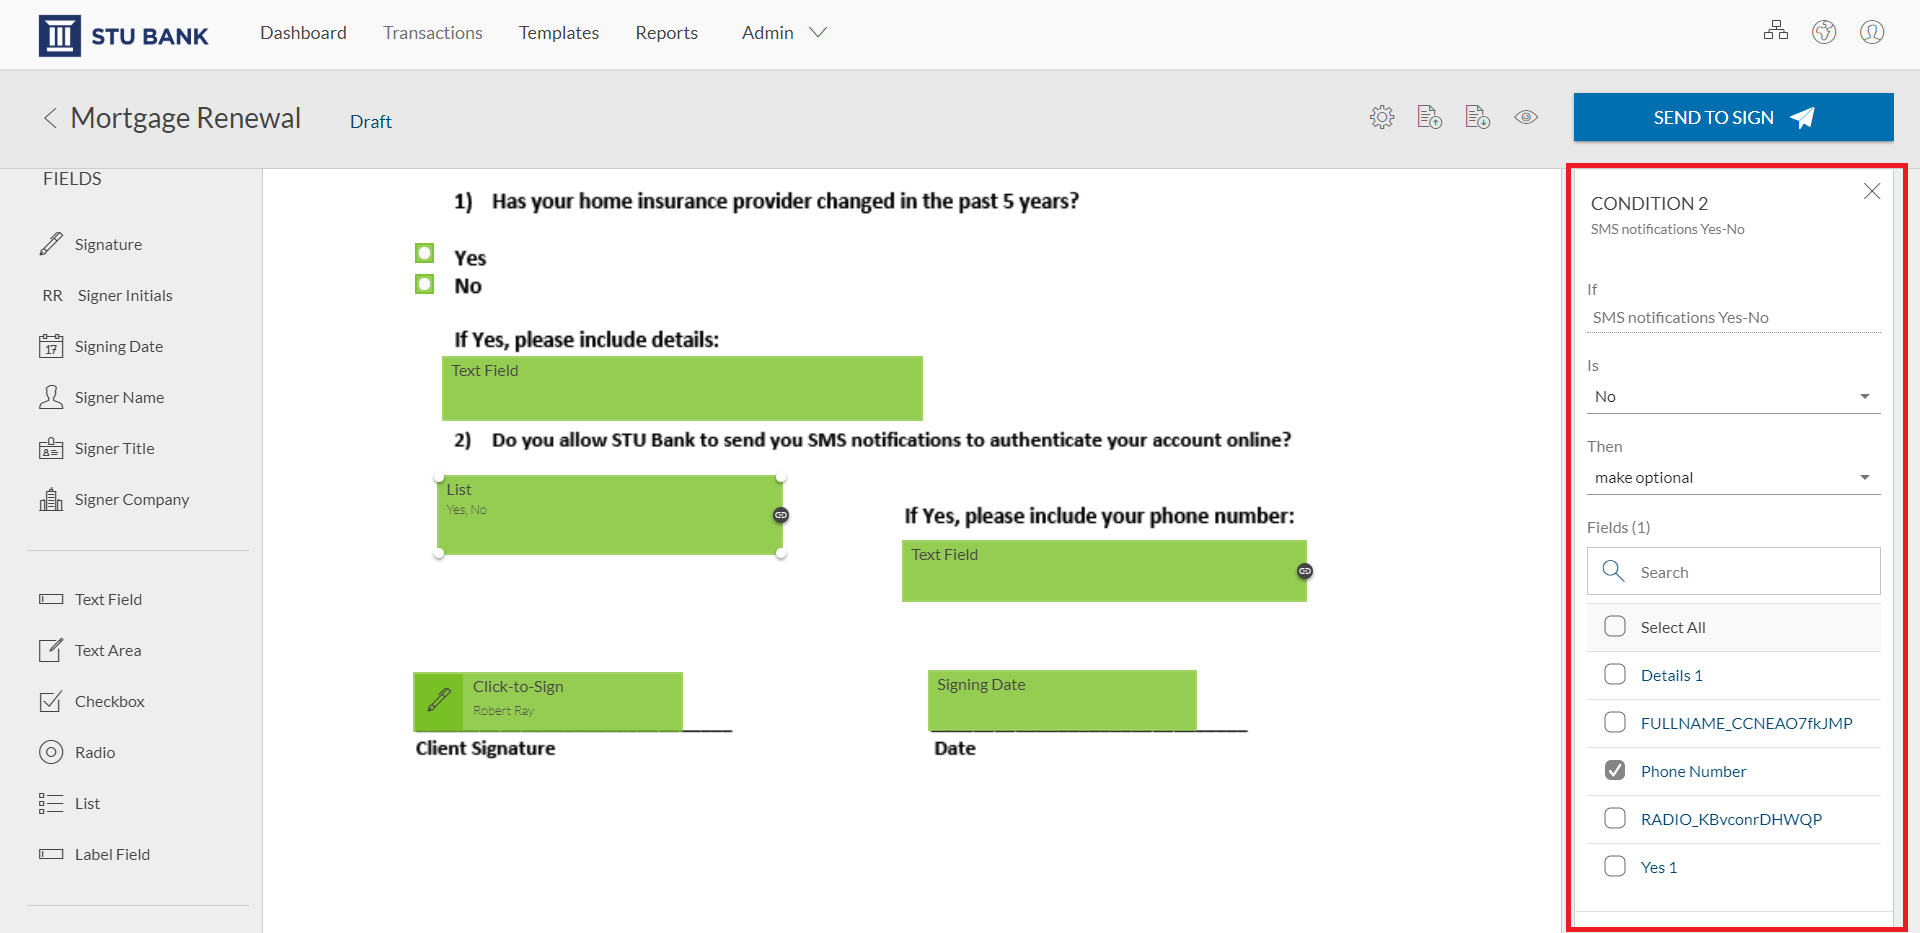
Let’s save our settings.
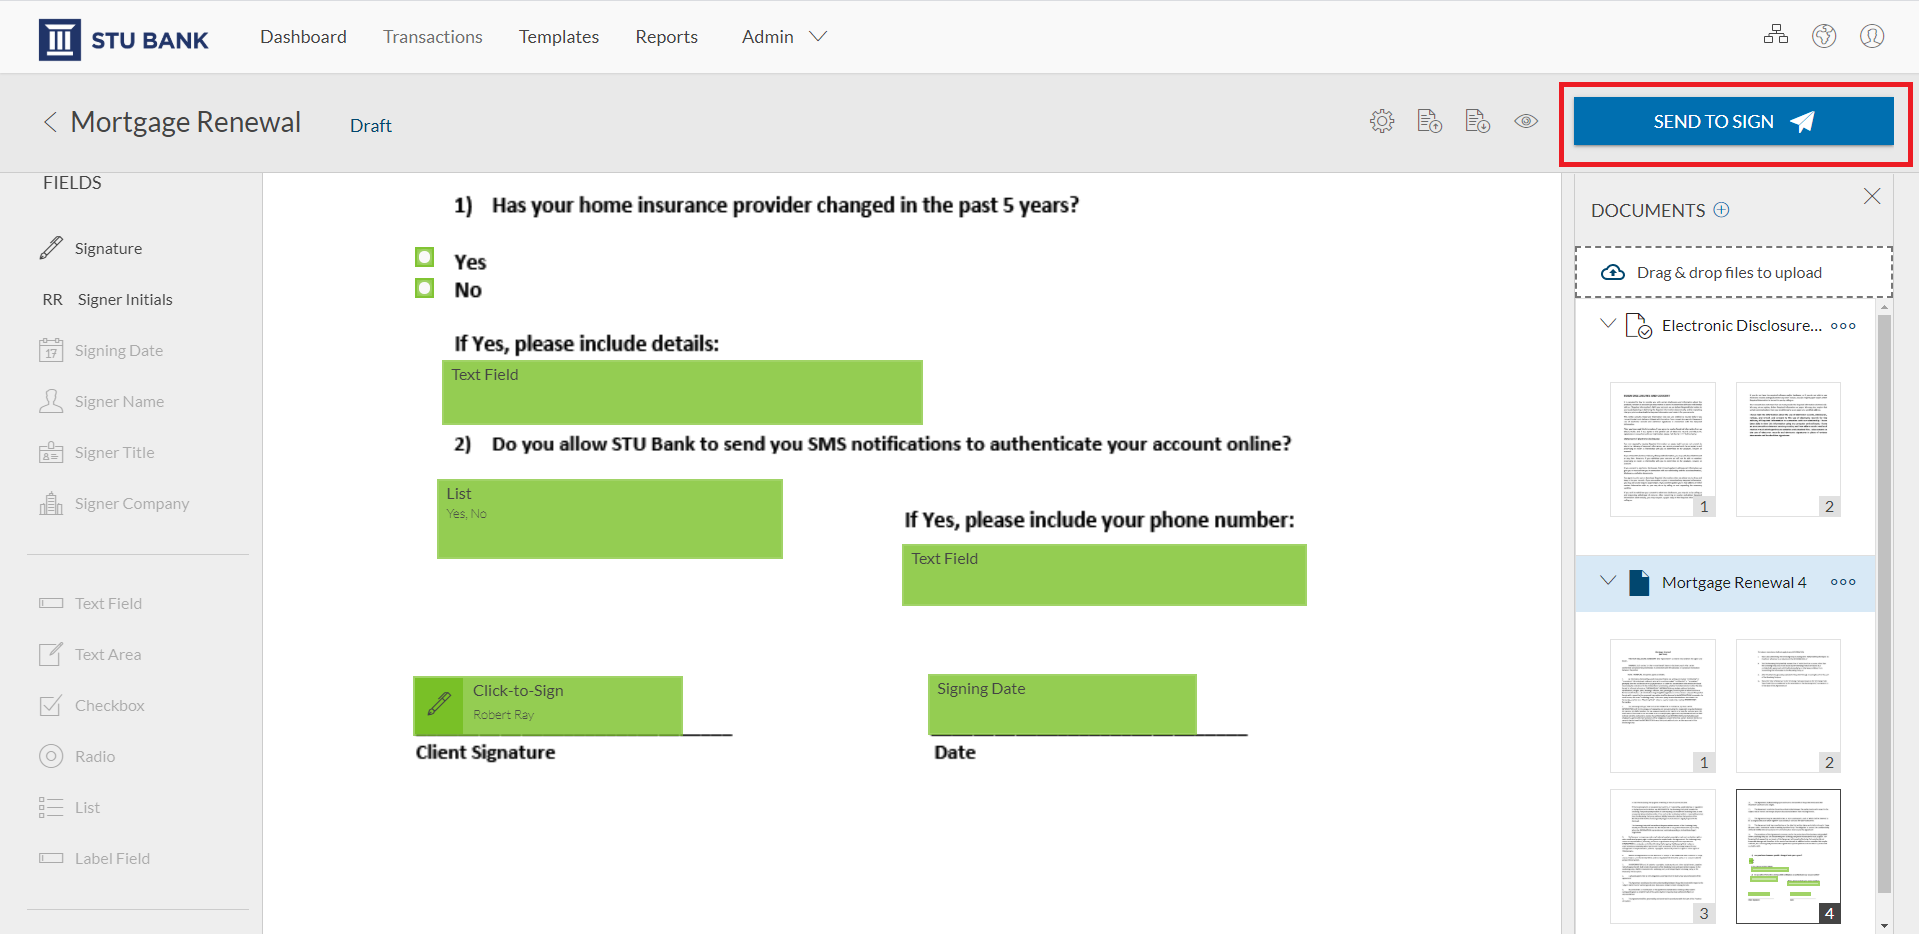
The transaction is ready to send. We’ll click ‘Send to Sign’ to distribute the document for signing.
In the first question, if the signer selects the ‘Yes’ radio button, the text field will automatically be enabled to include additional details.
In the second question, if the signer selects ‘Yes’ from the list, the text field will be enabled as a required field so he can add his phone number.
Check out the video tutorial below to watch how you can easily use Conditional Fields in OneSpan Sign. Visit our Support Center for more video tutorials about OneSpan Sign.

