Tips & Tricks: How to Use Group Signing in OneSpan Sign

Group Signing is a feature available in OneSpan Sign that provides flexibility to organizations that require internal signing groups. When a transaction is sent to a predefined group of users, any member of the group can access and e-sign the document on behalf of the entire group. Whether your organization needs to create internal signing groups for your Human Resources department or Procurement team, the Group Signing feature allows members of the group to share the responsibility of approving and signing documents, so documents are completed in a timely manner.
Let’s take a closer look at how to use the Group Signing feature.
How to Use Group Signing in OneSpan Sign
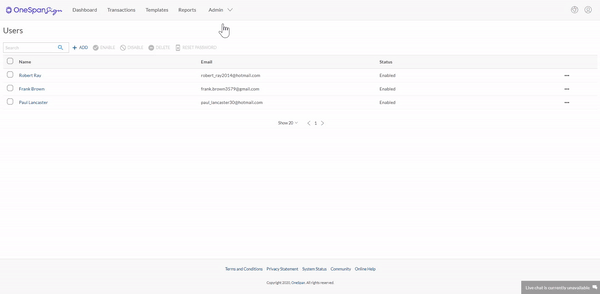
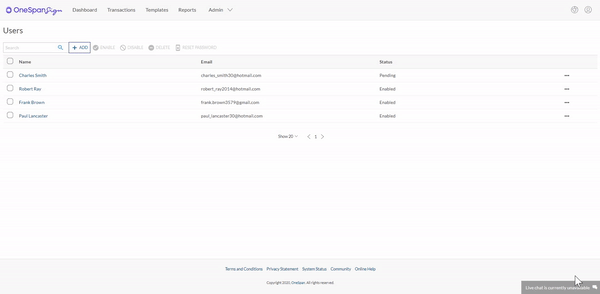
In this example, we’ll send a document to a new employee and our Human Resources team. As an administrator, you’ll first need to add users to your organization’s OneSpan Sign account. Go to the Admin panel and select “Users”.

To add a user, click “+ ADD” and enter the details of the user, such as first name, last name, and email address. Click “Save”. An email will be sent to the newly added user asking them to activate their account.
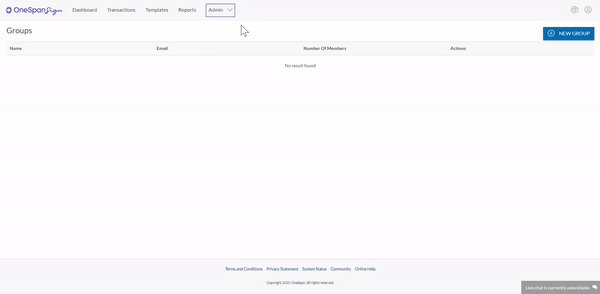
Next, you can create a signing group with the users in your account. From the Admin panel, select “Groups”.
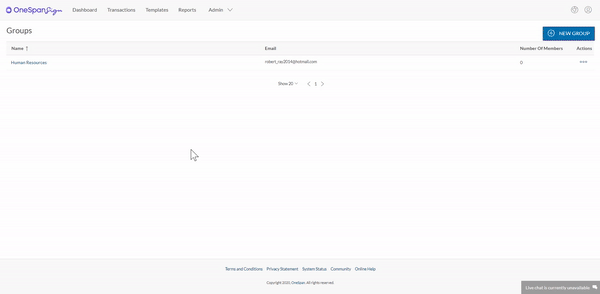
Click “New Group” and enter a name for the group. You have the option to enter a group email address or a group member’s email address. Select “Send emails to the members of this group instead of the specified group email”, so each member of the group receives an email notification to sign the transaction. Click “Save”.
To add group members, click the group and enter the member’s email address in the field and click the envelope icon.
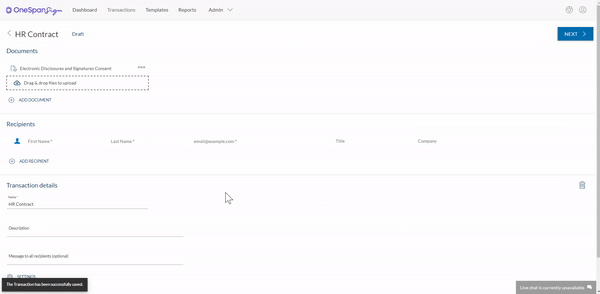
Now it’s time to send the transaction out for signing. Go to the Dashboard. Select ‘”New Transaction”’ and enter a name for the transaction.
Click the “Create” button to proceed.

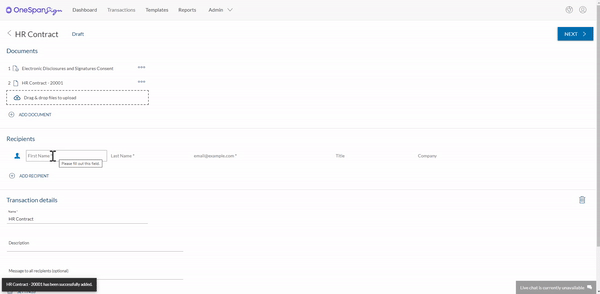
Next we will add a document to the transaction. Click the ”Add” button to upload a document from your files.
Let’s add the recipients to the transaction. Zane will be the new employee. Next, we’ll add the Human Resources group as a recipient. Click “Add Recipient”. Click “Group” and select the Human Resources group. All of the members of the Human Resources group will receive a notification to sign the transaction.
Click ”Next” to prepare the document for signature.
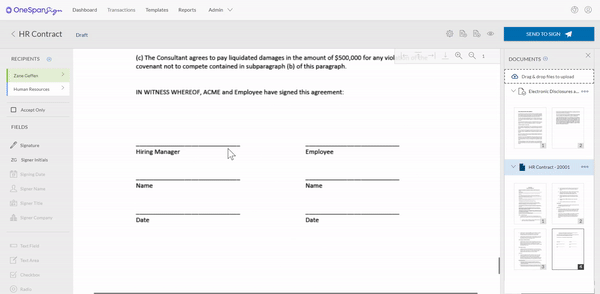
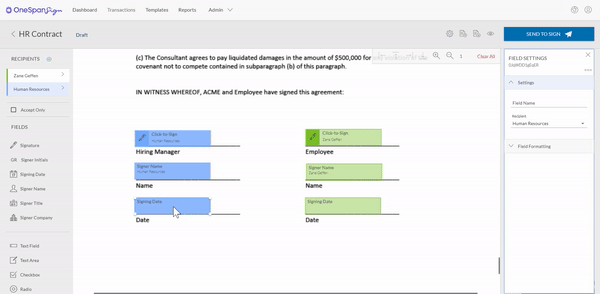
Let’s add signature fields to the document.
The transaction is ready to be sent. Click ”Send to Sign” to route the document for signing.
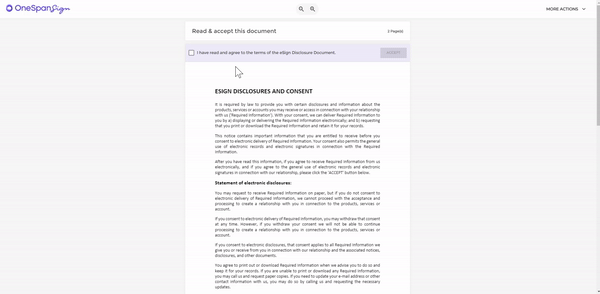
Zane will sign the document.
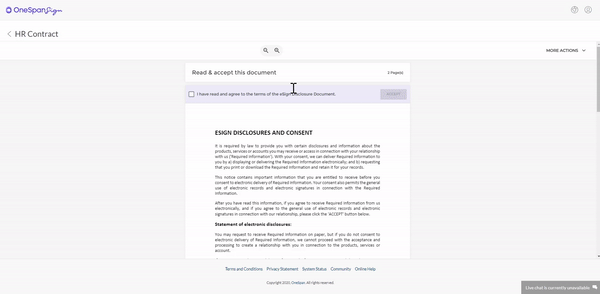
Now it’s time for a member of the Human Resources group to sign the document. Frank will sign on behalf of the Human Resources Team.
That’s it! Through these simple steps, you can create a signing group in OneSpan Sign and deliver documents to the right individuals more quickly and easily.
To continue our conversation on how to best use OneSpan Sign, check out the video tutorial below. It explains how you can use Group Signing in OneSpan Sign. Visit our Support Center for more video tutorials about OneSpan Sign.
Video: How to Use Group Signing in OneSpan Sign

