OneSpan Sign How To: Create and Send A Package with REST in Ruby

Ruby On Rails is a web application development framework written in the Ruby language. It is designed to make web applications developing easier by allowing you to write less code while accomplishing more than many other languages and frameworks. Ruby On Rails is based on the Model-View-Controller pattern that separates your application into three parts:
- The Models are where the application’s data objects are stored.
- The Views are the representation of its models.
- The Controller sits at the heart of everything, processing requests from clients, initiating changes in the models, etc. In other words, the controller is the decision maker between the model and view.
In this blog, I will show you how to create and send a package with OneSpan Sign's REST API in Ruby.
The Code
In my example, I will be using Ruby 2.3.1. If you don’t already have it installed, you can download it from their official website, here. You will also need to download the Development Toolkit in order to use the JSON module (more on this later). Included in the link is a tutorial on how to install the Developer Toolkit. The complete example code is available on the Developer Community Code Share.
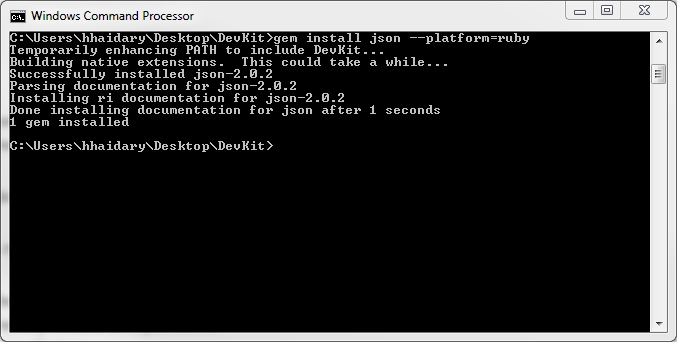
The first thing you’ll want to do is install the ‘json’ module. This will allow you to parse JSON formatted strings. Open your command prompt and enter the following line:
gem install json --platform=ruby
Now, in your favorite text editor, create a new file name "CreateAndSendPackage.rb" and save it in a location of your choice. Go ahead and copy the code below. I will go over it in more detail further down.
require 'net/http'
require 'uri'
require 'json'
require 'OpenSSL'

uri = URI.parse("https://sandbox.esignlive.com/api/packages/")
BOUNDARY = "---011000010111000001101001"

json = File.read('payload.json')

file = "sample_contract.pdf"

# Create empty post body. PDF document and JSON payload to be added.
post_body = []

# Add PDF Document
post_body << "--#{BOUNDARY}\r\n"
post_body << "Content-Disposition: form-data; name=\"file\"; filename=\"#{File.basename(file)}\"\r\n"
post_body << "Content-Type: application/pdf\r\n\r\n"
post_body << File.open(file, 'rb') { |io| io.read }

# Add the JSON
post_body << "--#{BOUNDARY}\r\n"
post_body << "Content-Disposition: form-data; name=\"payload\"\r\n\r\n"
post_body << json
post_body << "\r\n\r\n--#{BOUNDARY}--\r\n"

# Create the HTTP objects
http = Net::HTTP.new(uri.host, uri.port)
http.use_ssl = true
http.verify_mode = OpenSSL::SSL::VERIFY_NONE
request = Net::HTTP::Post.new(uri.request_uri)
request["Authorization"] = "Basic your_api_key_here"
request["Accept"] = "application/json"
request["Content-Type"] = "multipart/form-data; boundary=#{BOUNDARY}"
request.body = post_body.join

# Send the request
response = http.request(request)
puts response.read_body
Now, let’s go over the code in greater detail. The first couple of lines imports the modules needed in order to make REST calls.
require 'net/http'
require 'uri'
require 'json'
require 'OpenSSL'
The next line is the endpoint url where you will send your POST request to.
uri = URI.parse("https://sandbox.esignlive.com/api/packages/")
Then, the JSON string that defines your package is read. You would typically build your JSON string dynamically versus having a big string like in this example. I chose to do so for simplicity.
json = File.read('payload.json')
We're going to compile all the parts of the body into an array, then join them into one single string. Therefore, this method reads the given file into memory all at once. Here is how you would build the body of your HTTP request:
post_body << "--#{BOUNDARY}\r\n"
post_body << "Content-Disposition: form-data; name=\"file\"; filename=\"#{File.basename(file)}\"\r\n"
post_body << "Content-Type: application/pdf\r\n\r\n"
post_body << File.open(file, 'rb') { |io| io.read }

# Add the JSON
post_body << "--#{BOUNDARY}\r\n"
post_body << "Content-Disposition: form-data; name=\"payload\"\r\n\r\n"
post_body << json
post_body << "\r\n\r\n--#{BOUNDARY}--\r\n"
Then, we create a new Net::HTTP object without opening a TCP connection or HTTP session and set the appropriate headers. Make sure to use the settings for the SSL, as shown below. Otherwise, an exception will be thrown.
http = Net::HTTP.new(uri.host, uri.port)
http.use_ssl = true
http.verify_mode = OpenSSL::SSL::VERIFY_NONE
request = Net::HTTP::Post.new(uri.request_uri)
request["Authorization"] = "Basic your_api_key_here"
request["Accept"] = "application/json"
request["Content-Type"] = "multipart/form-data; boundary=#{BOUNDARY}"
request.body = post_body.join
Finally, you make your HTTP request and read in the response sent back by OneSpan Sign.
response = http.request(request)
puts response.read_body
Running Your Code
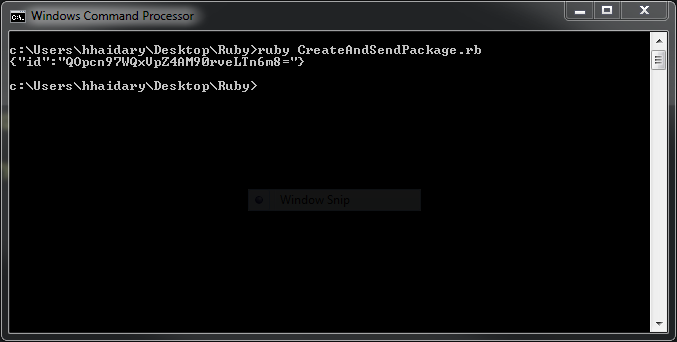
Open your command prompt and change the current directory to the location where you saved your "CreateAndSendPackage.rb" file. Then, enter the following line:
ruby CreateAndSendPackage.rb
OneSpan Sign will then return a package id as a response, which will be printed to the command prompt window.
If you have questions regarding this blog or anything else concerning integrating OneSpan Sign into your application, visit the developer community forums: https://developer.OneSpan.com. That's it from me. Thank you for reading! If you found this post helpful, please share it on Facebook, Twitter, or LinkedIn.
Haris Haidary
Junior Technical Evangelist
LinkedIn | Twitter

OneSpan Developer Community
Join the OneSpan Developer Community! Forums, blogs, documentation, SDK downloads, and more.
Join Today