OneSpan Sign Developer – Custom Fields

Suppose you have multiple internal senders under your organization and each of them have some binding fields which must be referenced during the signing process. Custom Fields in OneSpan Sign offers you the ability to add supplementary information to your sender profiles in addition to the out-of-the-box fields like “title”, “company”. These custom fields can later be added to your transactions, and the values will be populated to the document after signing.
In this blog, we will review the steps in creating a Custom Field, inputting values from each sender’s view, then designing a package. Finally, we’ll provide some tips to facilitate your workflow design. Let’s get started!
Step1: Define Custom Fields
By default, the Custom Field feature is turned on for your account. As a quick check, log into your account owner’s portal, click the “Admin” dropdown at the top of the screen, and if you locate the “Custom Field” option from the application settings section, the feature should be enabled already.

In this Custom Field page, all the schemas defined in your account are listed. To define a new Custom Field, the attributes in the screenshot below are required:
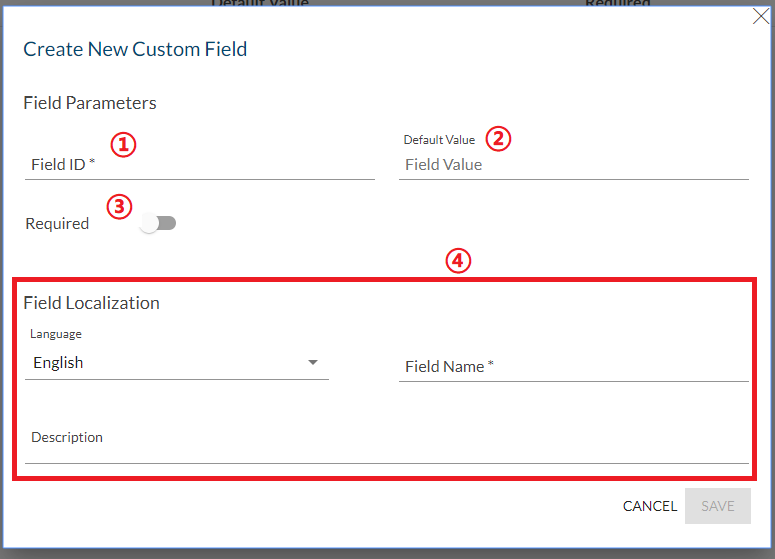
(1)Field ID: A unique ID represents the custom field, which is mandatory to set.
Note: notary fields are also considered Custom Fields in OneSpan Sign, therefore it is better to avoid using the notary field IDs to avoid any potential conflicts.
(2)Default Value: If set, this value will be default to all senders.
(3)Required: When senders are updating their profile, all required custom fields must be given values before they submit.
(4)The label name and description of the custom fields can be localized. These instructions will be displayed in sender’s UI, according to sender’s language preference. The field name is mandatory to set.
Step2: Input Values from Sender Portal
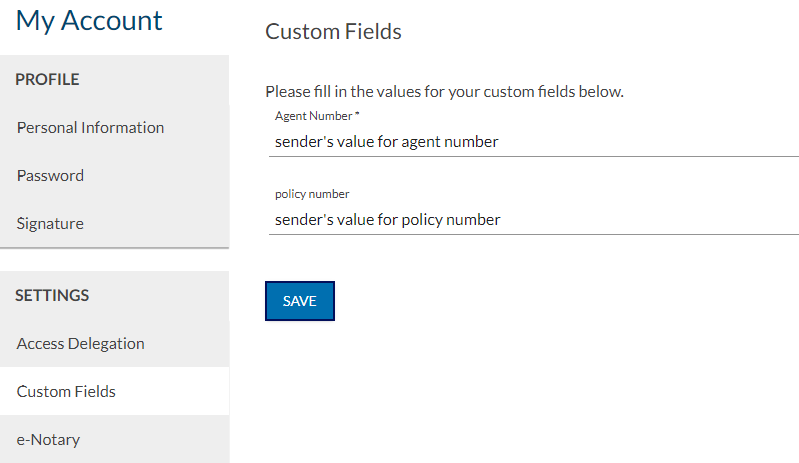
When a sender is becomes familiar with the sender portal, there will be an extra “Custom Fields” section added to the “My Account” page prompts for the defined Custom Fields.
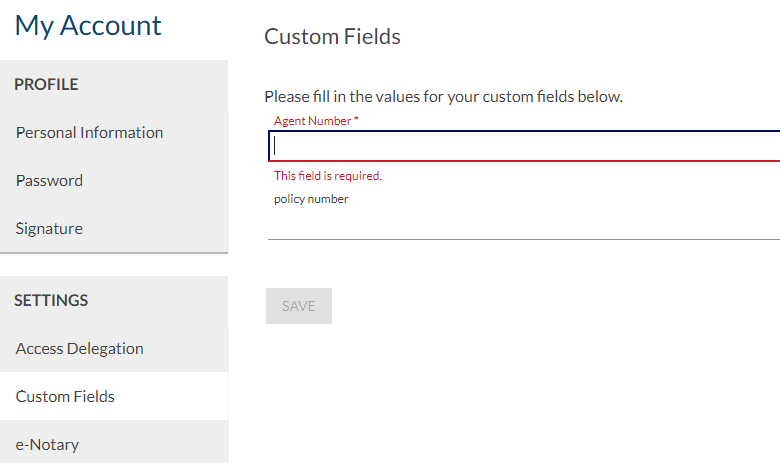
As expected, Custom Fields marked as required can't be left empty upon submission.
Step3: Design the Package
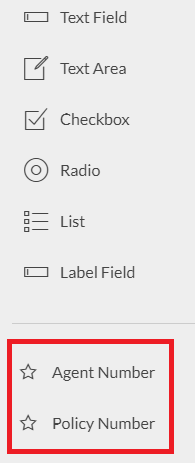
At this point, if you create a package and in the designer view, you will find these custom fields appear at the bottom of the field panel. Because only internal senders have set the values in their profile, remember only to bind the Custom Fields to them.
Step 4: Finish Signing
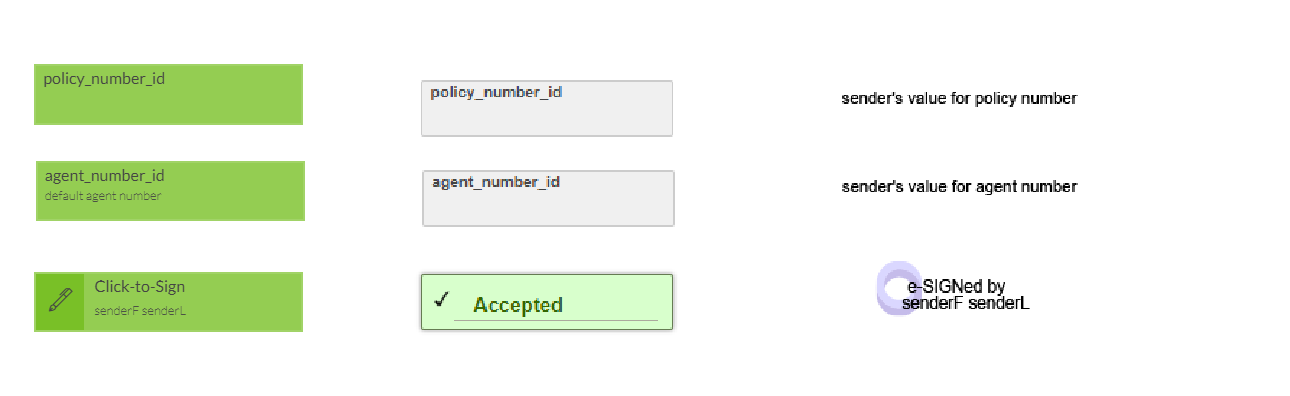
After signing, the sender values will be populated. The screenshots below are taken when the package is under design, during signing, and after signing.
By now, you should have a better idea about how to leverage this feature to benefit your solution design. If you have any questions regarding this blog or anything else concerning integrating OneSpan Sign into your application, visit the Developer Community Forums. Your feedback matters to us!

OneSpan Developer Community
Join the OneSpan Developer Community! Forums, blogs, documentation, SDK downloads, and more.
Join Today
