OneSpan Sign Developer: Embed Transaction Edit Page

In OneSpan Sign, what’s the easiest way to integrate the transaction preparation process?
This has been a frequently asked question of many of our integrated users. In this blog, we will show how OneSpan Sign allows integrators to embed the “Transaction Edit Page” into an iFrame, so they can simplify the transaction preparation steps within a single page HTML and empower senders with the ability to create a transaction from scratch. On top of that, we will also include a demo project showing how to develop with a Transaction Edit page in a common workflow. Without further delay, let’s get started!
Build a Transaction Edit Page
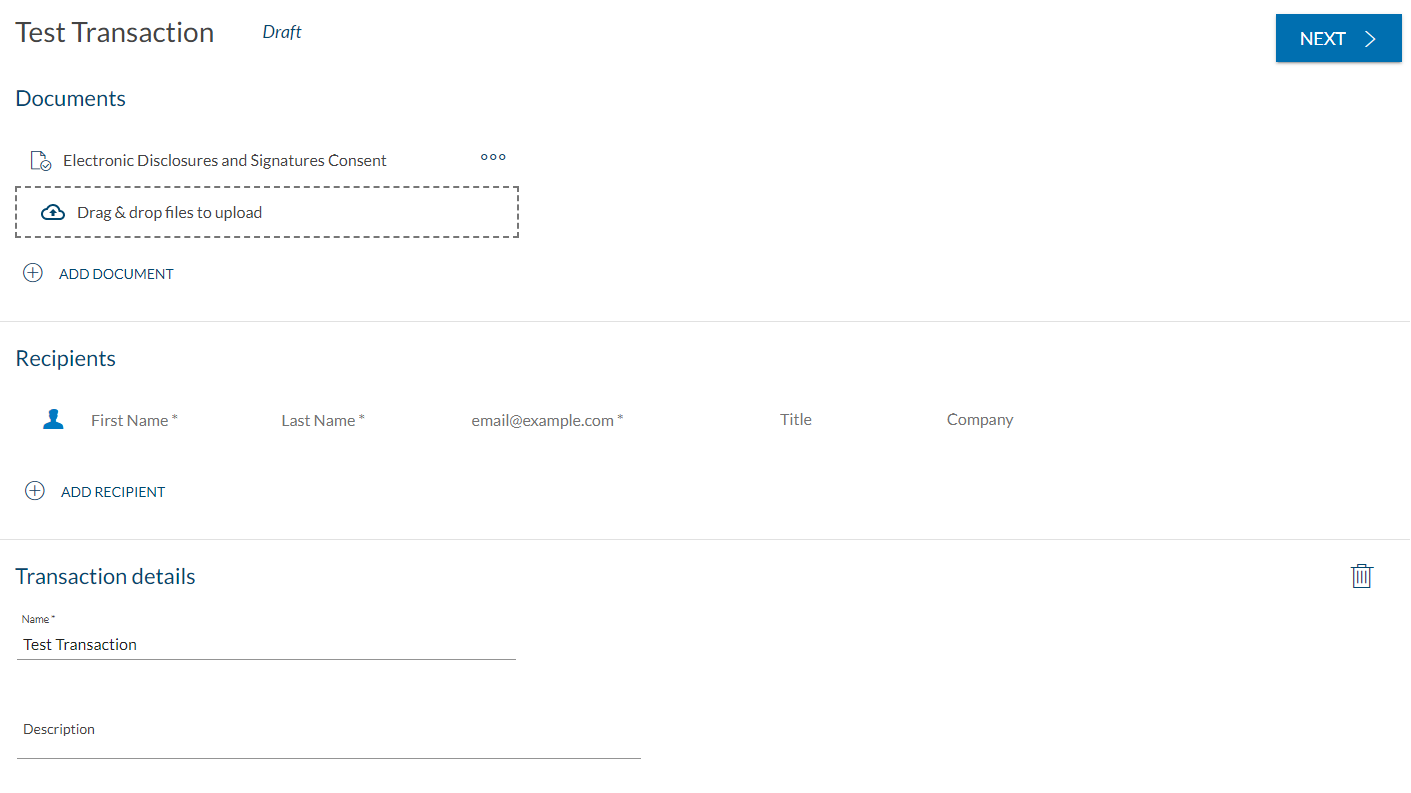
Transaction edit page provides non-technical users the ability to create and send a transaction from scratch with an intuitive interface, which includes to add documents and recipients, to edit transaction details and to navigate to designer page where they can review the document and place signatures and fields.
By simply building a transaction edit page URL, integrators can embed the entire transaction creation process with the latest features to your own application without extra efforts to build your own front-end page. In this section, we will walk you through the steps how to achieve so:
Step 0:
Prior to building a transaction edit link, you need to create a minimalist transaction with at least a package name:
Java SDK
DocumentPackage transaction = PackageBuilder.newPackageNamed("Test Transaction").build();
PackageId packageId = eslClient.createPackageOneStep(transaction);
.NET SDK
DocumentPackage transaction = PackageBuilder.NewPackageNamed("Test Transaction").Build();
PackageId packageId = eslClient.CreatePackageOneStep(transaction);
REST METHOD:
HTTP Request
POST /api/packages
HTTP Headers
Authorization: Basic api_key
Accept: application/json
Content-Type: application/json
Request Payload
{"name":"Test Transaction"}
Response Payload
{
    "id": "6u9gD7zn9Ide0IHwdLyIRMp033g="
}
Note:
- In this API call, you can set the content type as “application/json” instead of “multipart/form-data”, comparing to the normal package creation.
Step 1:
Once you’ve created the transaction, the first step is to create a Sender Authentication Token:
Java SDK
String senderAuthenticationToken = client.getAuthenticationTokensService().createSenderAuthenticationToken(packageId);
.NET SDK
string senderAuthenticationToken = client.AuthenticationTokenService.CreateSenderAuthenticationToken(packageId);
REST METHOD:
HTTP Request
POST /api/authenticationTokens/sender
HTTP Headers
Accept: application/json
Content-Type: application/json
Authorization: Basic api_key
Request Payload
{
  "packageId": "e937fc75-3c3b-4506-b270-cc7e43f4cf78"
}
Response Payload
{
   "value": "MjY0MjQ4MzgtMTJlOS00MzhjLTgzODMtMzJmMGNiZTg3ODBl"
}
Step 2:
With the Sender Authentication Token created in first step and the Package ID returned to you during package creation, build the following URL for the transaction edit page:
{instance_url}/auth?authenticationToken={senderToken}&target={instance_url}/a/transaction/{packageId}
A real example could look like below:
https://sandbox.esignlive.com/auth?authenticationToken=MmFlZjgyY2xxxxxxUwNGI0&target=https://sandbox.esignlive.com/a/transaction/6RlLc1fatjabLzzN5js_DRnPLCE=
There it is. Now you are ready to embed this link into an iFrame and migrate the transaction preparation process into your own workflow.
Example In Real Action
In this section, we will demonstrate a working project and showcase one of the potential workflows involving transaction edit page into your own application.
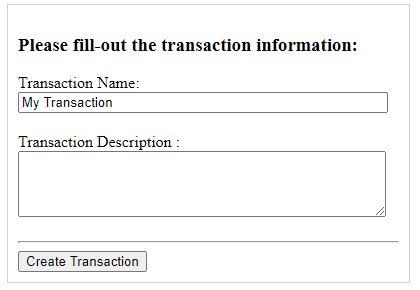
Step1:
We will present an HTML form collecting the basic information about the transaction. As the foregoing stated, the minimal requirement is to enter a transaction name and click “Create Transaction”.
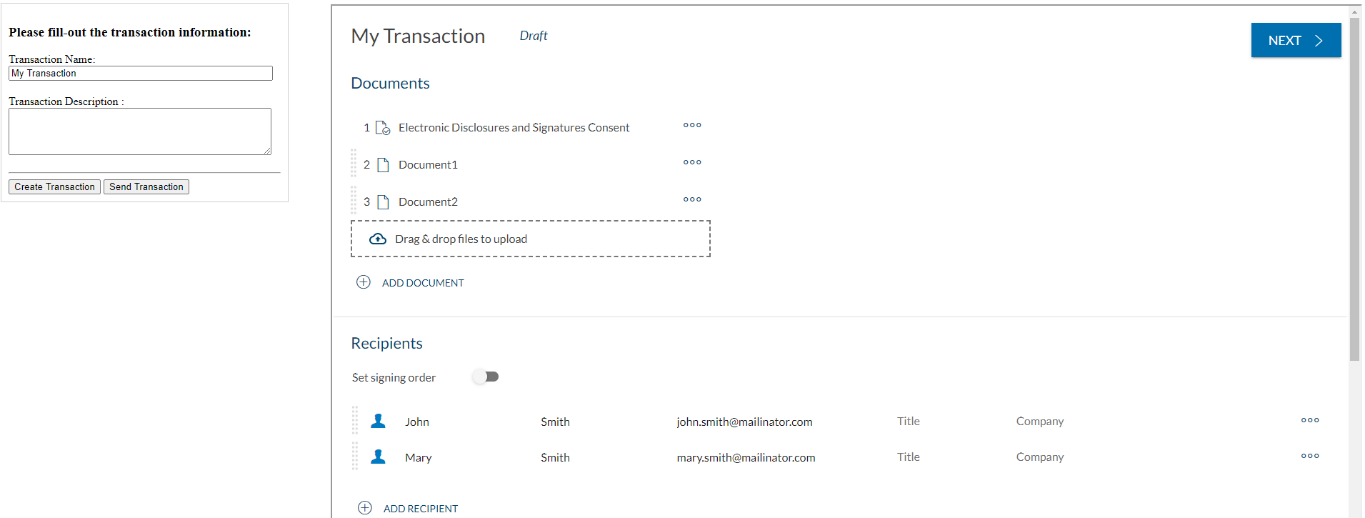
Step 2:
The front-end code will request our back-end to create a package and return the transaction edit page link. In this demo, we will present the link in a percentage width and absolute height iFrame.
Step 3:
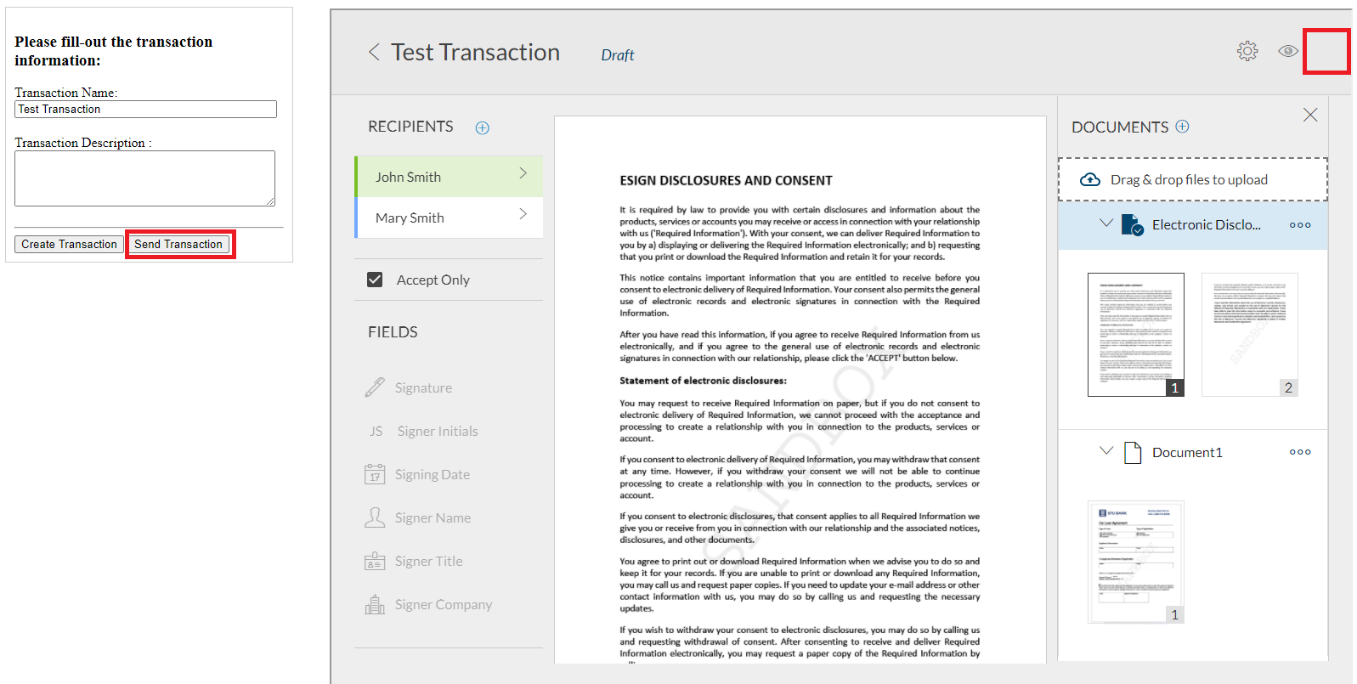
As we have mentioned in a previous blog, we will remove the “Send” button in designer page and add a custom button outside the iFrame to trigger the process. Once the user clicks the customized “Send Package” button, our front-end code will again request our back-end to send the package. Assuming it’s an in-person signing scenario, the iFrame will continue to display the in-person signing ceremony.

The Code
You can find the demo code in our code share, which was written in PHP and with REST method. If it’s your first time working with PHP, refer to this blog “Creating a Simple PHP Web Application” to learn how to run a simple PHP web application.
To adjust to your own account information, just change the corresponding parameters in file “ESLPackageCreation.php”. The starting point of the project is the “index.html” file.
Through this blog, we have walked through to the process of generating a transaction edit page link and embed the URL in your own application to fit your specific use cases.
If you have any questions regarding this blog or anything else concerning the integration of OneSpan Sign into your application, visit the Developer Community Forums. Your feedback matters to us!

OneSpan Developer Community
Join the OneSpan Developer Community! Forums, blogs, documentation, SDK downloads, and more.
Join Today