Tips & Tricks: How to Upload an Image of a Signature When E-Signing Transactions in OneSpan Sign

OneSpan Sign offers an additional electronic signature option giving signers the ability to upload an image of their signature when completing transactions. Signers can scan an image of their signature and easily upload the image file to the transaction.
In this blog, we’ll demonstrate how to senders can allow signers to upload an image of their signature to the transaction in OneSpan Sign. We’ll also show how signers can upload an image of their signature when completing a transaction.
Let’s take a closer look at how this feature works.
How Senders Can Allow Signers to Upload an Image of their Signature to the Transaction
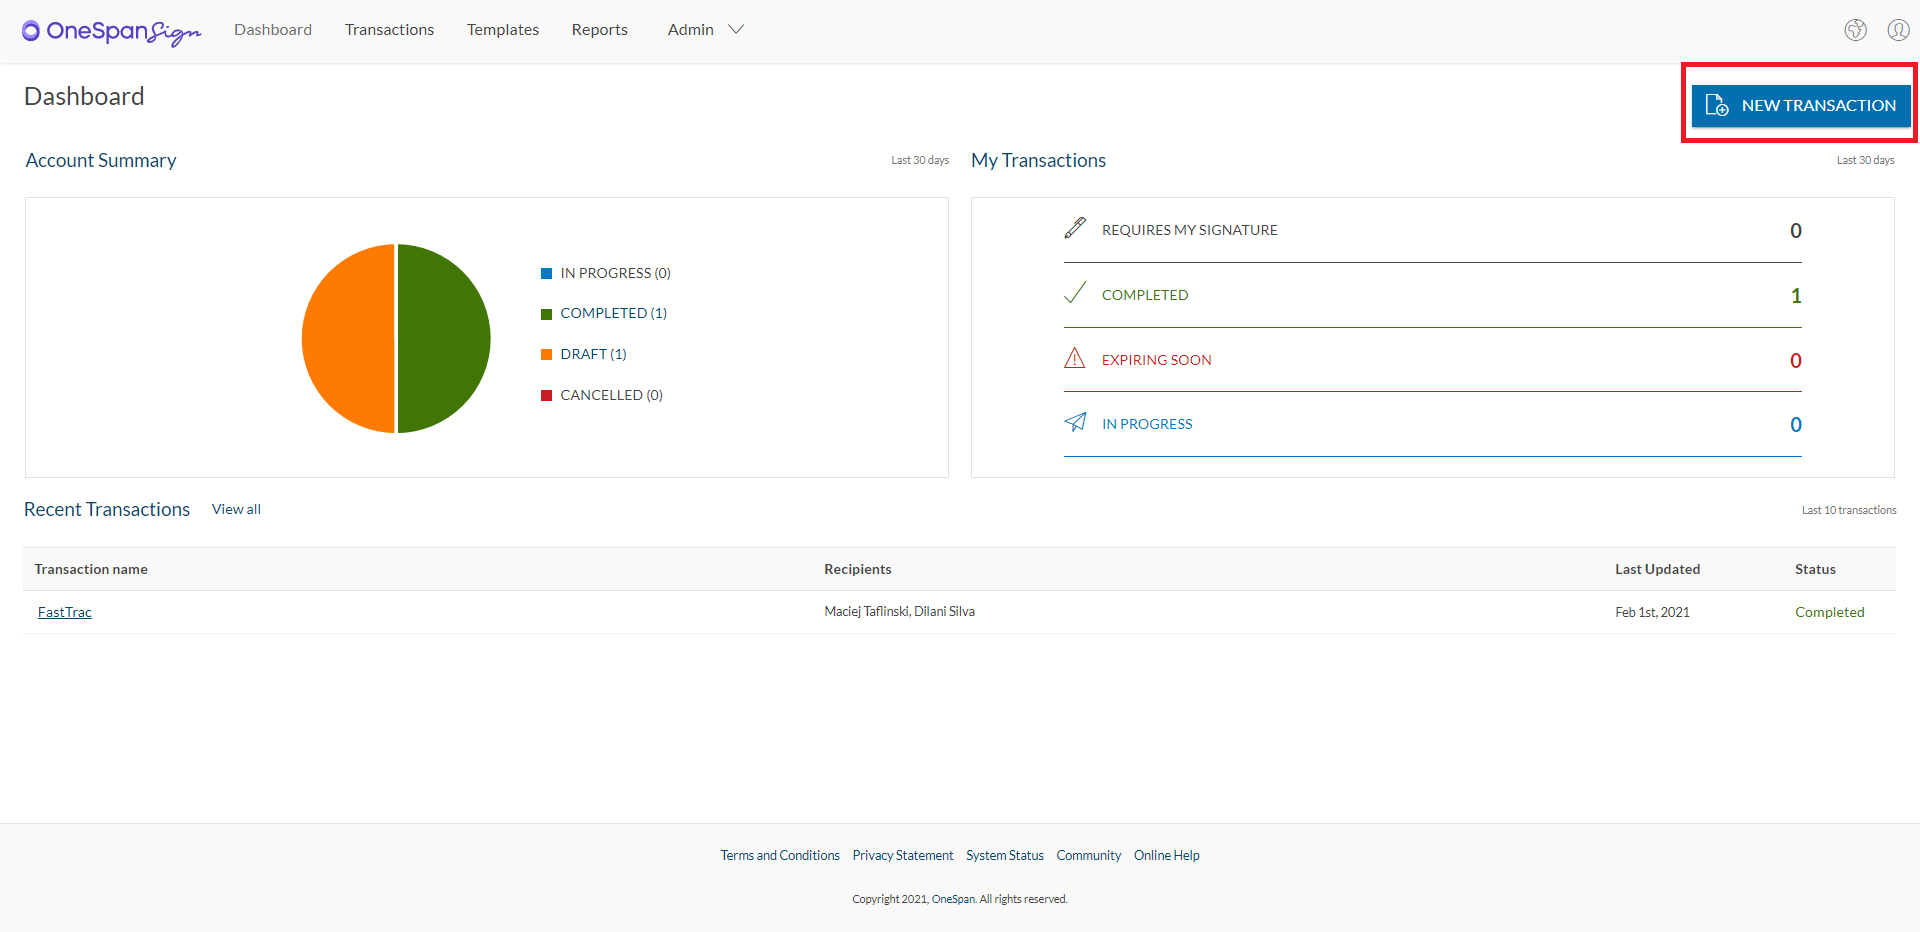
Start by creating a transaction using the ”New Transaction” button in the top right-hand corner.
Next, enter a name for your transaction.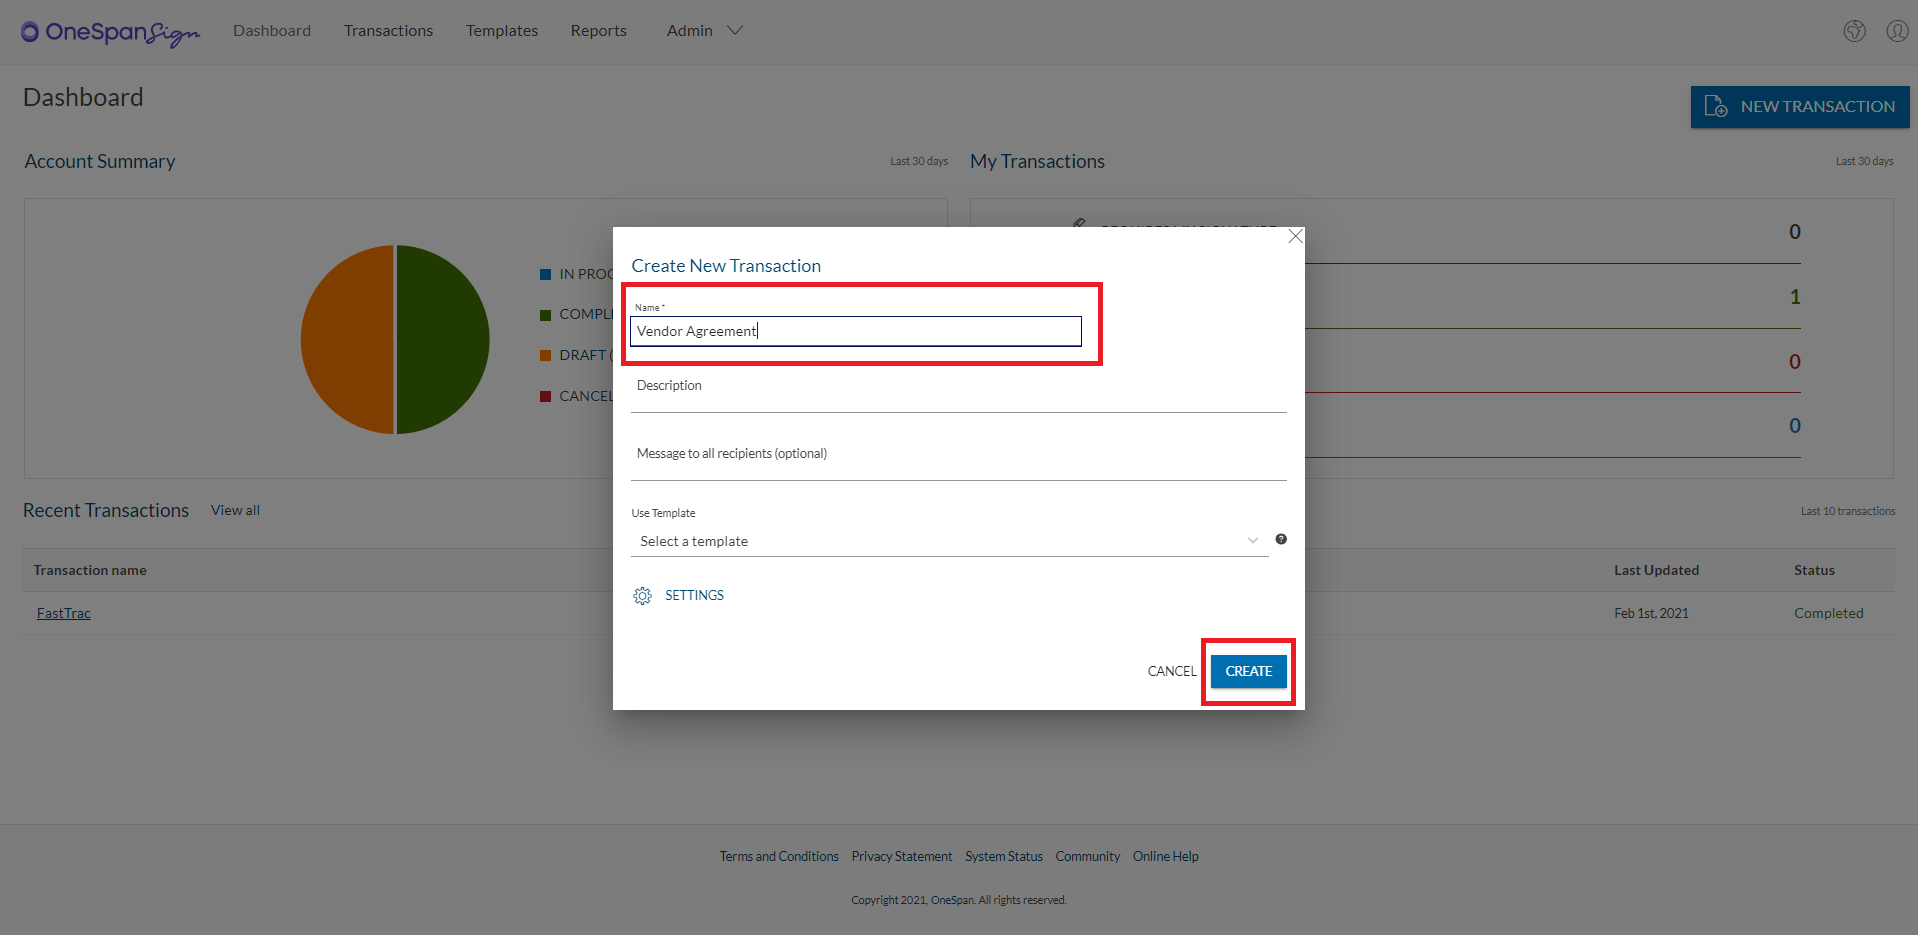
Click the ”Create” button to proceed.
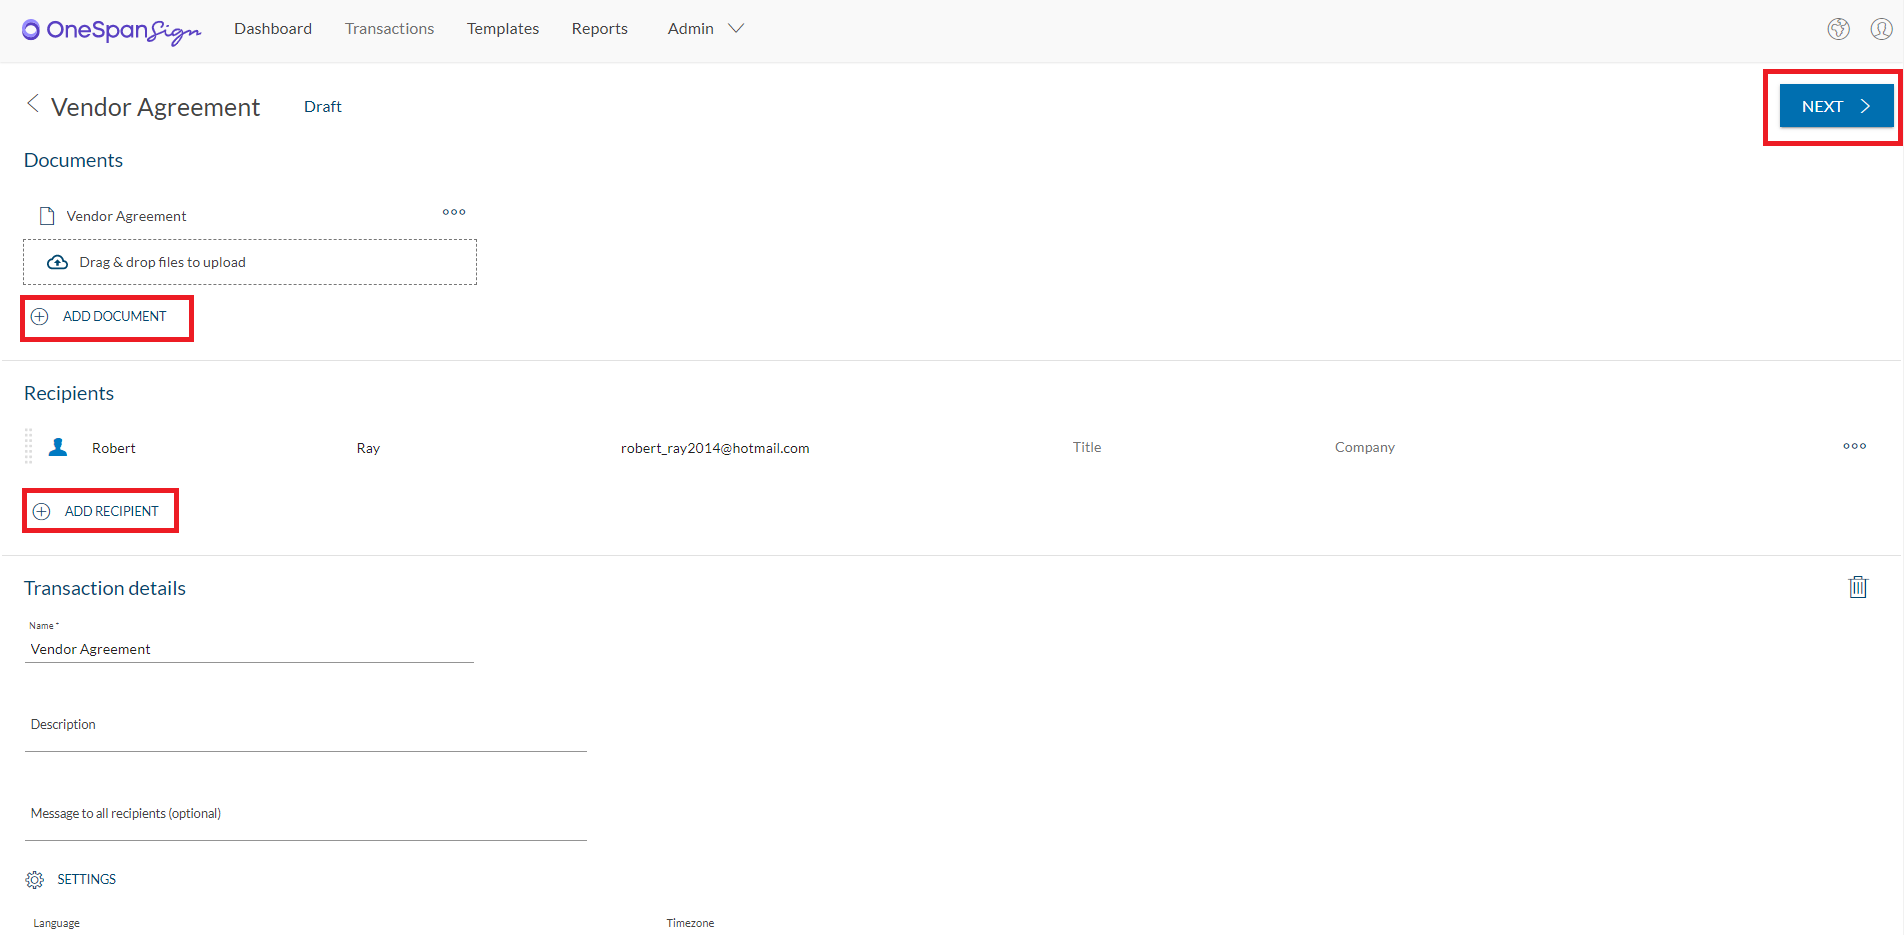
Now it’s time to add a document to your transaction. Click the ”Add Document” button to upload a document from your files.
Next, add your recipient to the transaction.
After adding your document and recipient, click “Next” to prepare your document for signature.
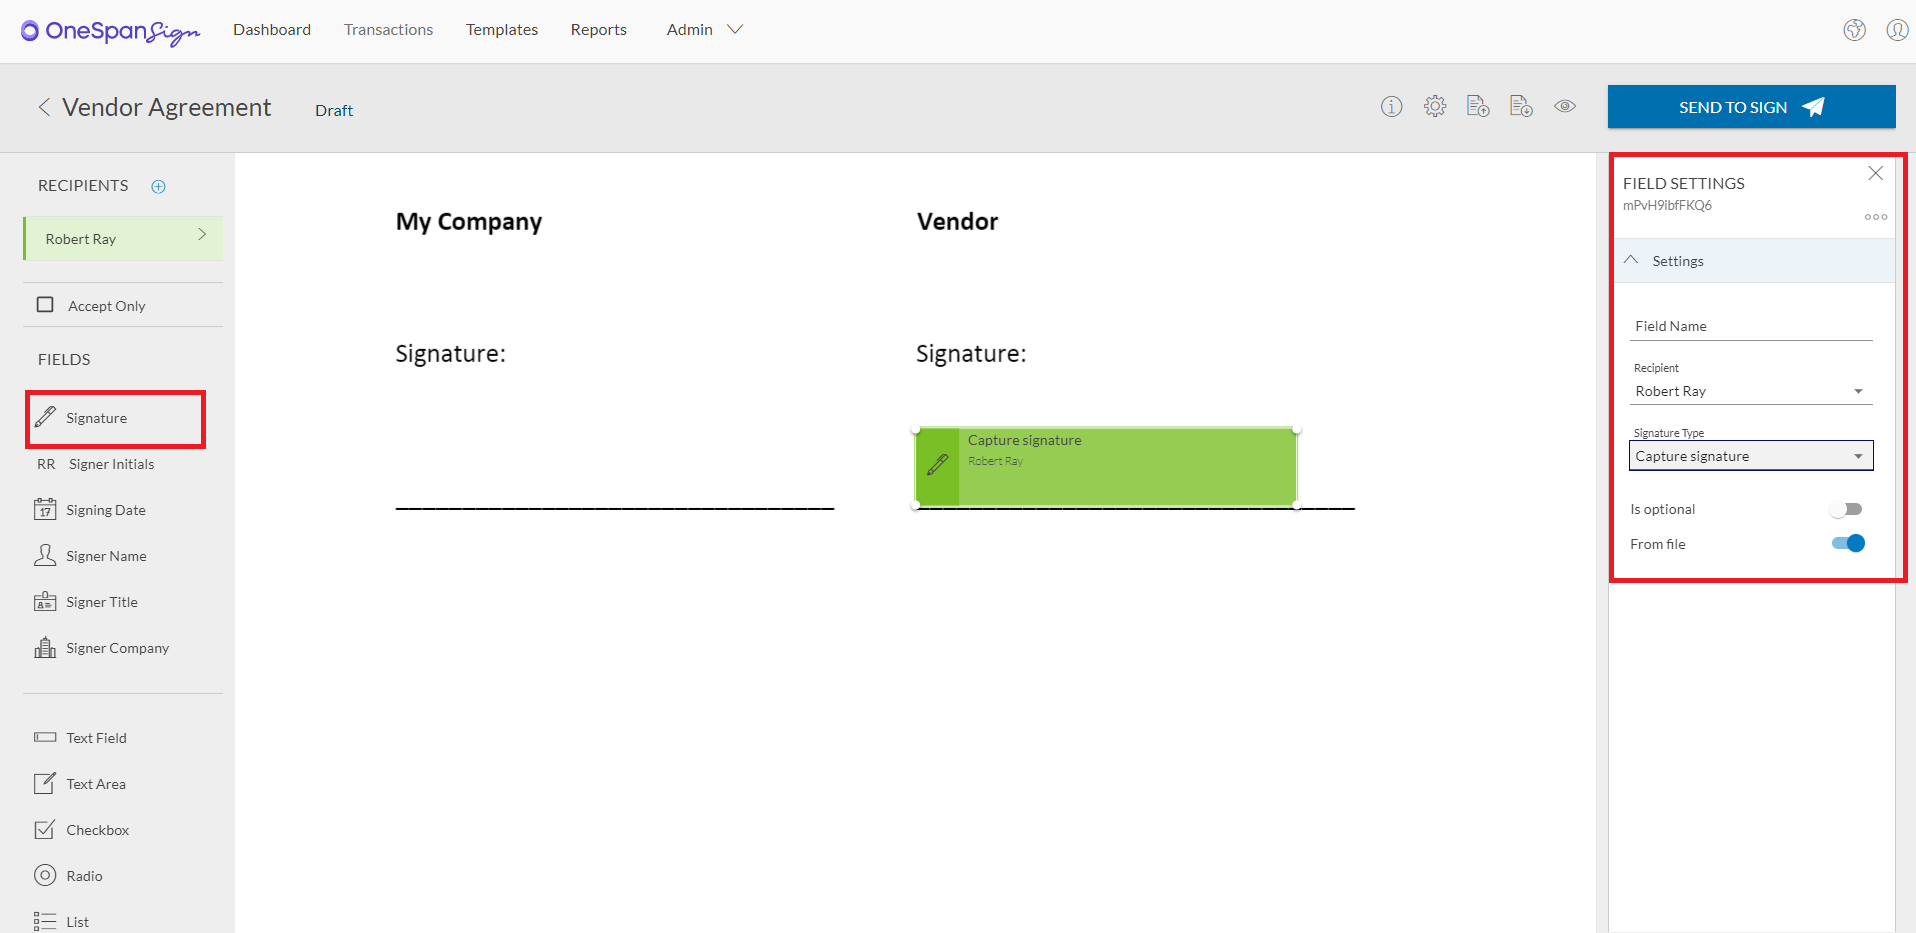
Add a signature by clicking the ”Signature” field and moving the signature block to a desired location on your document. In the “Field Settings” section, select the “Capture Signature” option in the “Signature Type” dropdown menu.
In the toggle, select “From file” – this allows the signer to upload an image of their signature from their own files.
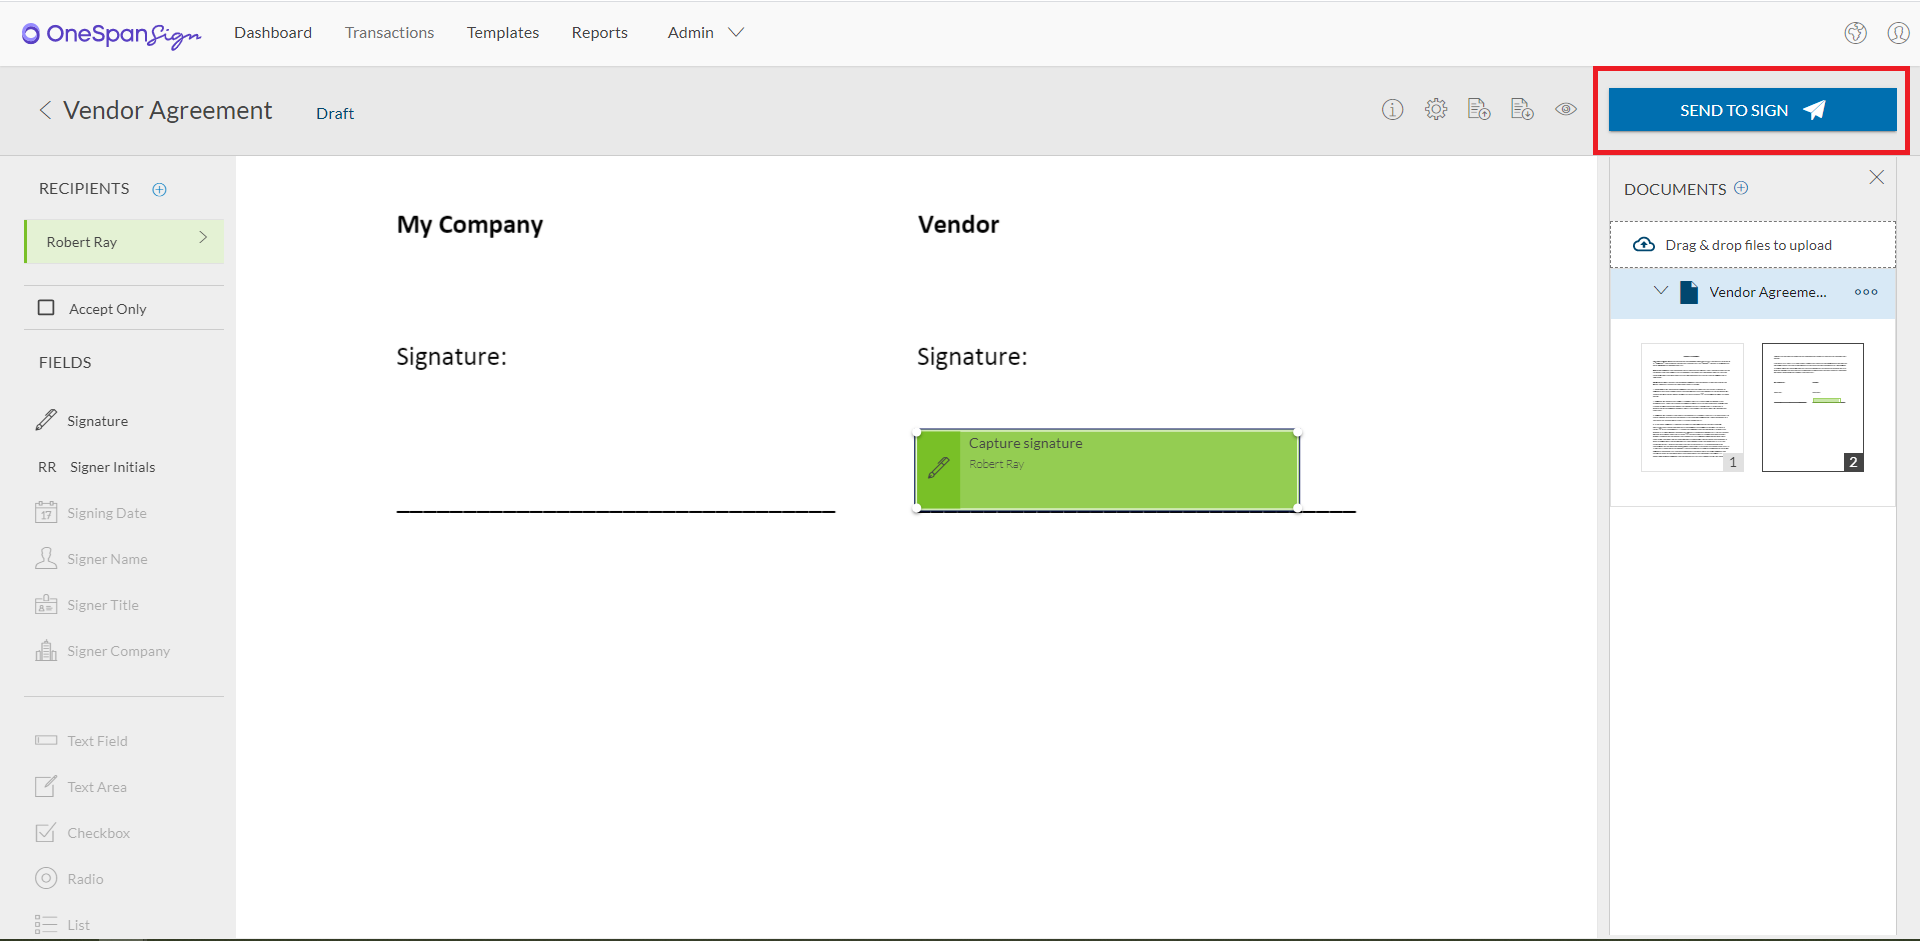
Your transaction is ready to send. Click ”Send to Sign” to distribute your document for signing.
How Signers Can Upload an Image of their Signature to the Transaction
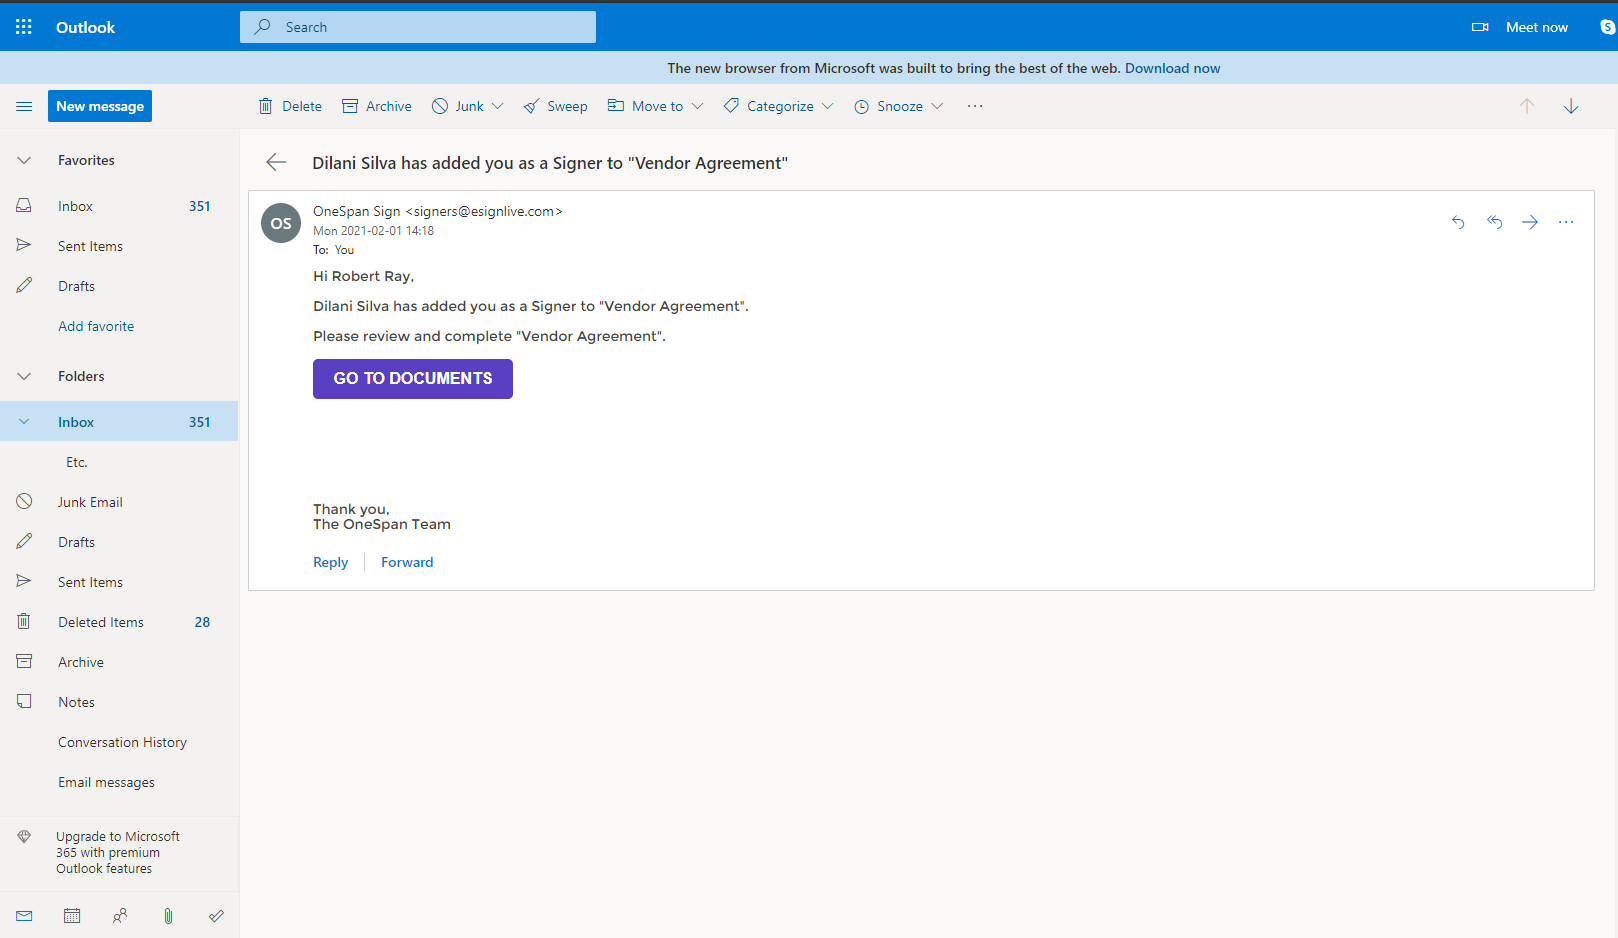
Your signer will receive an email to access the document to e-sign. They will click ”Go to Documents”.
They will then be directed to the document that requires their signature.

When it’s time to e-sign the document. They click the “Sign” field to apply their signature.
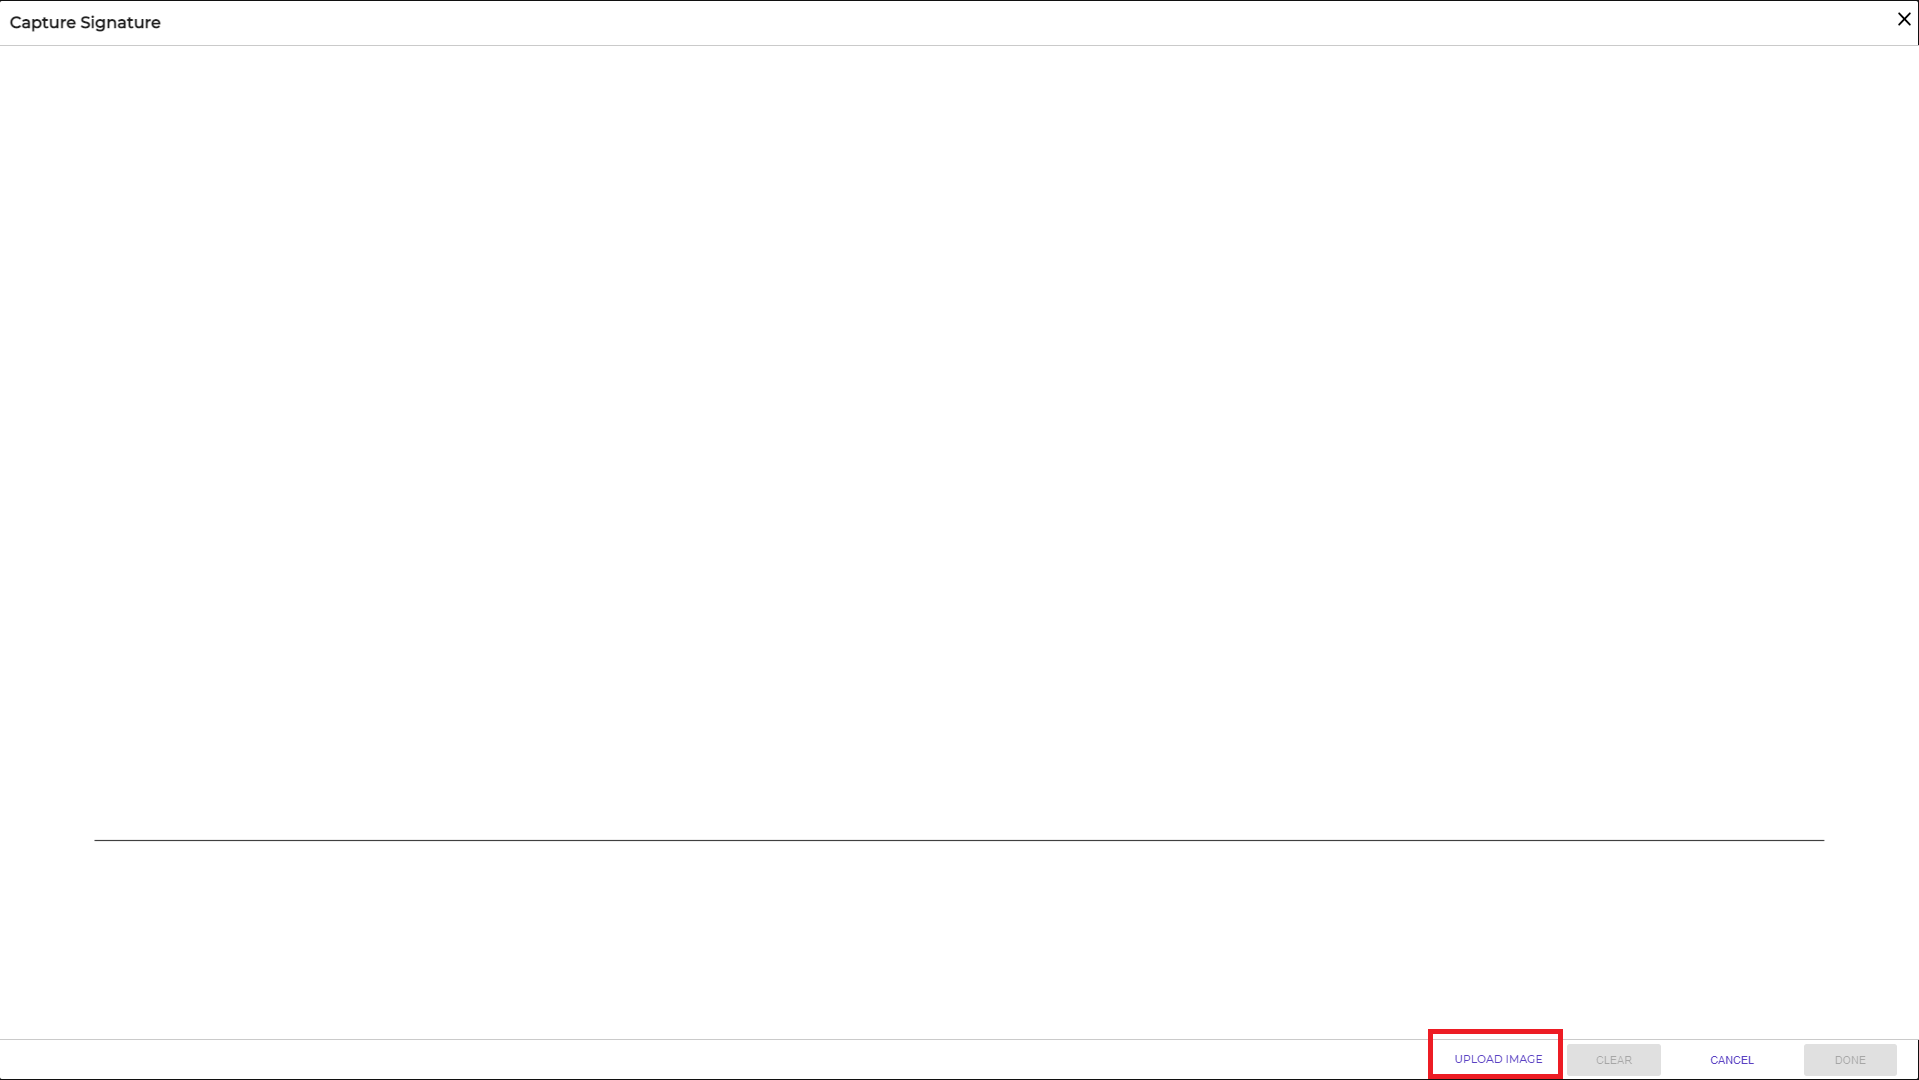
The ”Capture Signature” screen appears. The signer clicks “Upload Image” and then selects an image of their signature from their files to upload to the transaction. The image should be less than 1 MB in size and will be automatically fitted into the dimensions of the signature block.
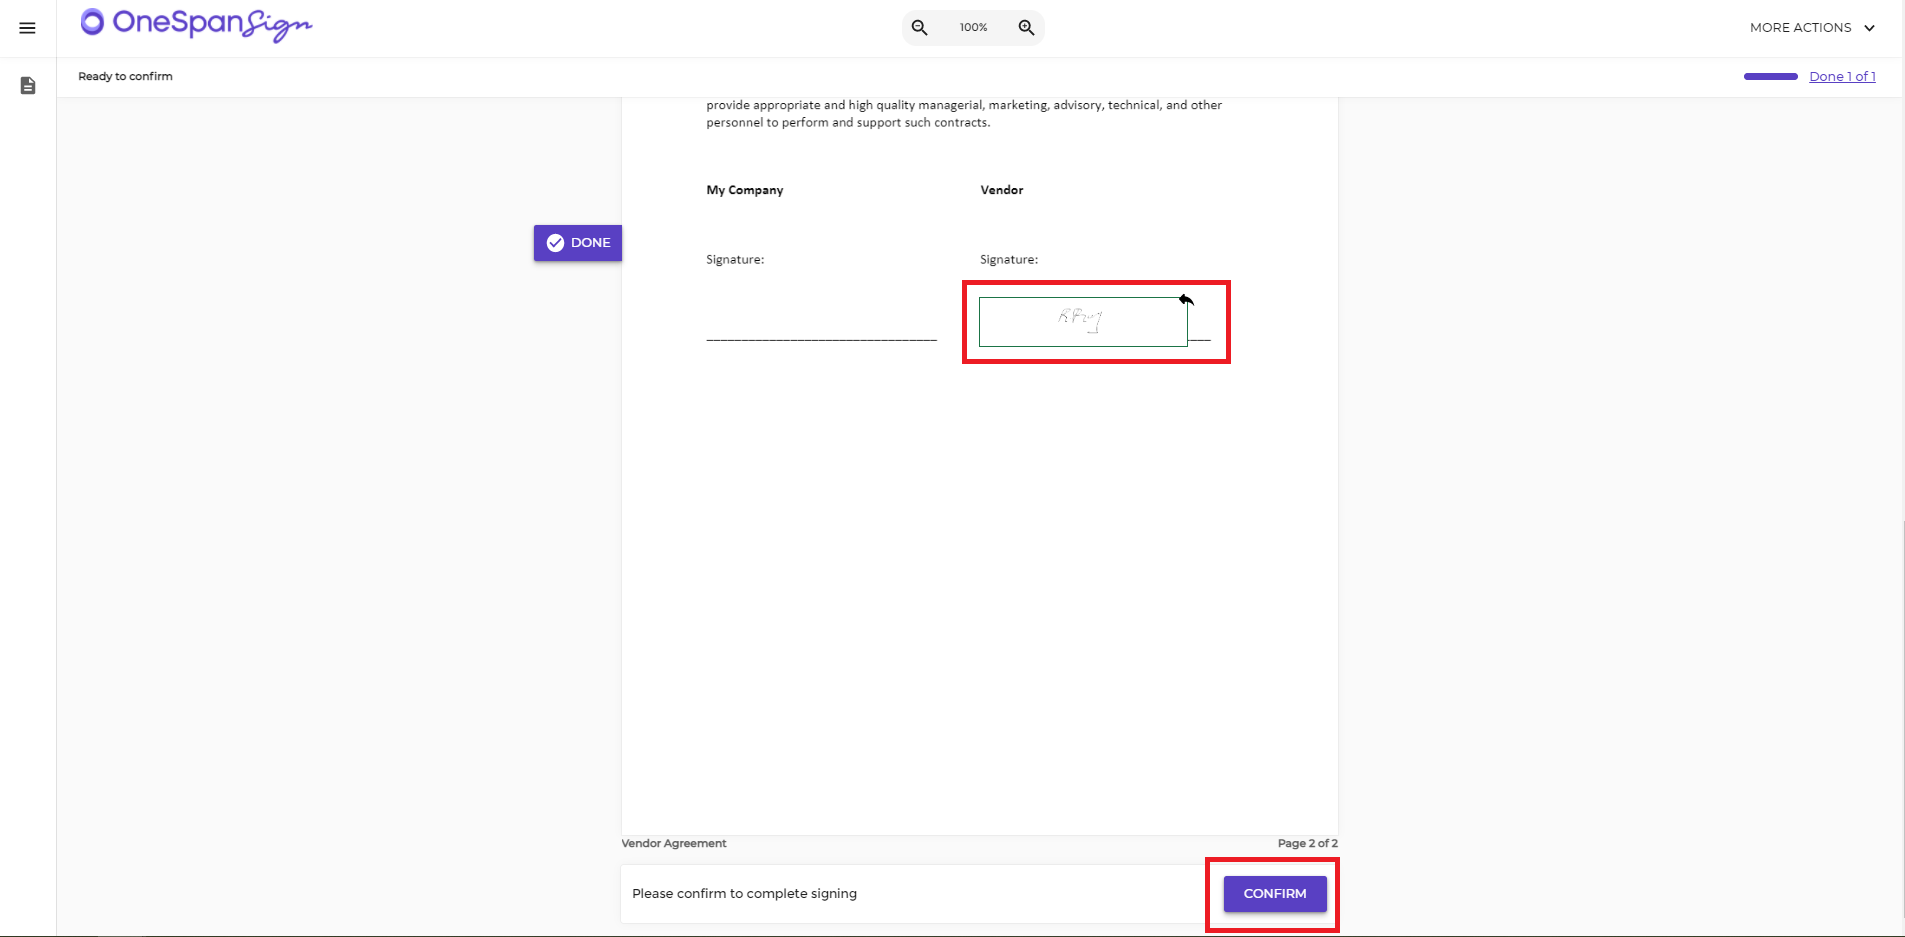
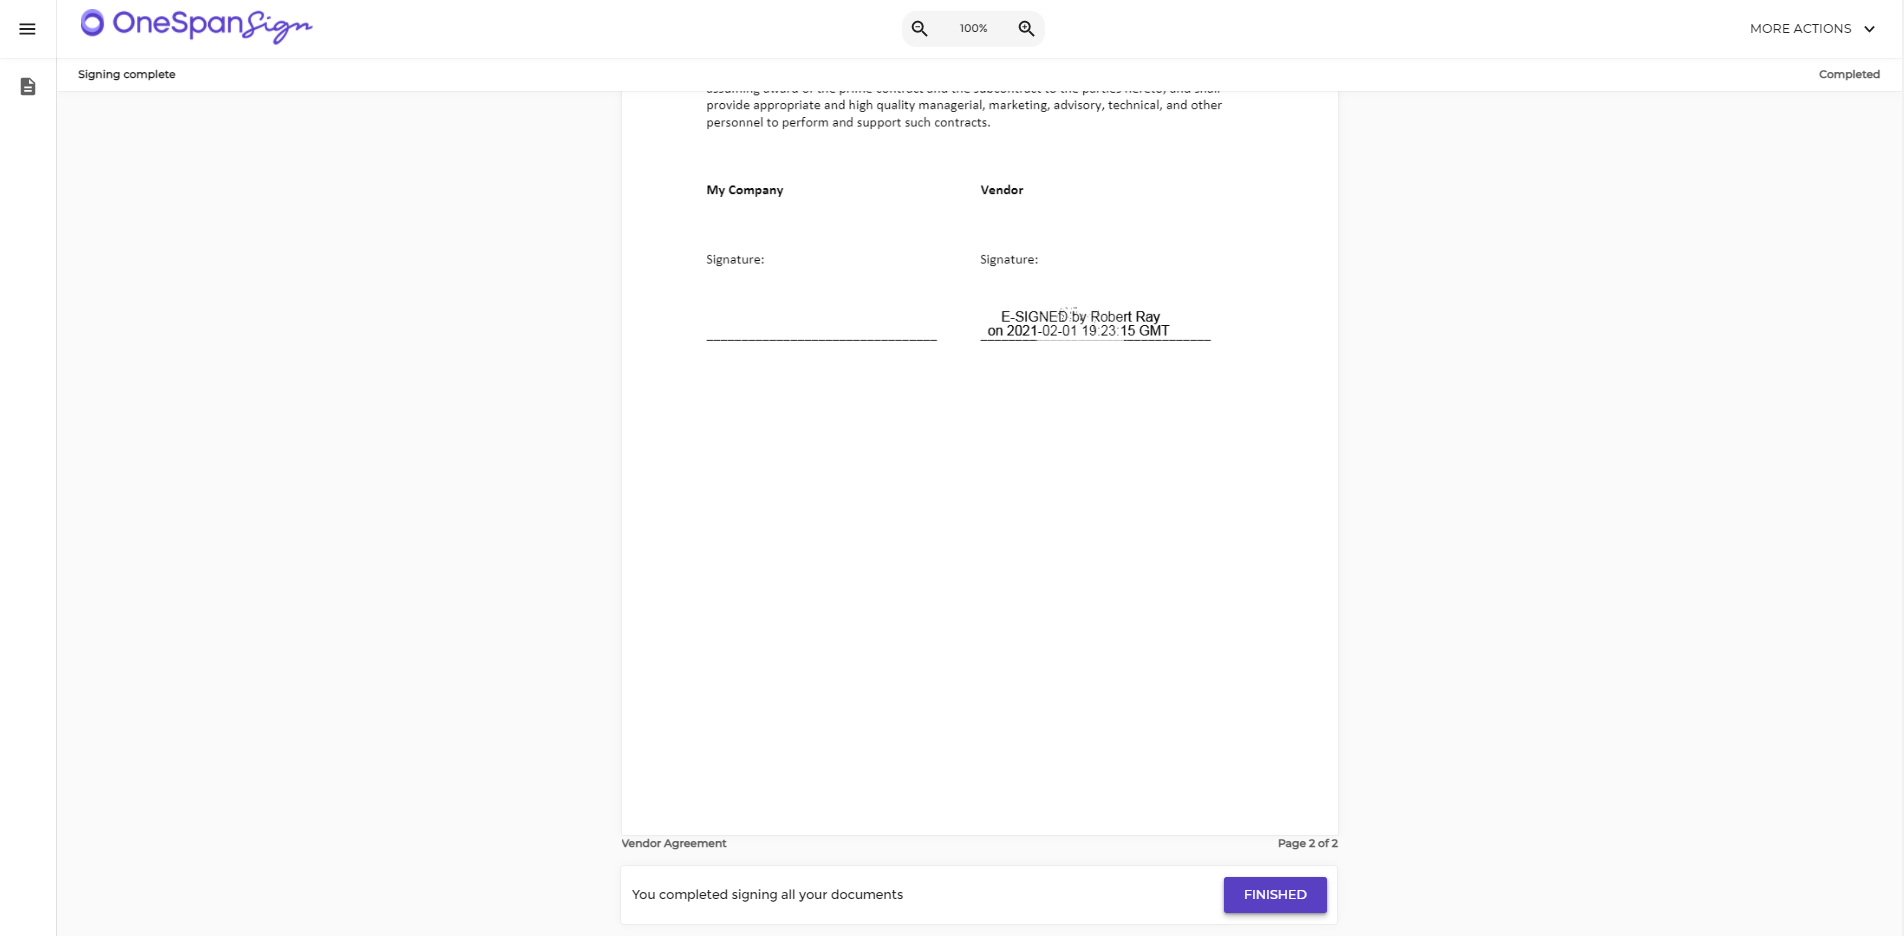
The image of the signature now appears in the document. Once they are done signing the document, they will click the ”Confirm” button.
As a final confirmation that the signing process is complete, digital encryption is applied to the document.
Check out the video tutorial below to watch how you and your signers can easily upload an image of a signature to a transaction. Visit our Support Center for more video tutorials about OneSpan Sign.
Video: How to Upload an Image of a Signature to a Transaction

OneSpan Developer Community
Join the OneSpan Developer Community! Forums, blogs, documentation, SDK downloads, and more.
Join Today