OneSpan Sign Developers: Consent Document vs Default Consent – Part 2

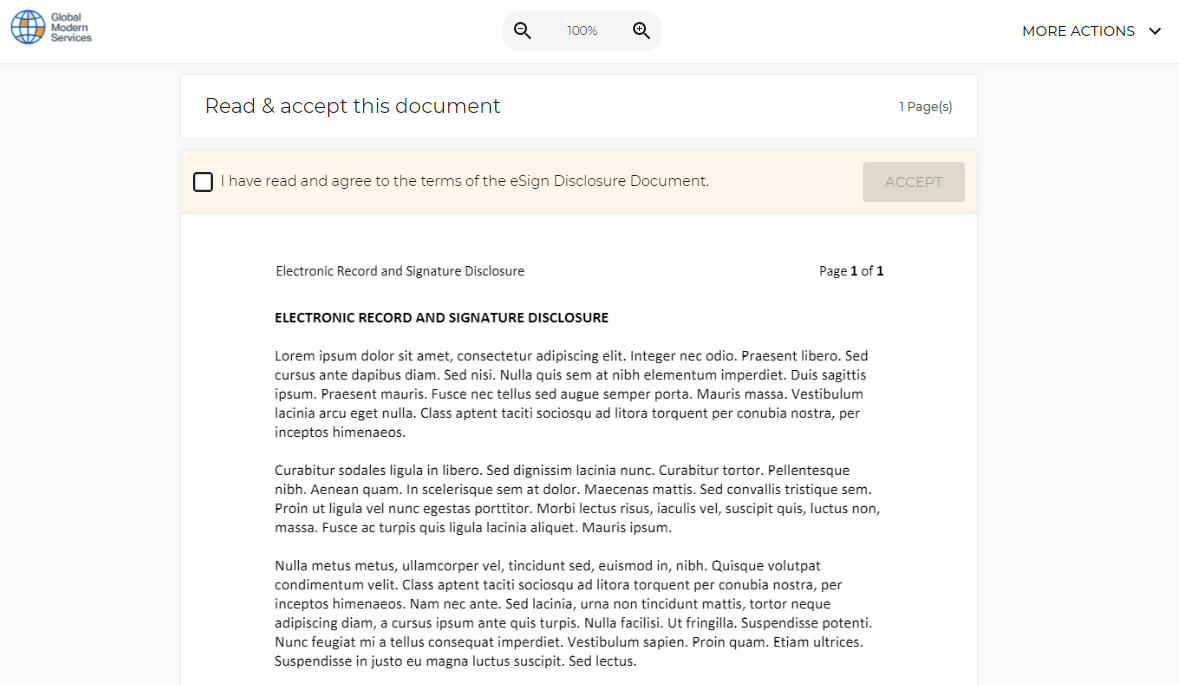
In OneSpan Sign, an Electronic Disclosures and Signatures Consent agreement will be automatically included in all transactions, which must be accepted by signers before they can access the rest of documents.
However, the default consent set up at the account level doesn’t necessary mean you can’t customize it for each individual transaction. In this blog, we will showcase some best practices for manipulating the default consent form at the transaction level. Without further delay, let’s get started!
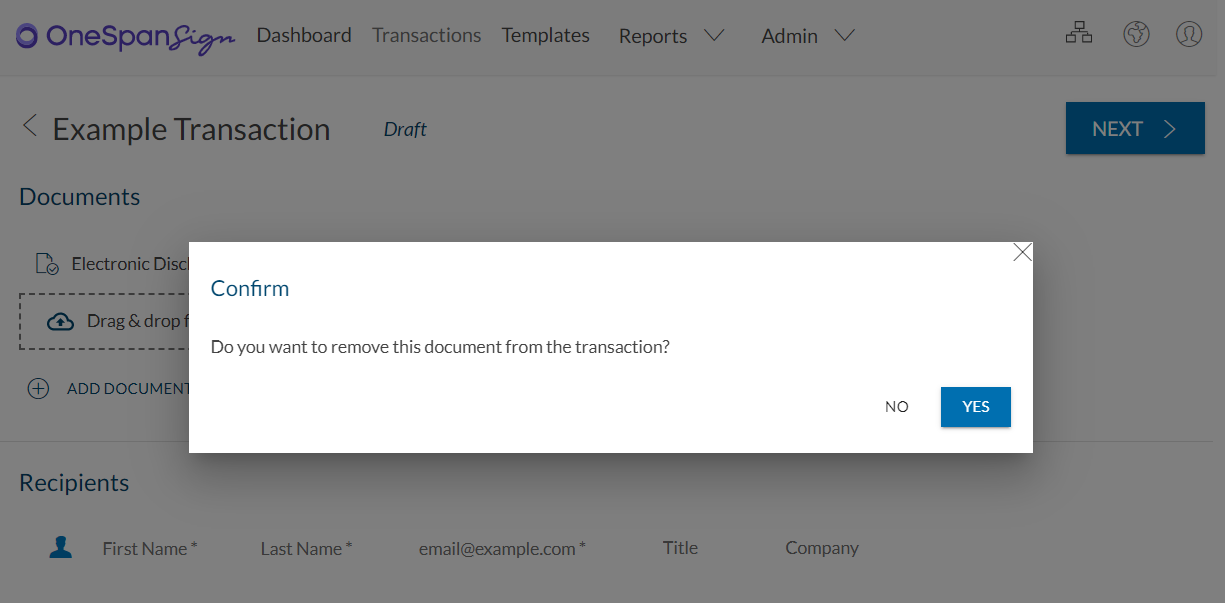
Remove the Default Consent
Let’s say your organization has multiple lines of business where some of the transactions require a disclosure agreement. You can invoke an additional API/SDK call to remove the default consent form after the initial call to create a transaction.
For REST Users:
HTTP Request
DELETE /api/packages/{packageId}/documents/default-consent
HTTP Headers
Authorization: Basic api_key/ Bearer api_token
Accept: application/json
For SDK Users:
Java SDK
eslClient.getPackageService().deleteDocument(packageId,”default-consent”);
.NET SDK
ossClient.PackageService.DeleteDocument(packageId,”default-consent”);
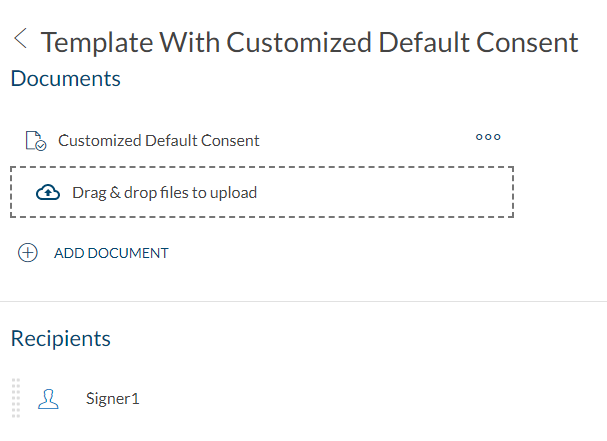
Upload Customized Default Consent
In the last blog, we mentioned that you can contact our support team and customize the default electronic disclosures by updating your account settings. On top of that, it’s also possible to upload your customized default consent on a per transaction basis.
Similar to creating a regular accept-only document, when build your transaction JSON, add a document node with an id of “default-consent” and index of 0 as shown in the example below. This will replace the default consent with your uploaded document:
HTTP Request
POST /api/packages
HTTP Headers
Authorization: Basic api_key / Bearer access_token
Accept: application/json
Content-Type: multipart/form-data
Request Payload
{
  "roles": [
    {
      "id": "Role1",
      "signers": [
        {
          "email": "[email protected]",
          "firstName": "John",
          "lastName": "Smith",
          "company": "OneSpan Sign"
        }
      ]
    }
  ],
  "documents": [
    {
      "id": "default-consent",
      "name": "Default Consent",
      "index": 0,
      "approvals": []
    },
    {
      "id": "document1",
      "name": "Document1",
      "index": 1,
      "approvals": [
        {
          "role": "Role1",
          "fields": [
            {
              "page": 0,
              "top": 100,
              "subtype": "FULLNAME",
              "height": 50,
              "left": 100,
              "width": 200,
              "type": "SIGNATURE"
            }
          ]
        }
      ]
    }
  ],
  "name": "Example Package",
  "consent": "default-consent",
  "status": "SENT"
}
Note:
The “consent” attribute refers to the document ID of the default consent. Although you have the ability to specify different document IDs, it’s suggested to leave it as the default.
Using Templates
The two tips above are ideal for removing or customizing the default consent on a single transaction. If you want to avoid this complexity for newly created transactions, you can simply create a template and apply the best practices we’ve demonstrated above to your template. In which case, every subsequent transaction created out of this template will inherit the updated default consent.
This concludes today’s blog. We have learned how to customize the default consent form for a given transaction and how to use a template as a blueprint to quickly apply the settings and shorten the transaction creation process. If you have any questions regarding this blog or anything else concerning the integration of OneSpan Sign into your application, visit the Developer Community Forums. Your feedback matters to us!
