Tips & Tricks: How to Reassign Signing Privileges in OneSpan Sign

Have you received an e-signature transaction that requires someone else’s signature? The Change Signer feature in OneSpan Sign gives flexibility to assign signing privileges to another person. If the transaction should be signed by someone else, signers can reassign the transaction to a different name and email address. With Change Signer, transactions can be signed in a timely manner by the appropriate people.
Let’s take a closer look at how to use the Change Signer feature.
How to Reassign Signing Privileges in OneSpan Sign
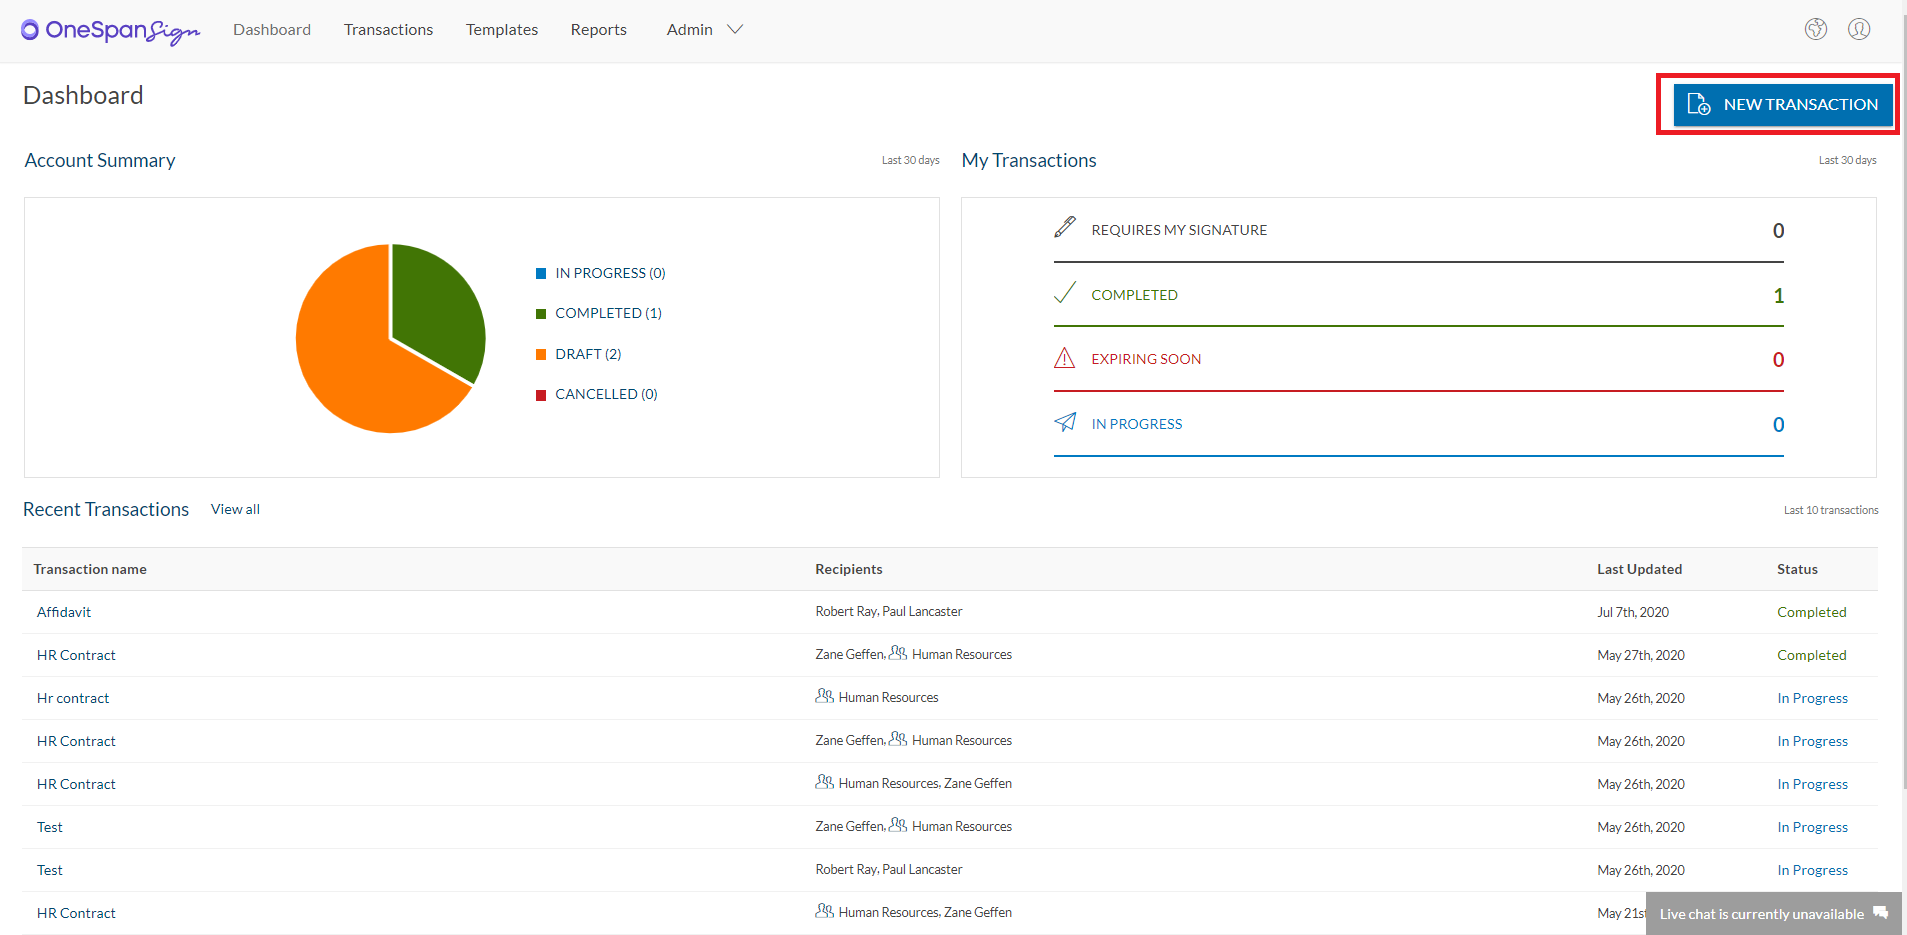
Start by creating a transaction using the “New Transaction” button in the top right-hand corner.
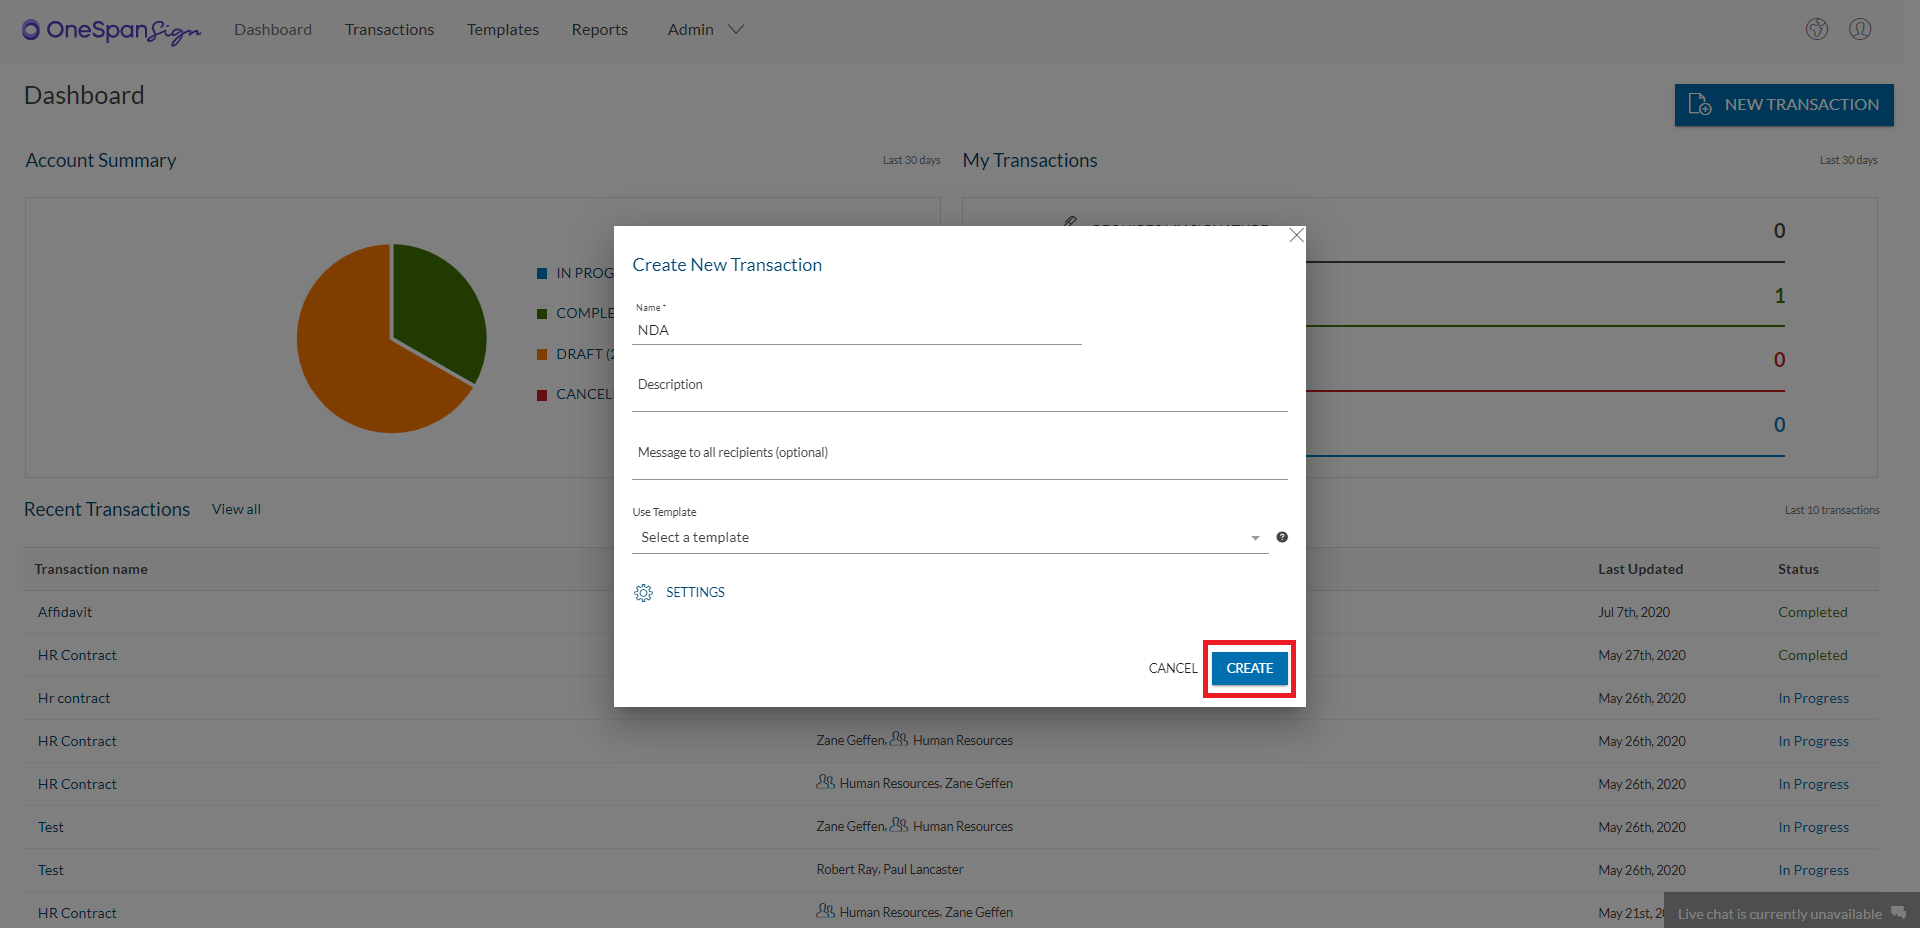
Next, enter a name for your transaction.
Click the “Create” button to proceed.
It’s now time to add documents to your transaction. Click the “Add Document” button to upload a document from your files.

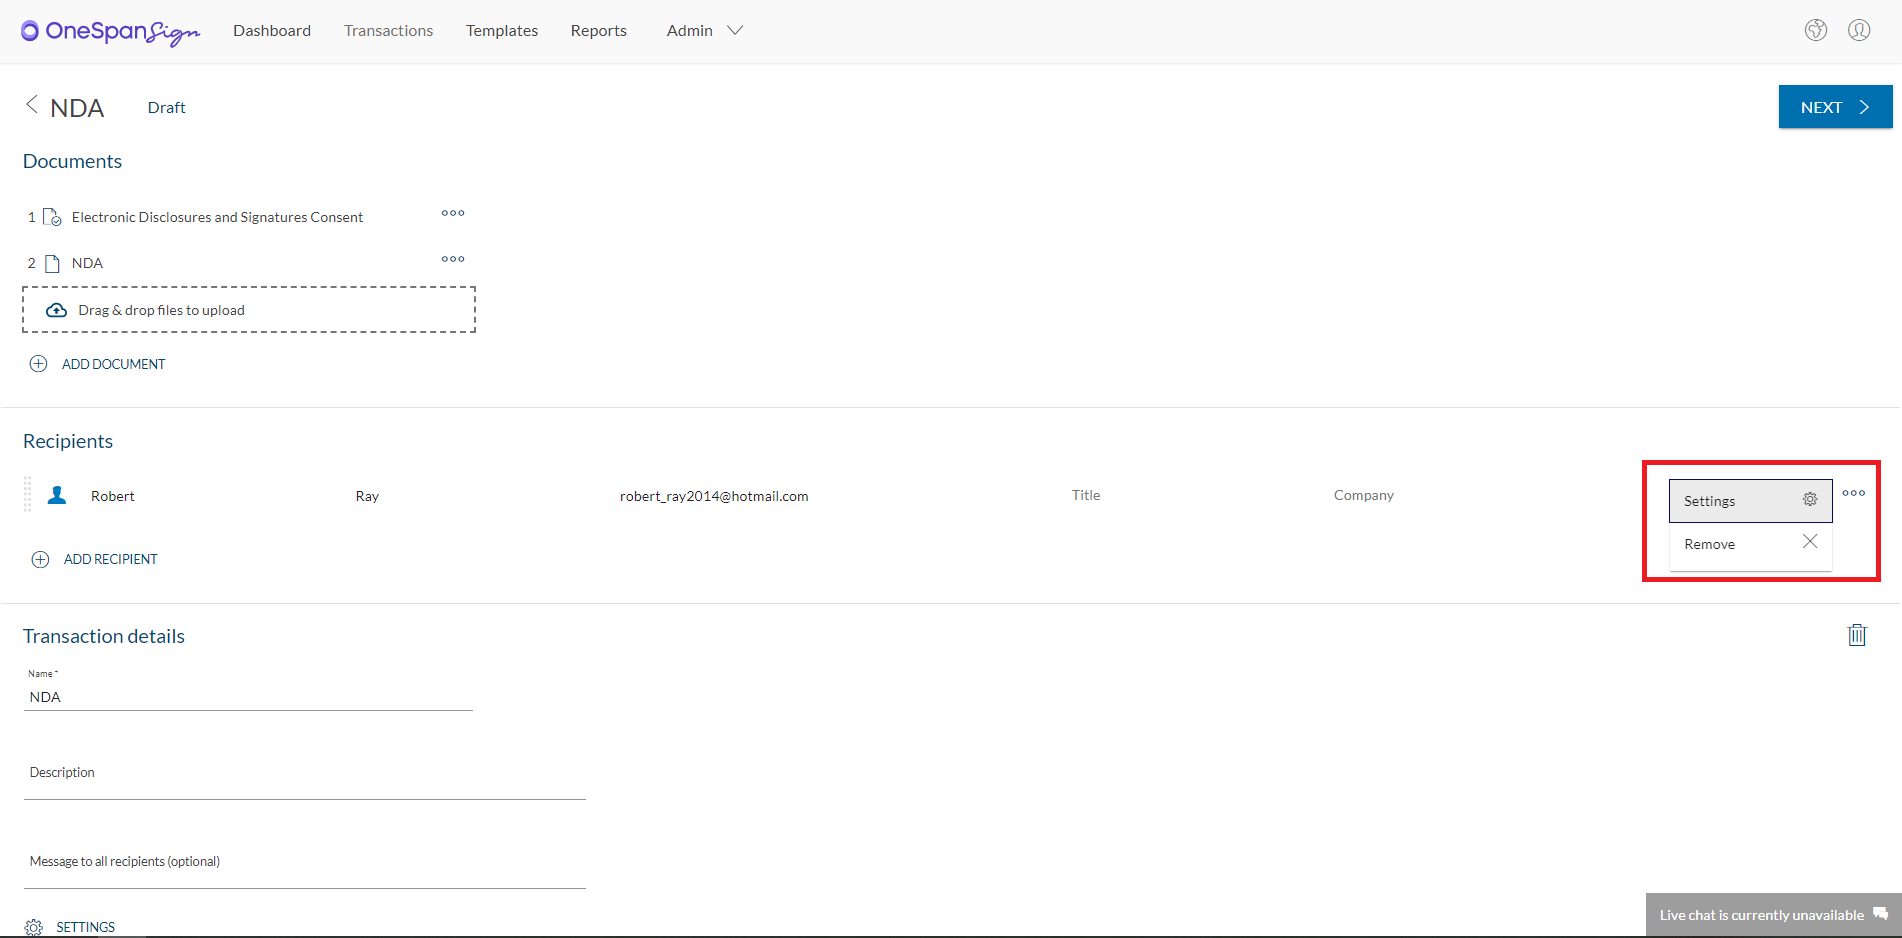
Next, add a recipient to the transaction. Enter their First Name, Last Name, and Email address.

Select the additional settings for the recipient.
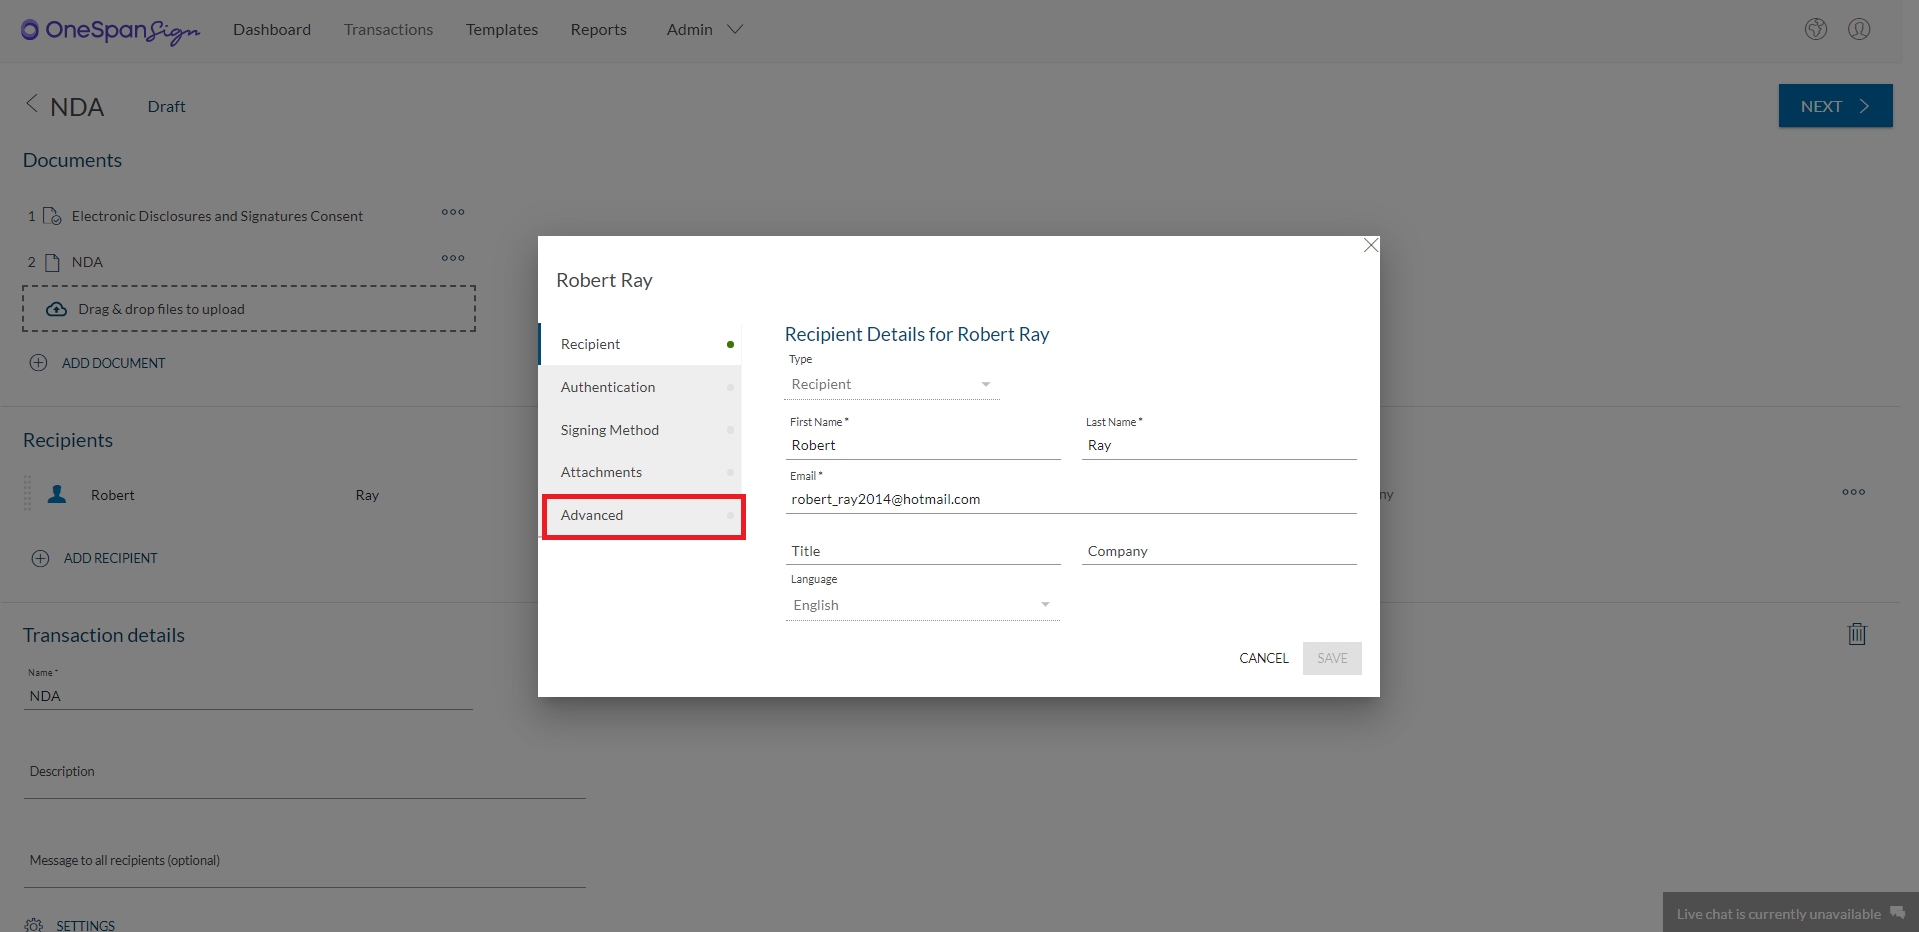
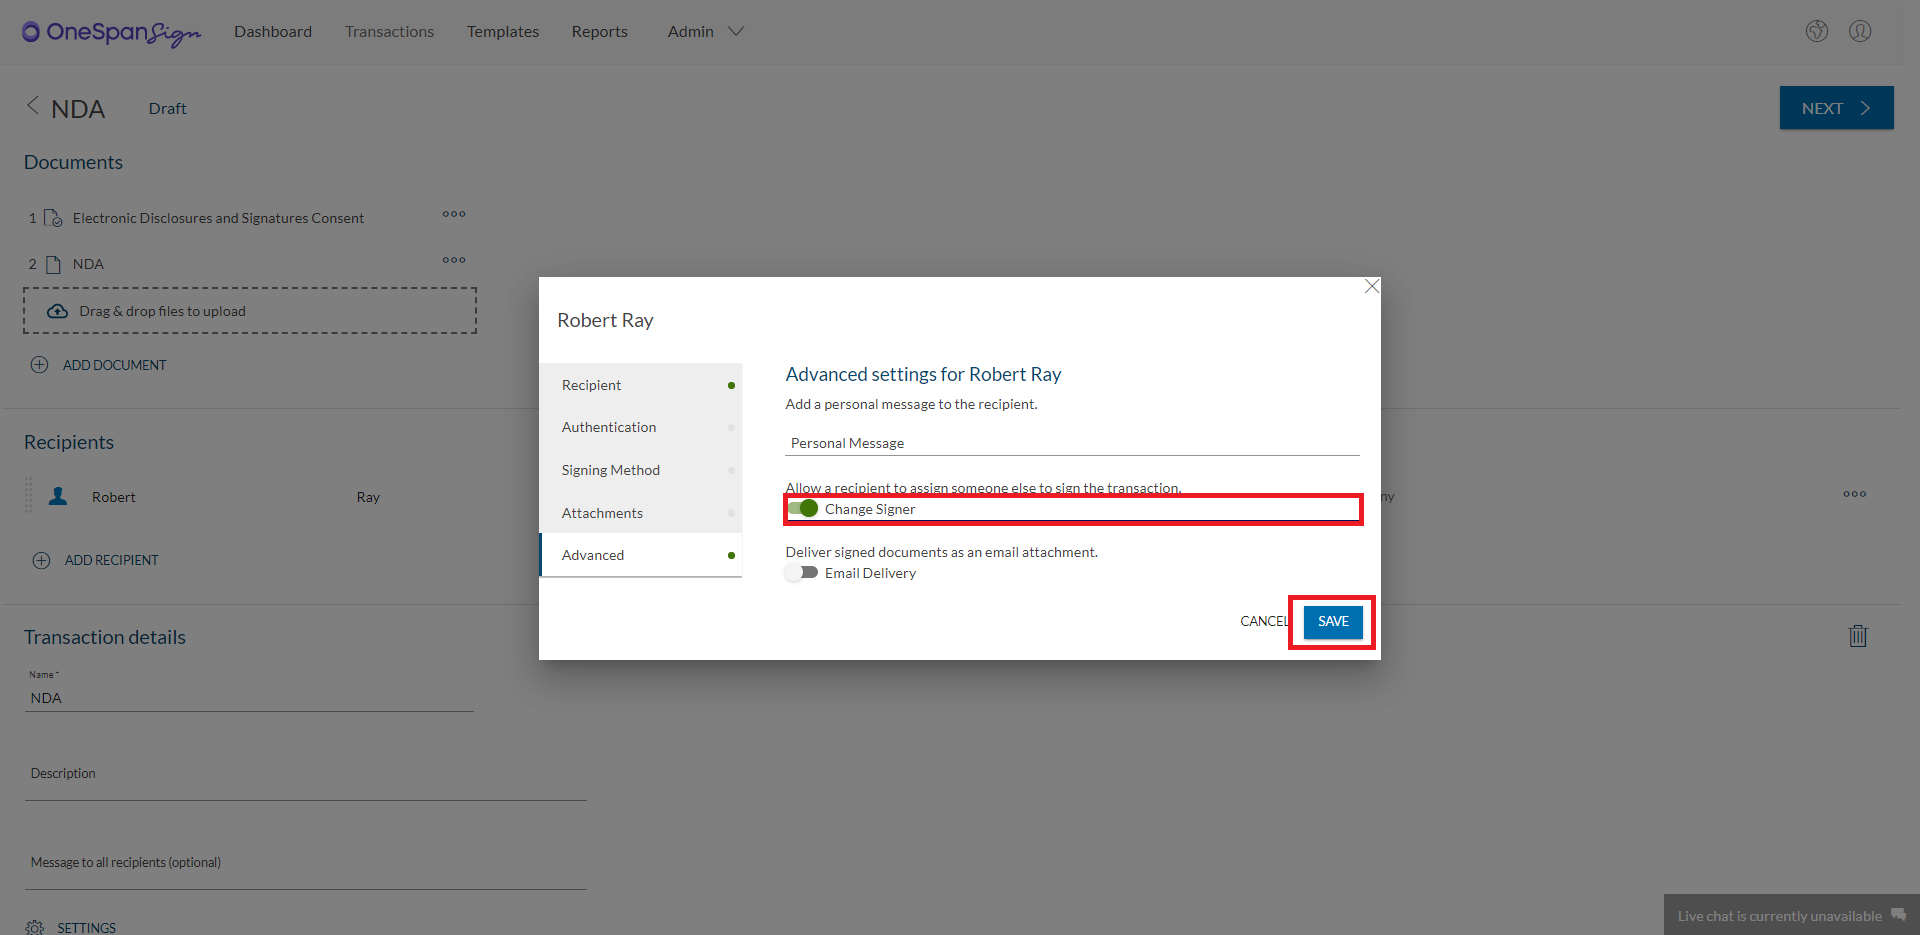
In the recipient dialog box, select “Advanced”, then select “Change Signer”. As the sender of this transaction, this allows the recipient, Robert Ray, to assign someone else to sign the transaction.
Click “Save”.
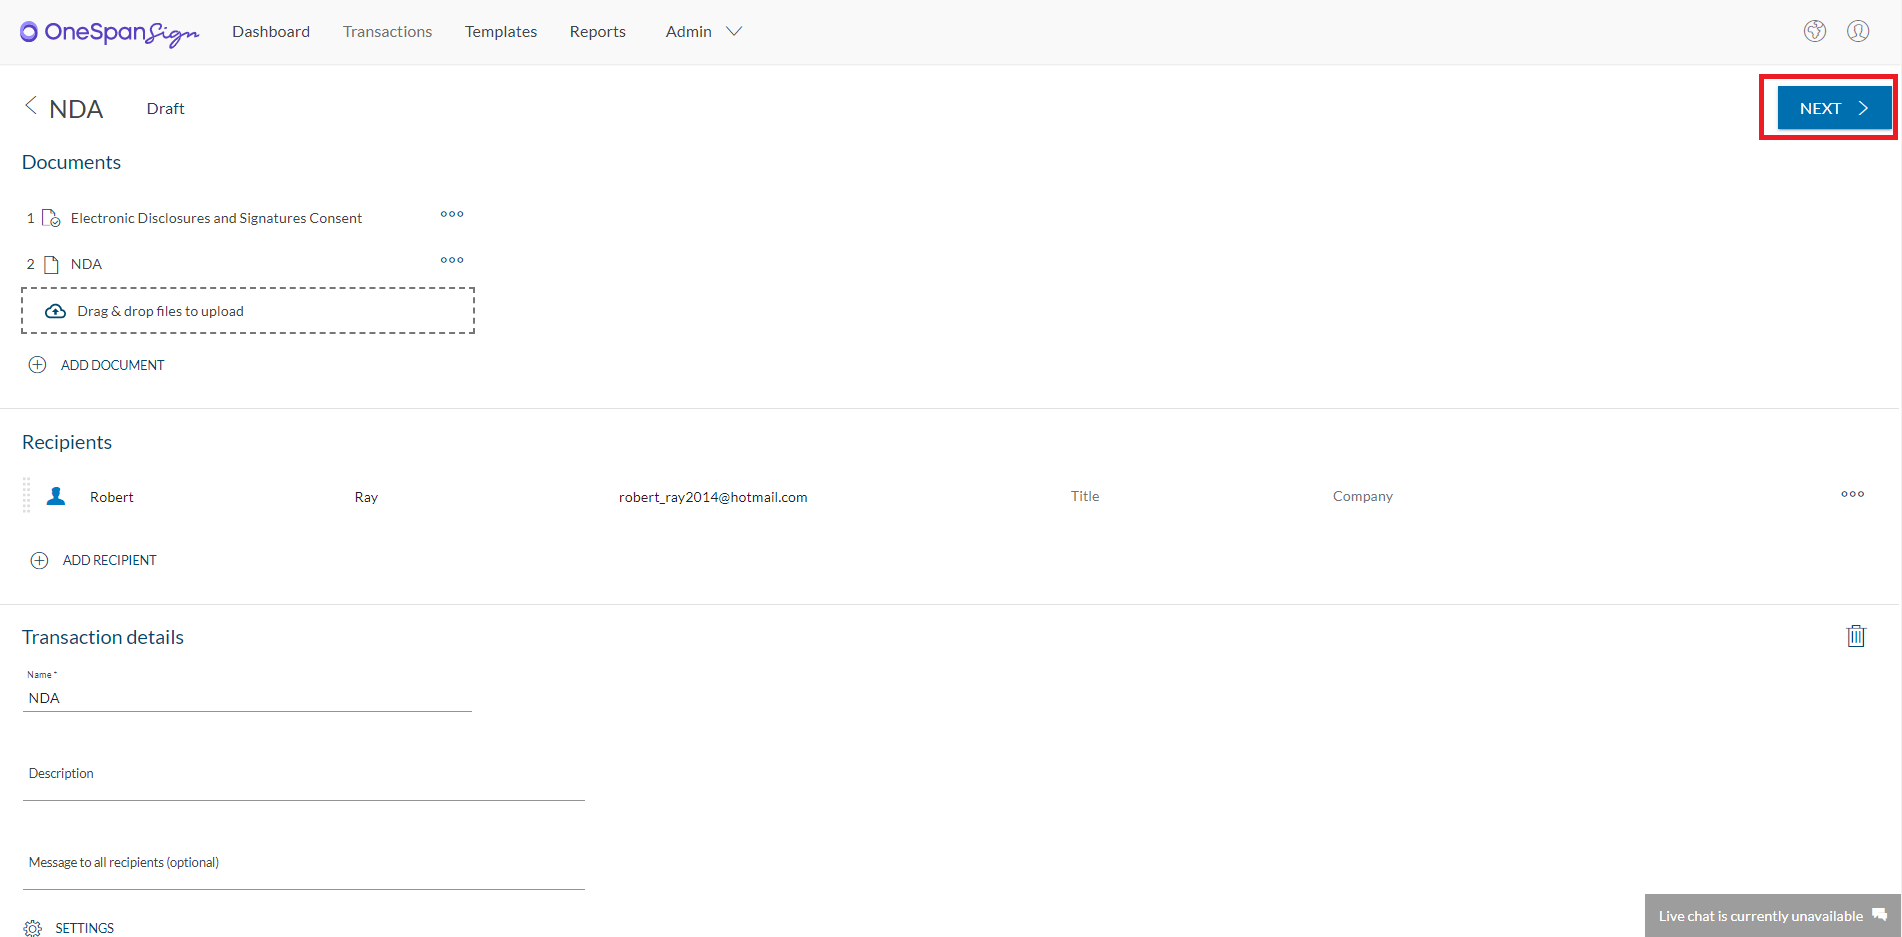
Click “Next” to prepare your document for signature.
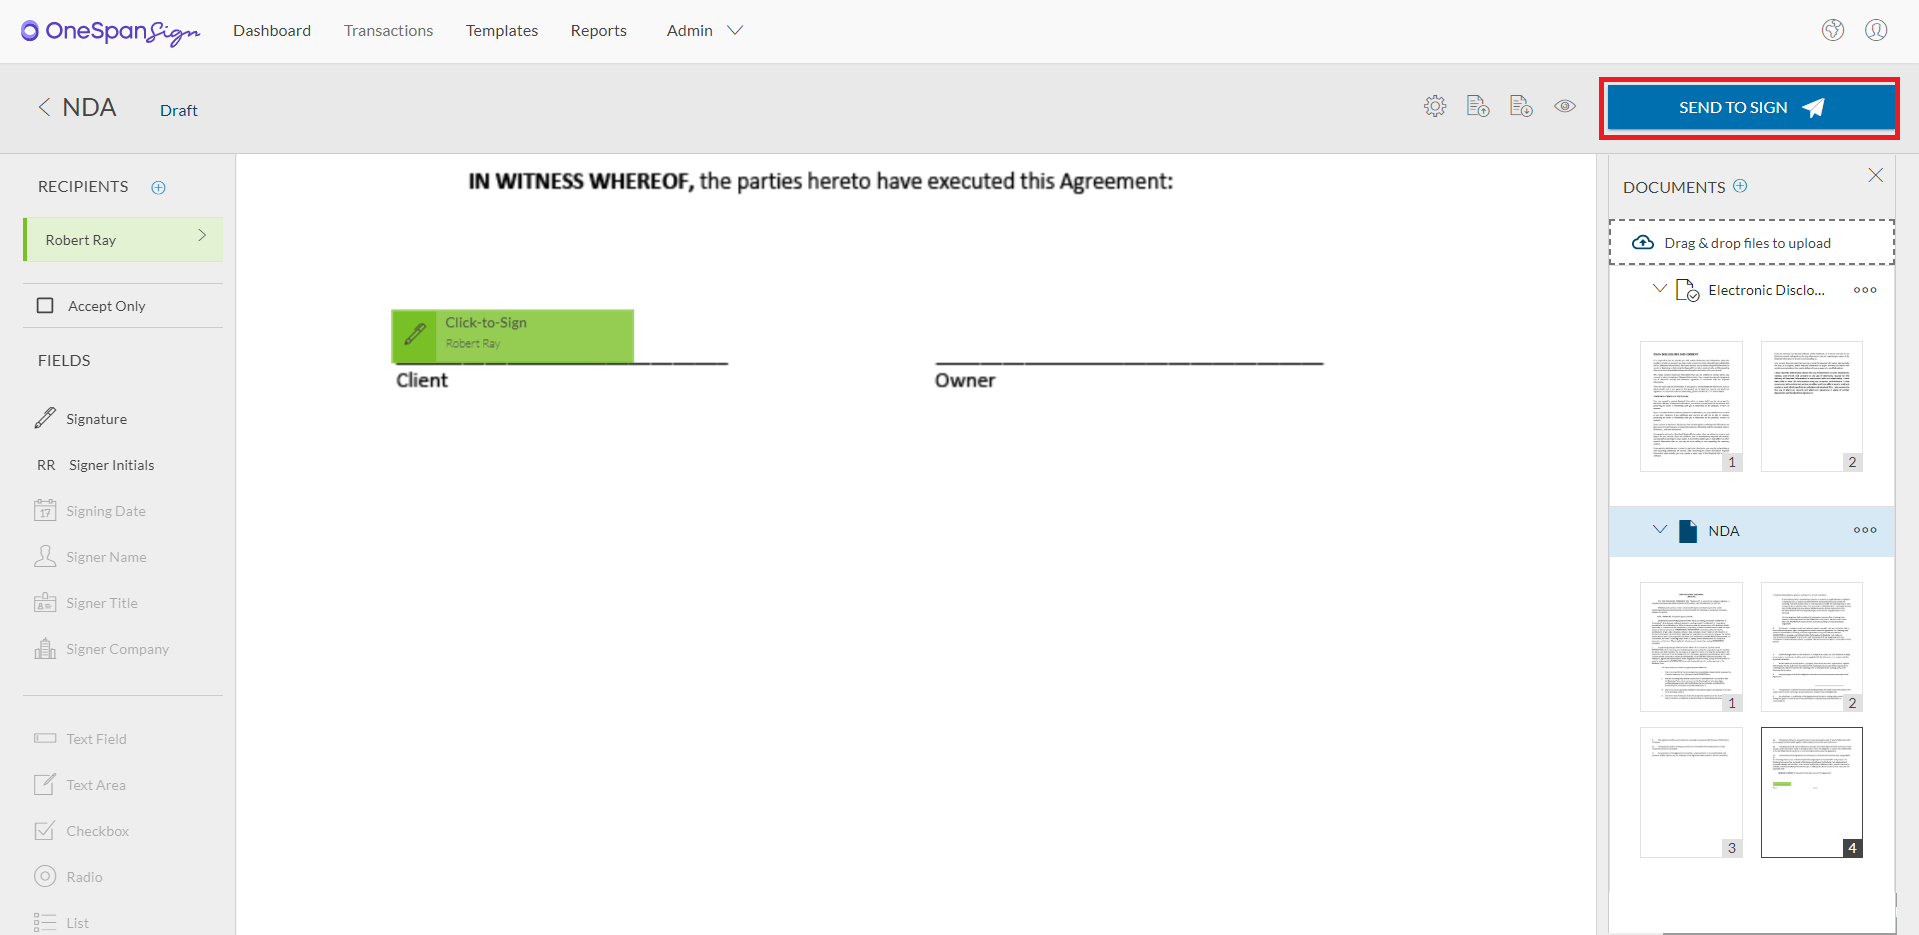
Now it’s time to add signature blocks to your document.
Your transaction is ready to send. Click “Send to Sign” to route your document for signing.
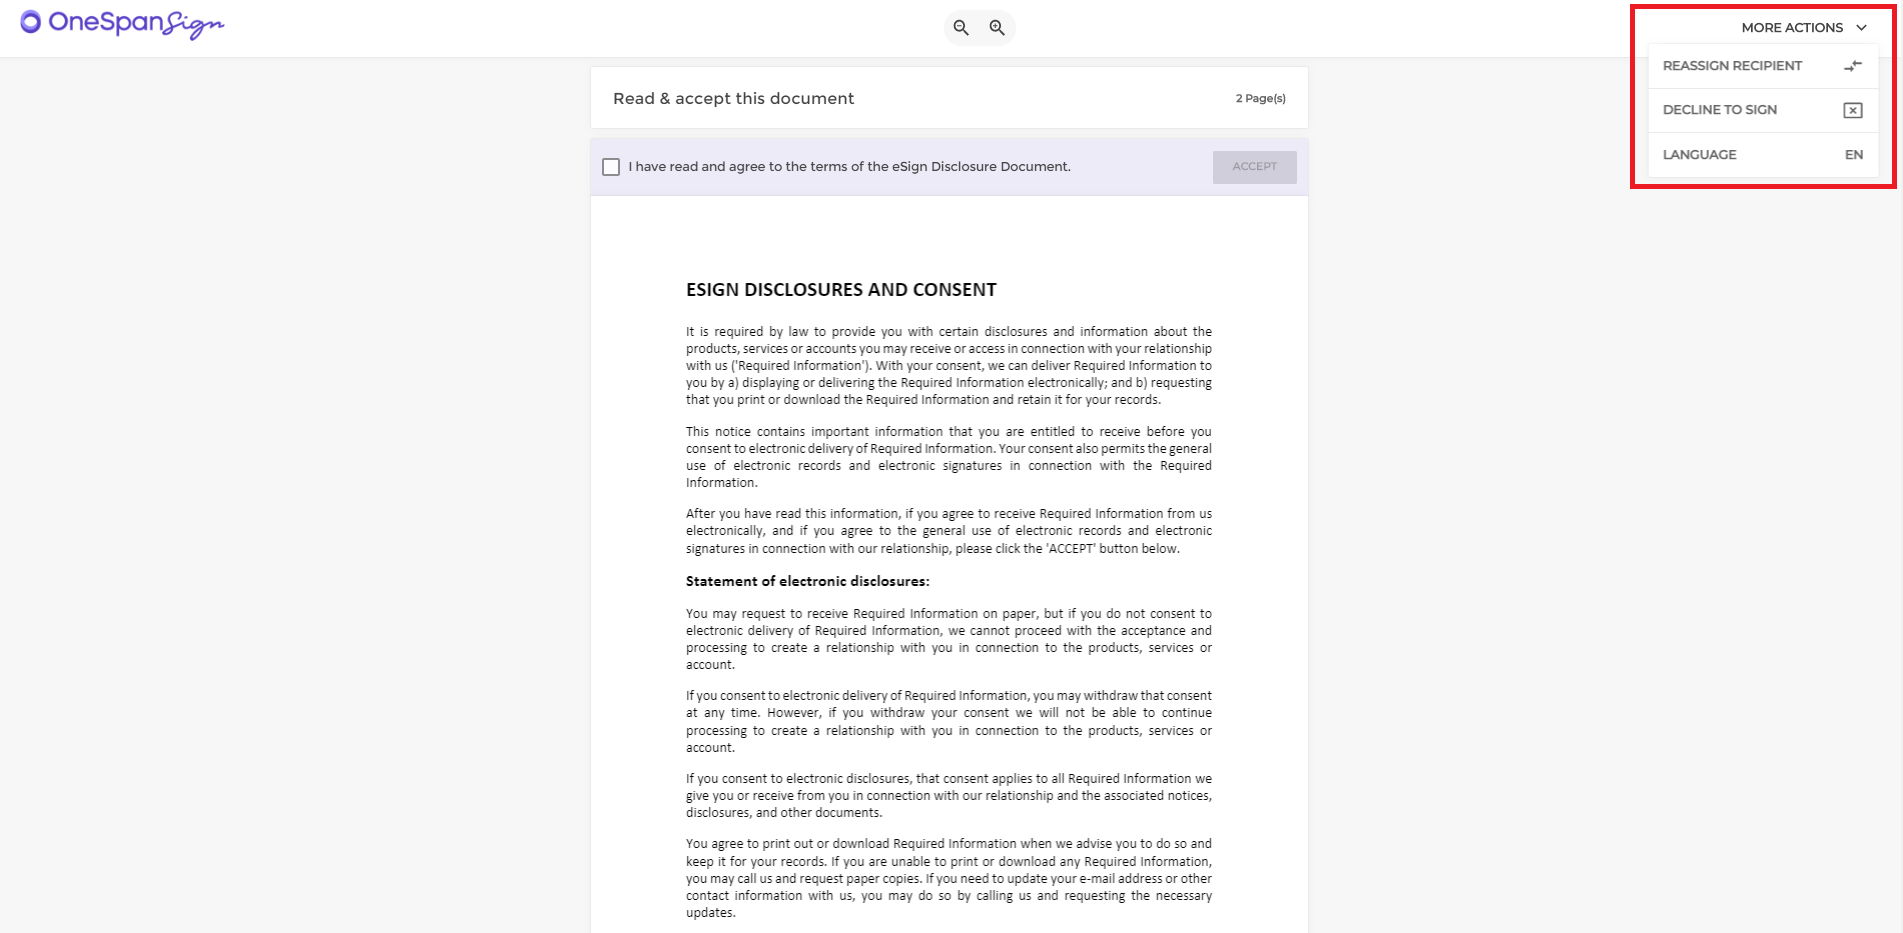
Robert Ray accesses the document from his email. He realizes he doesn’t have the signing responsibility for this document. He selects “More Actions”, and clicks “Reassign Recipient”.
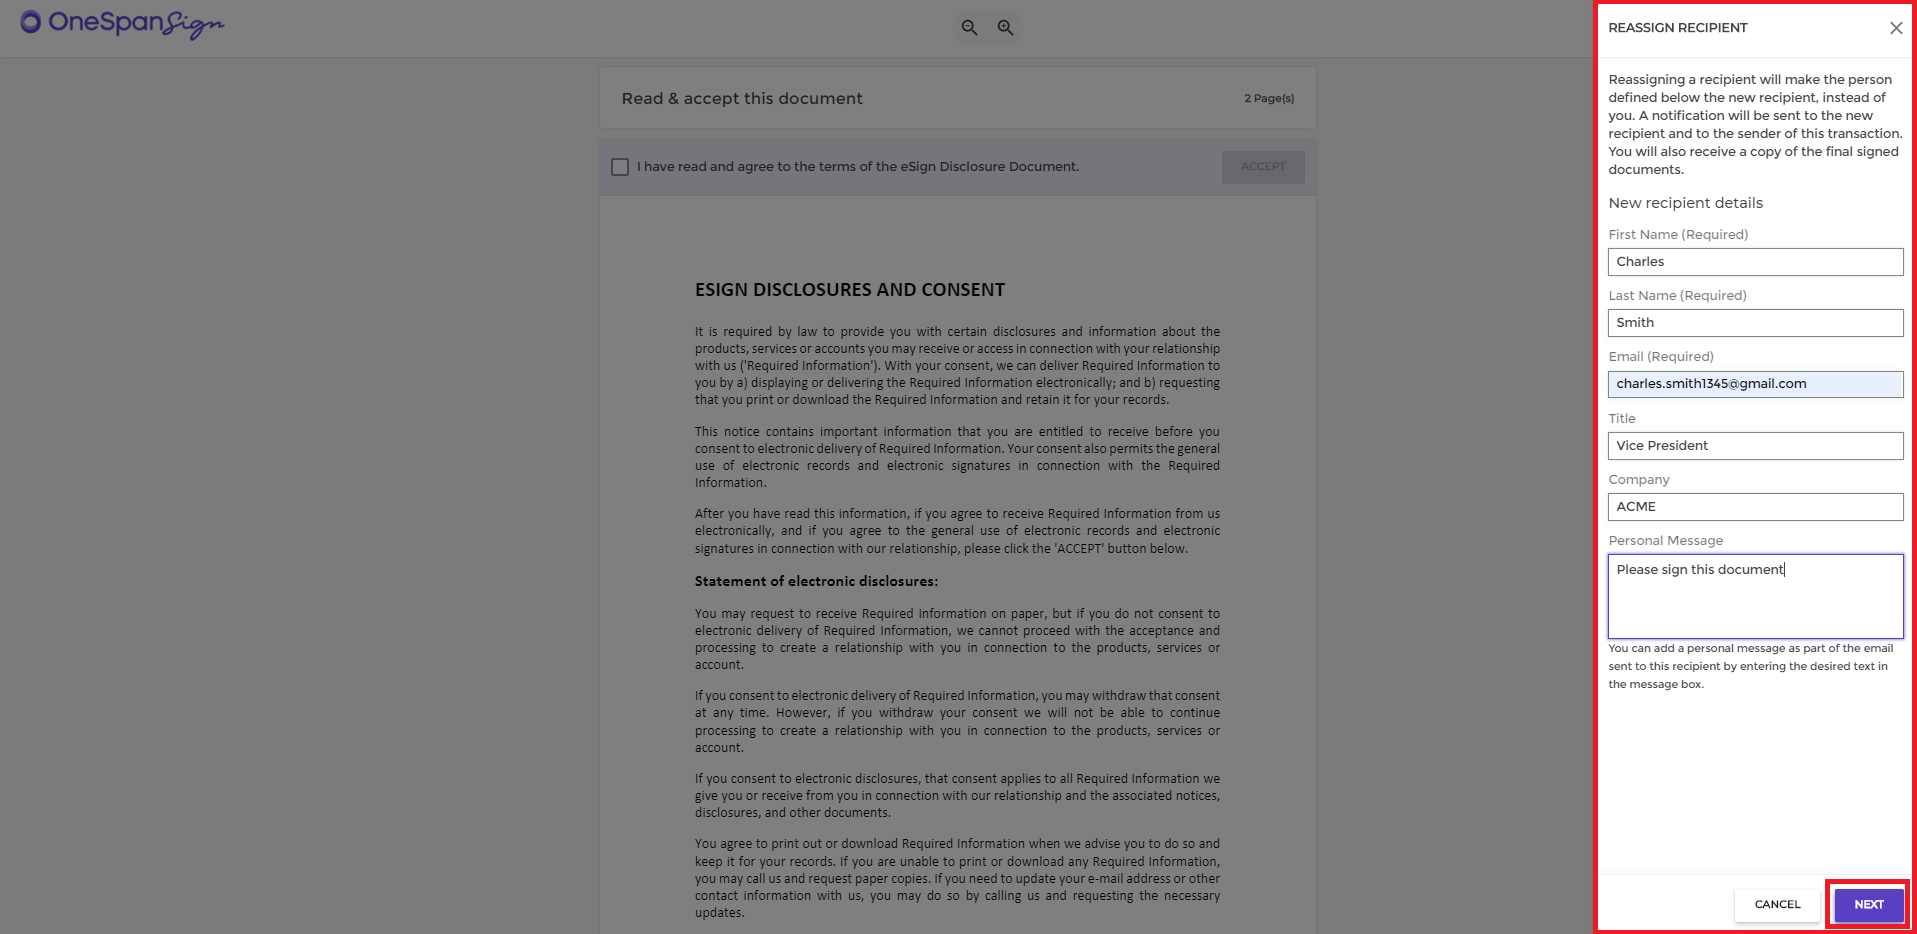
A screen appears on the right-hand side. Robert will include information of the signer who will be reassigned to sign the document. He includes the signer’s first name, last name, email address, title, company, and a personal message. He clicks “Next”.
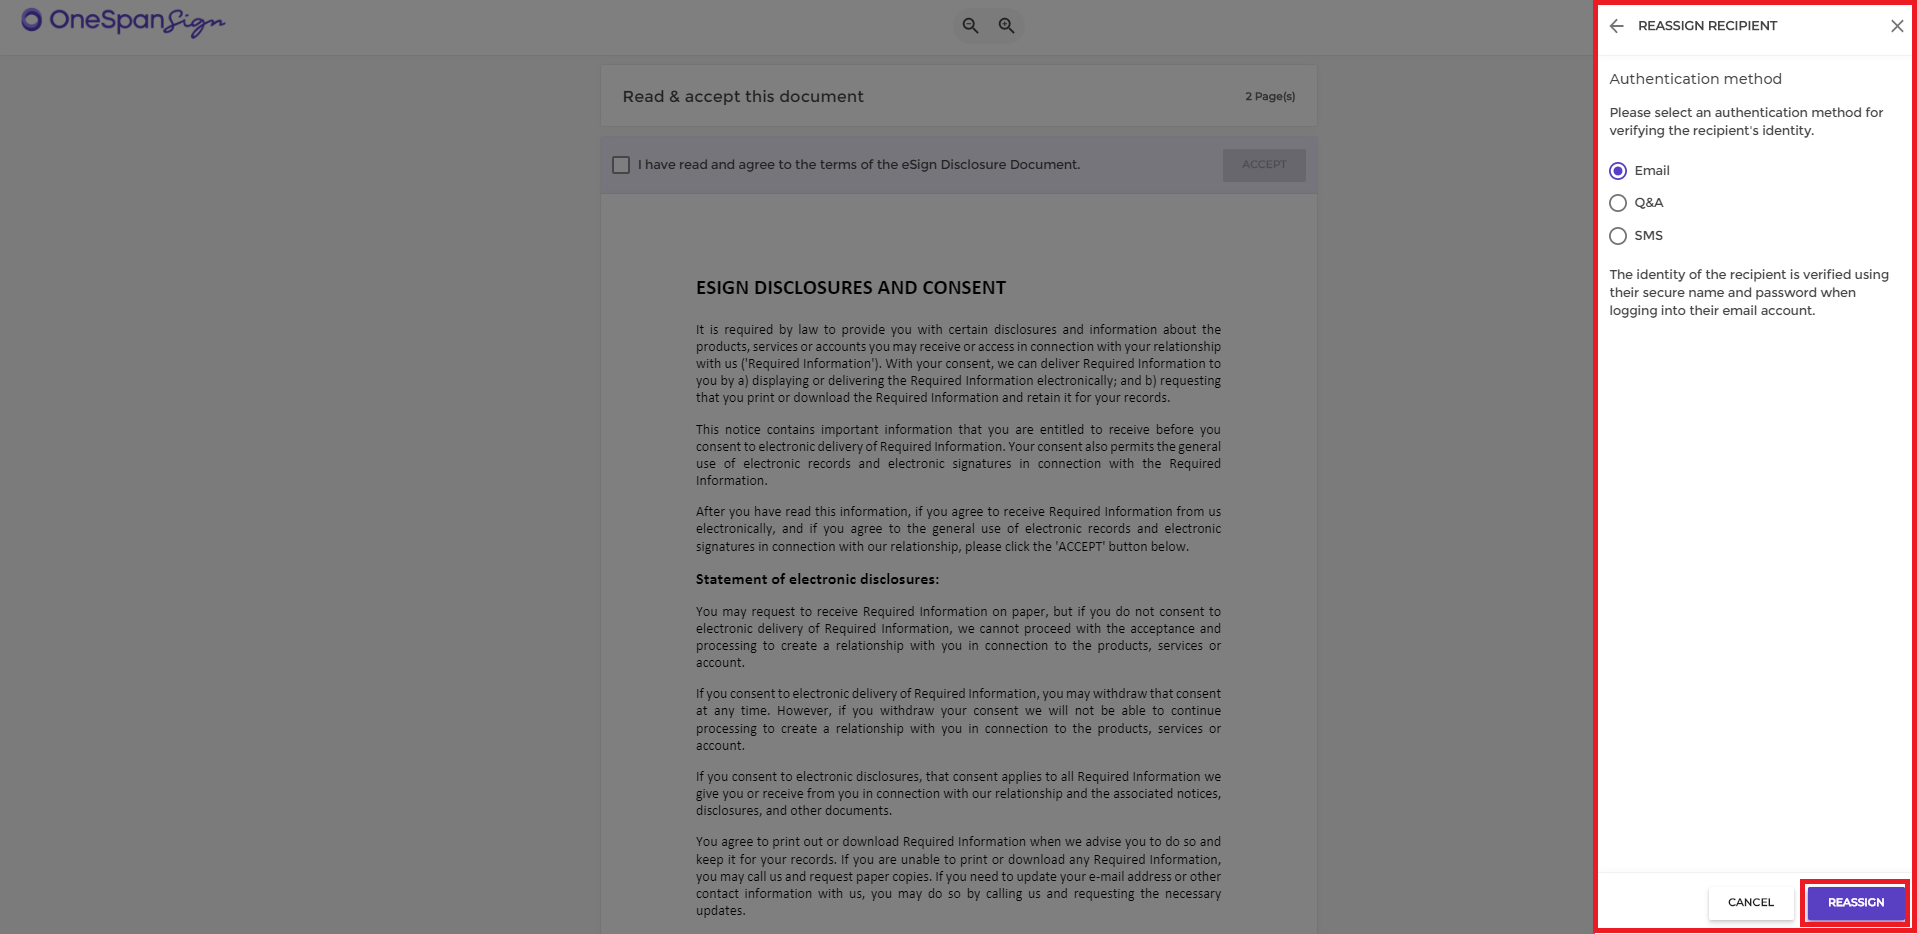
Robert also has the option to authenticate the reassigned signer’s identity using email, Q&A, or SMS authentication methods. In this example, he’ll select Email. He clicks the “Reassign” button. And then clicks “OK”.

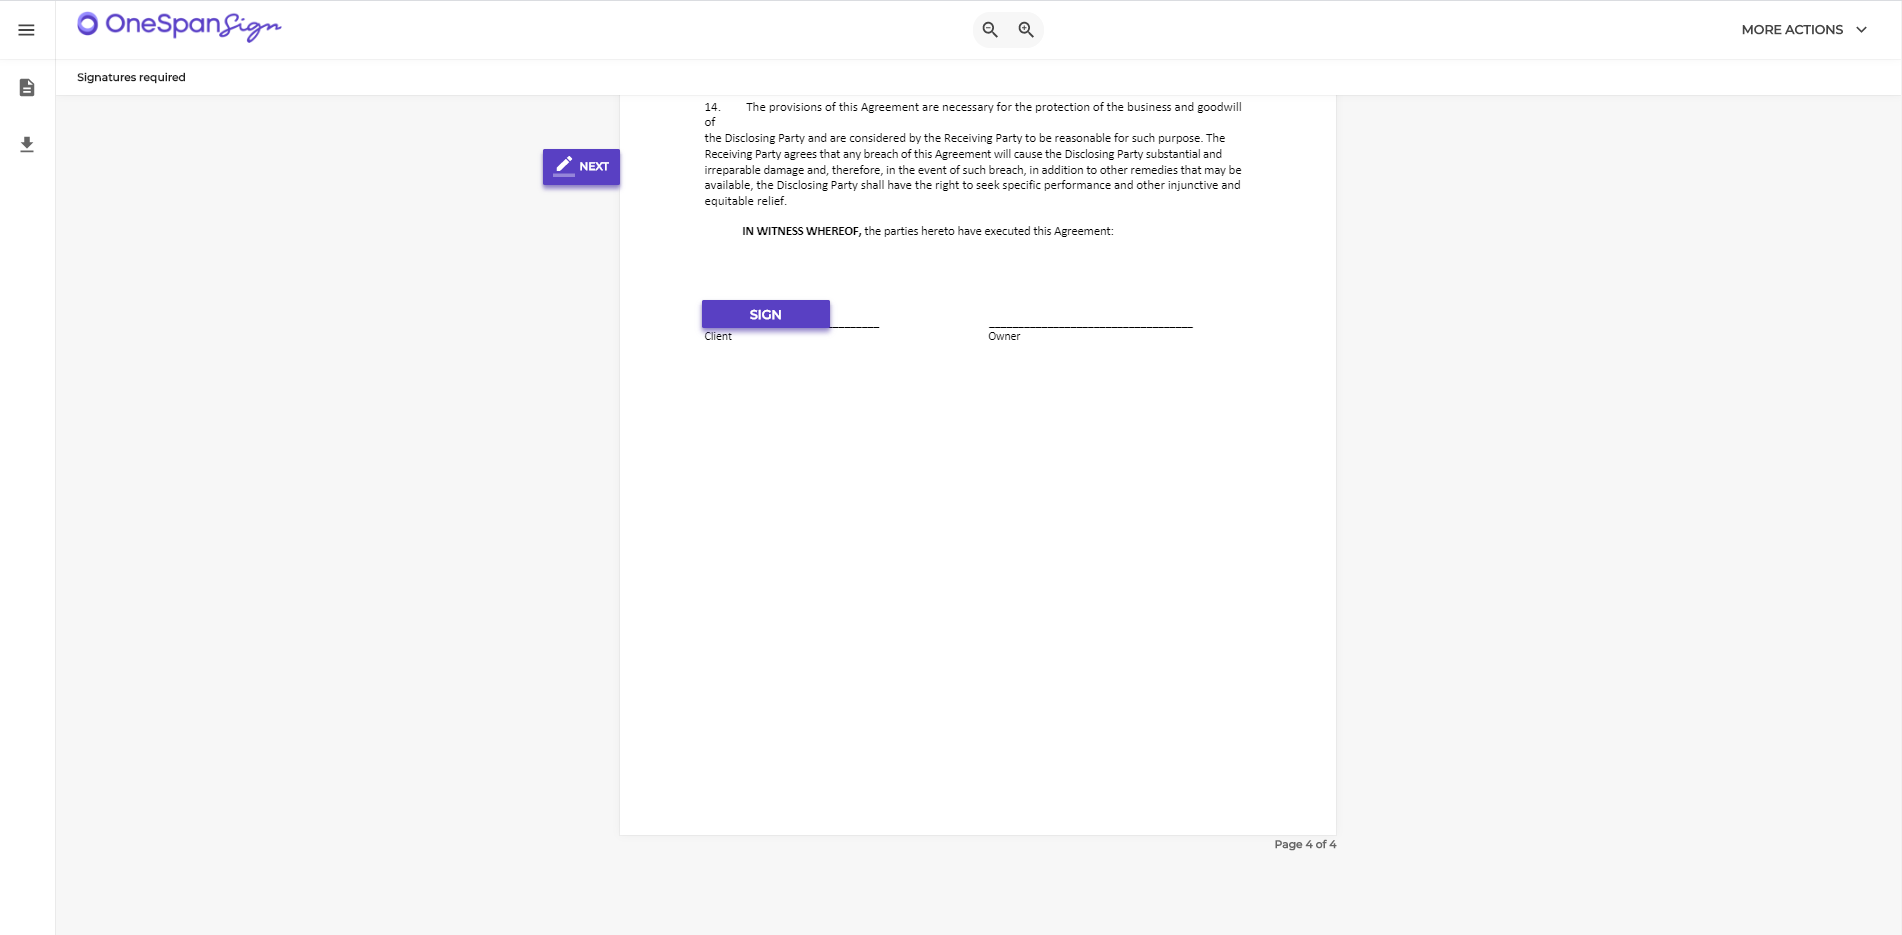
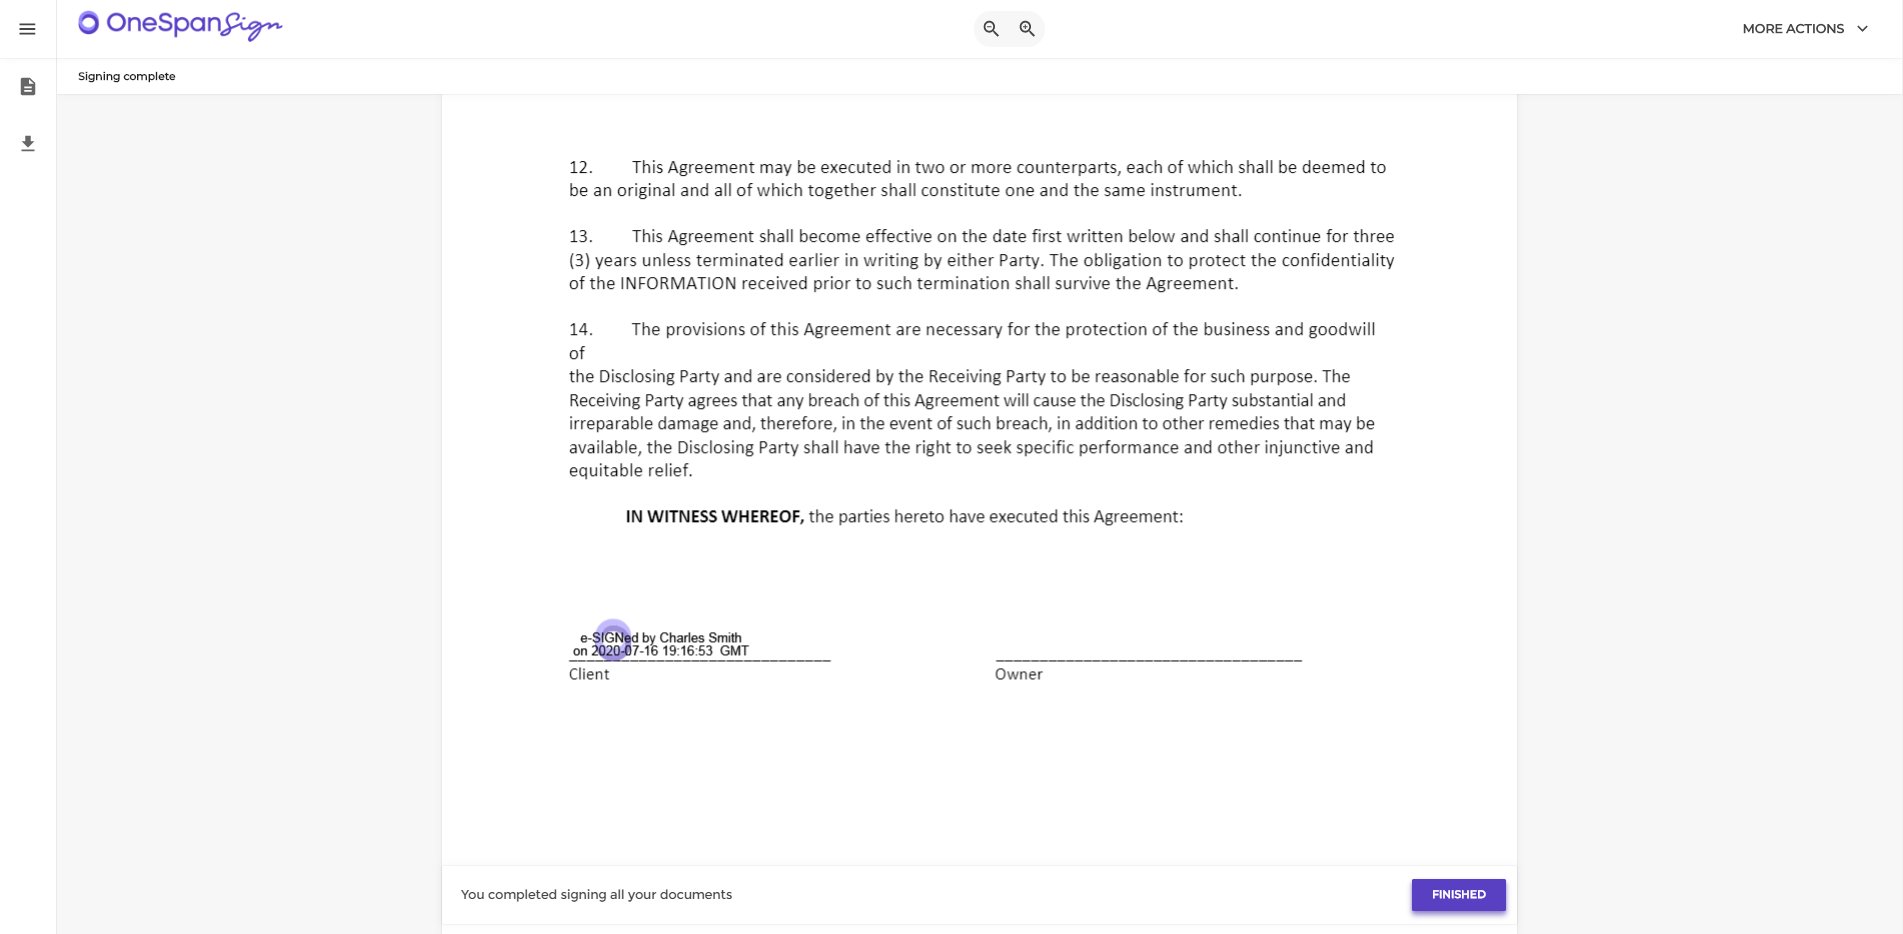
As the reassigned signer, Charles Smith accesses the document from his email and completes the signing process.
To continue our conversation on how to best use OneSpan Sign, check out the video tutorial below. It explains how you can use Change Signer in OneSpan Sign. Visit our Support Center for more video tutorials about OneSpan Sign.
Video: How to Reassign Signing Privileges in OneSpan Sign
