Tips & Tricks: How to Use Document Visibility in OneSpan Sign

Need to specify which recipients can view and sign documents in your transaction?
OneSpan Sign offers Document Visibility to let you choose which documents your recipients can view and sign in a transaction. With Document Visibility, you can designate individual document access in a single transaction with multiple documents, instead of having to create separate transactions for each recipient. What's more, this feature saves you from having to process documents your recipients don’t need to see, and it ensures that documents with sensitive information are viewed only by your intended recipients.

The Beginner's Guide to Electronic Signatures
This essential briefing introduces important legal concepts and key considerations when creating digital business processes with e-signatures.
Download NowHow to Use Document Visibility in OneSpan Sign
In this example, we’ll show you how Dilani, HR Director, sends documents for signing to a hiring manager (Charles) and new employee (Robert). Dilani includes an HR Contract that must be viewed and signed by both hiring manager and new employee. In addition, the transaction also contains a Salary Deposit Request form to be viewed and signed only by the new employee.
Let’s take a closer look at how to use the Document Visibility feature in this scenario.
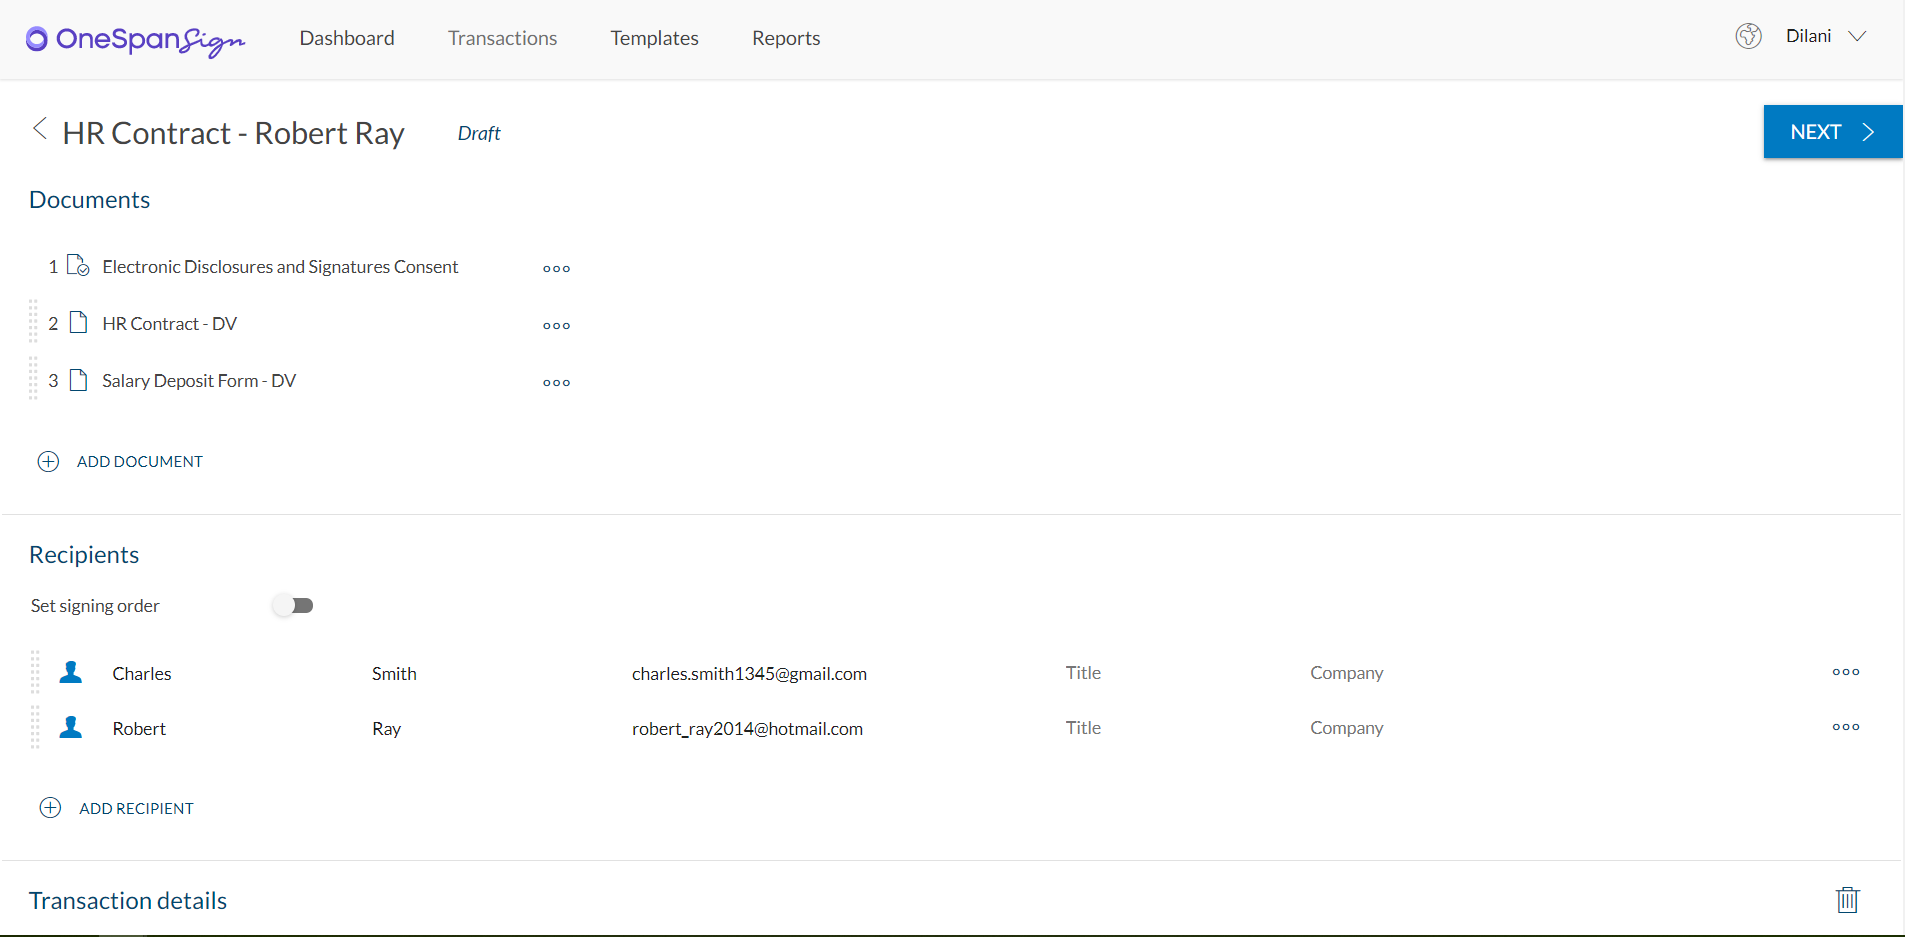
- First, make sure all of your documents and recipients are added to the transaction. In this example, Charles is the hiring manager and Robert is the new employee. Once your documents and recipients are in place, click ‘Next’ to prepare your document for signature.
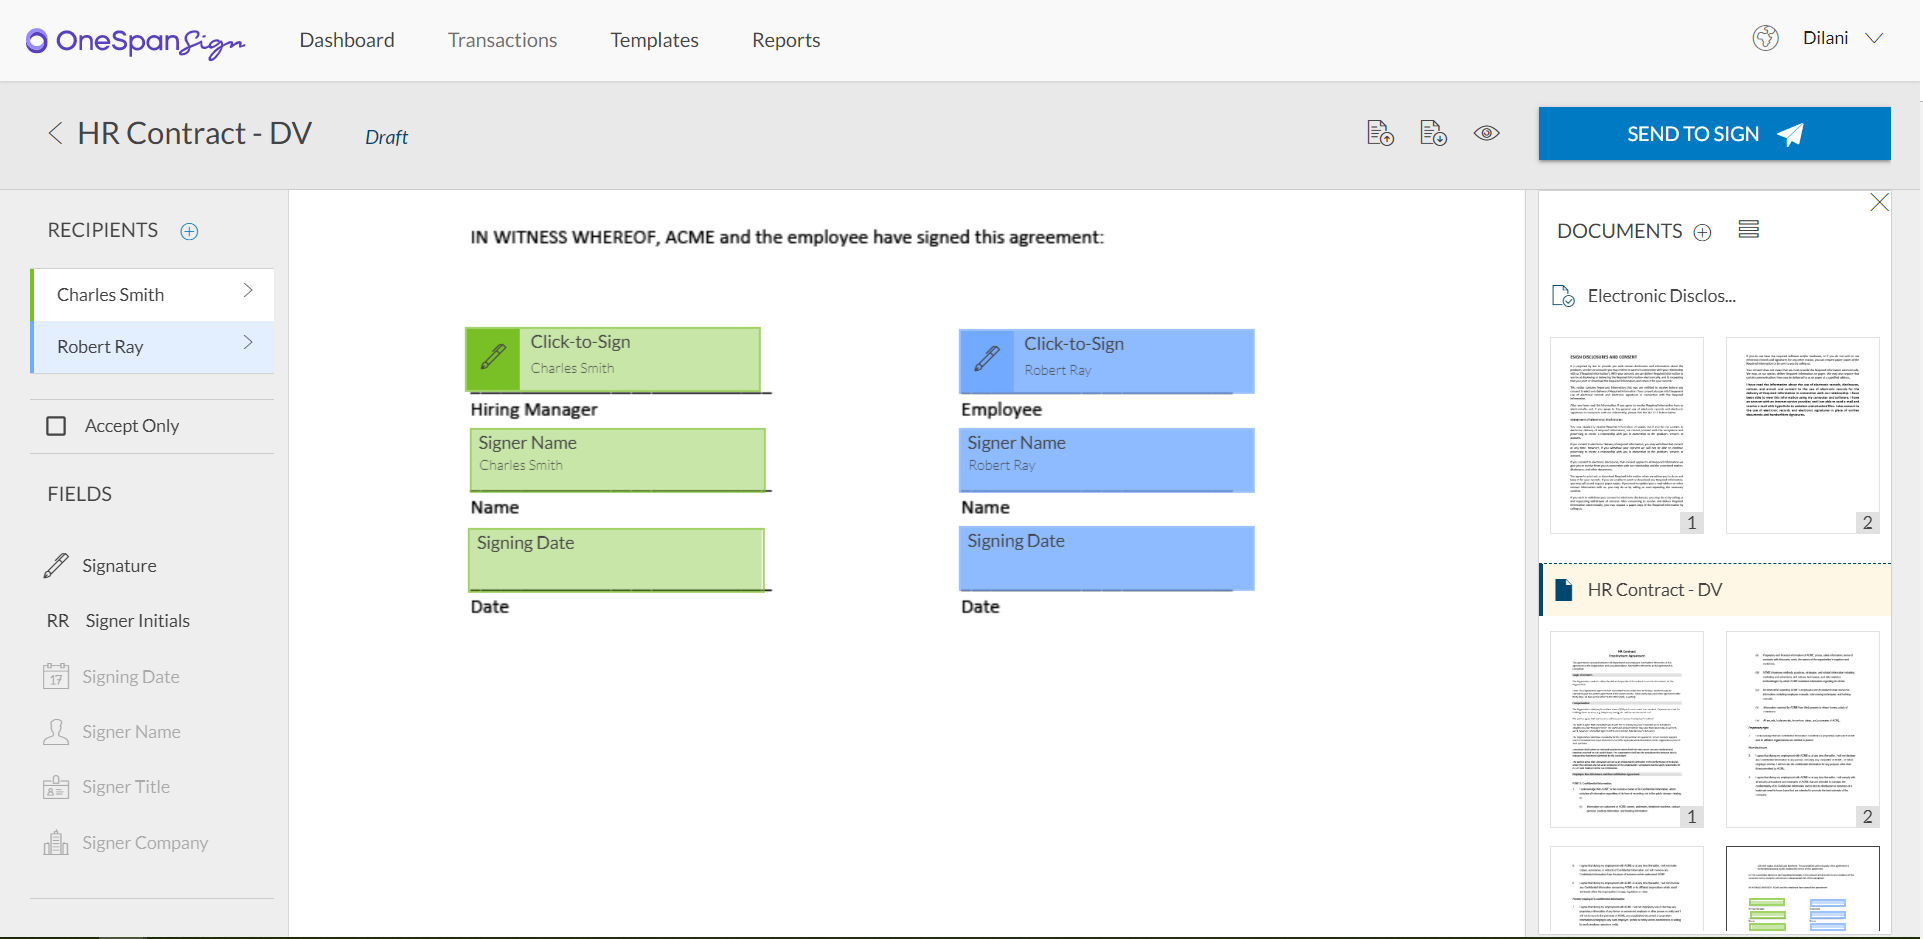
- Now it’s time to add your signature blocks to the documents. Once all signature blocks have been added, let’s use the document visibility feature to designate which recipients can view and sign the documents in this transaction. Click the ‘eye’ icon.
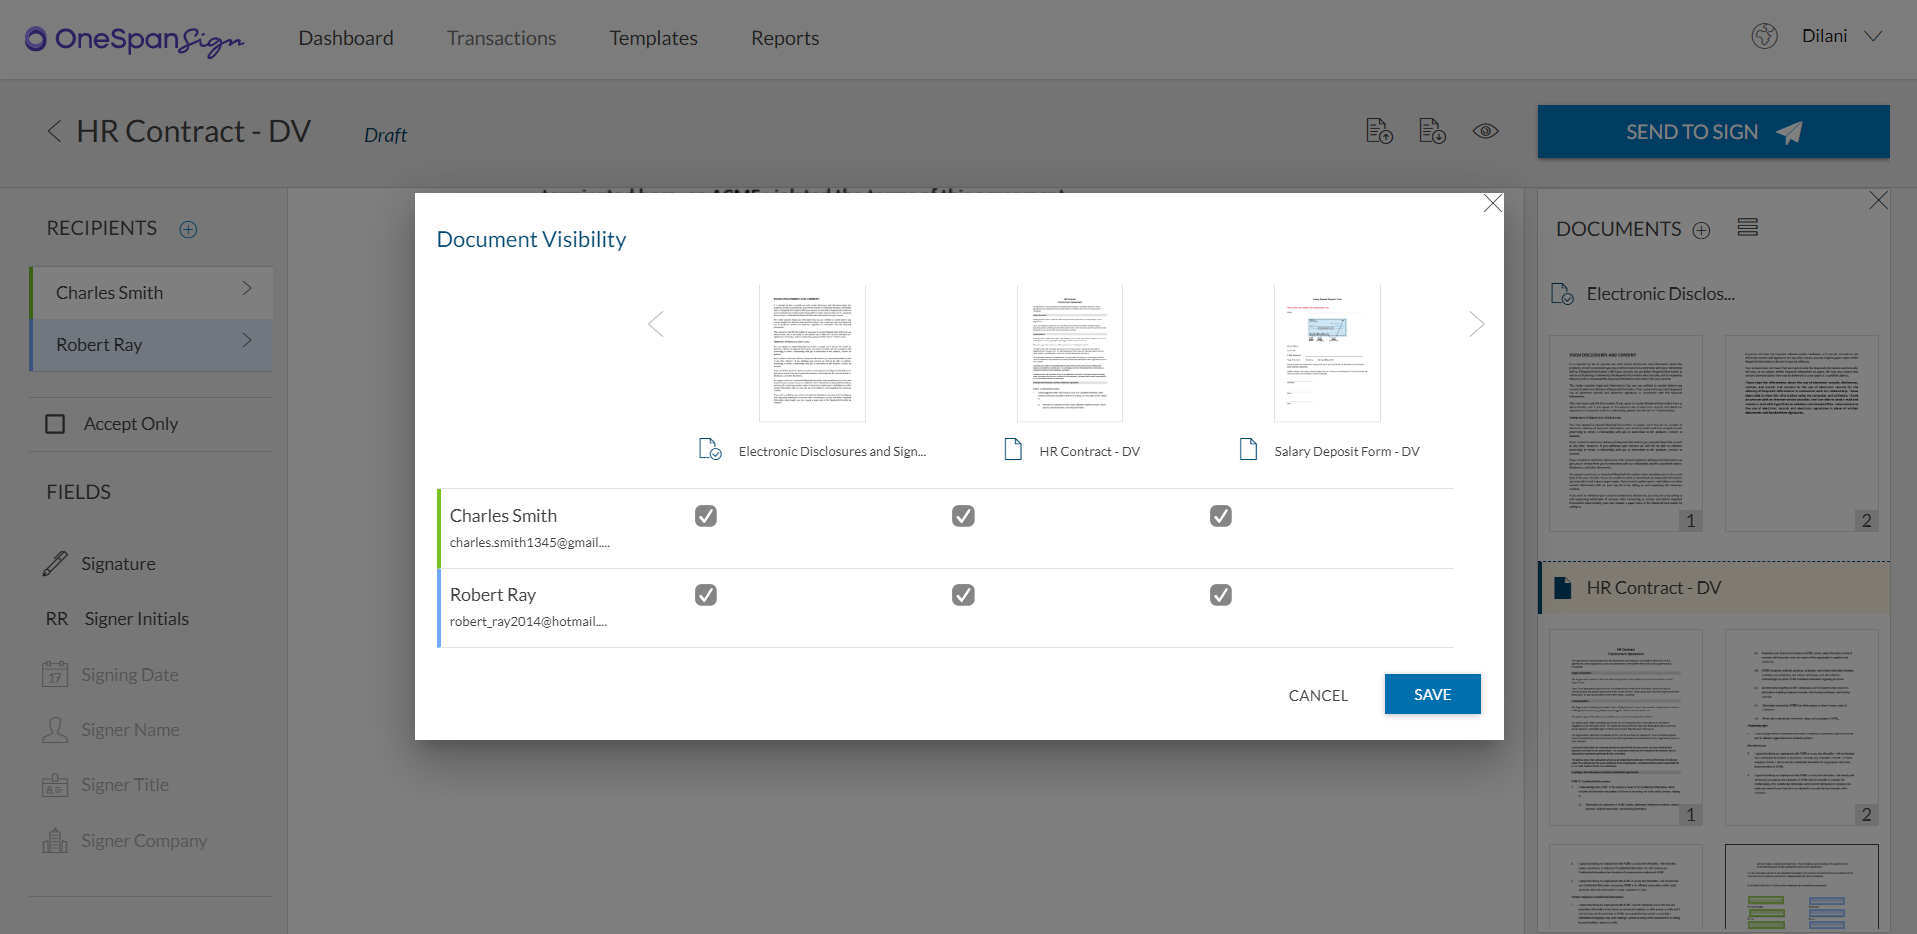
- The Document Visibility table opens showing which documents are visible or hidden for each recipient. Simply tick off which documents need to be viewed and signed by your recipients. In this example, Charles, the hiring manager can only view and sign the HR Contract. Robert, the new employee can view and sign the HR Contract and the Salary Deposit Request. Click ‘Save’.
- Your transaction is ready to send. Click ‘Send to Sign’ to route your document for signing.

- Once you've sent the transaction, your recipients will receive an email asking them to view and e-sign the required documents in the transaction.
It’s that easy! With a couple of clicks, you can quickly specify which recipients can view and sign specific documents in your transaction!
Check out the video tutorial below to watch how you can easily use the Document Visibility in OneSpan Sign. Want to try the feature? Sign up for a 30-day free trial of OneSpan Sign today.
Video: How to Use Document Visibility in OneSpan Sign
