OneSpan Sign Developers: Consent Document vs Default Consent – Part 3

In Part 1 blog of this series, we clarified the definitions and the differences between regular and default consent documents. Then we shared some tips and best practices on how to manage default consent document in Part 2 from the integrator’s perspective.
In order to upload a customized consent document to a template with the minimal effort, we will showcase an intuitive tool for ad-hoc users to facilitate the process. Without further delay, let’s get started!
Prerequisites
The tool we will be covering in this blog is a Java integration, which is based on the OneSpan Sign API service. Make sure you have all the necessary information and the proper environment to run the executive Jar file:
- Install JRE/JDK environment (1.8 or greater)
- OneSpan Sign API key or Username + Password of your account
- Download the Add Default Consent Tool from Developer Community Code Share.
Running the Add Default Consent Tool
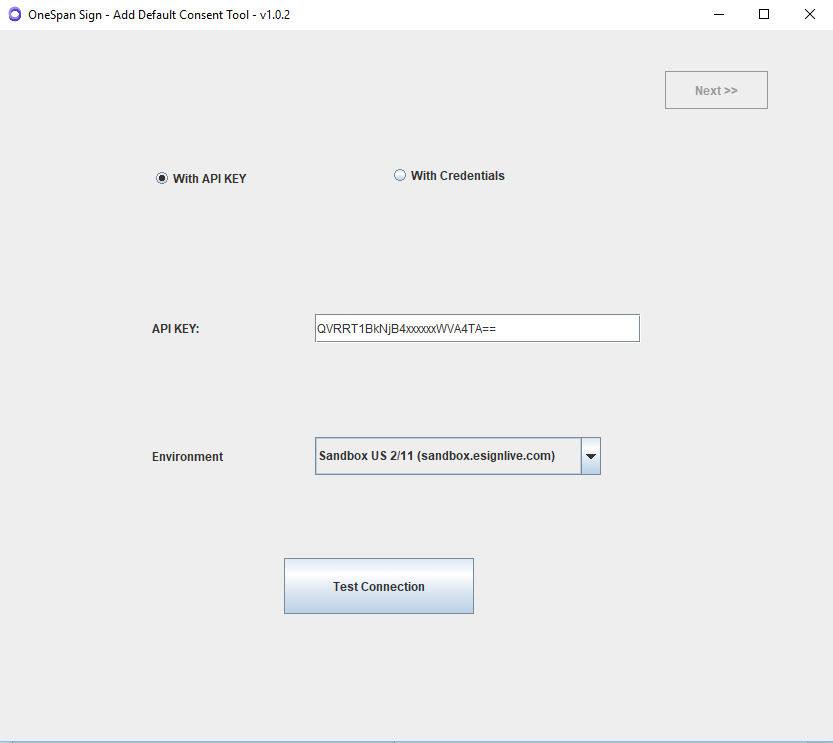
Once you have the Java environment installed, it’s the time to execute the Add Default Consent Tool! The tool implements a step-by-step wizard, which you will find to be intuitive to follow. Once launching the executive Jar file, the first step is to select an OneSpan Sign instance and to input your admin user’s API Key or login credentials.
Hit the “Test Connection” button, and the OneSpan Sign instance selected will be tested with given credentials.
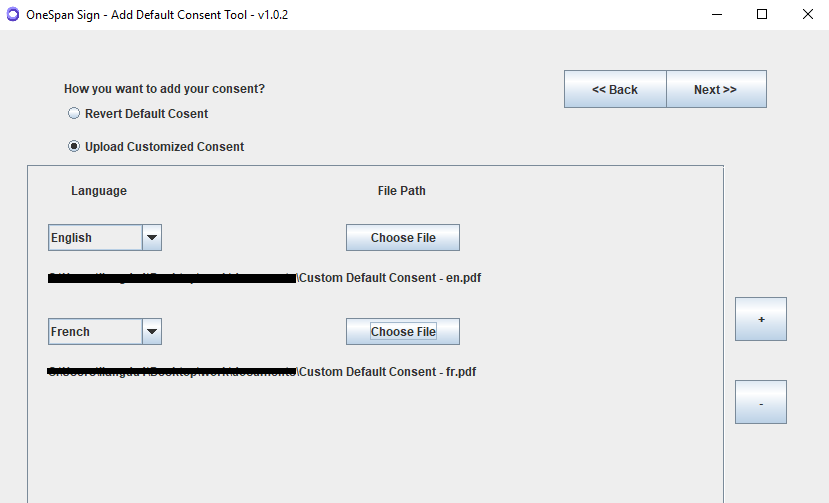
After the tool indicates the credentials are valid, navigate to the next step where you will be prompted to either revert to the default or upload your customized consent document.
The tool offers the ability to upload different versions of consent documents for each individual language, these default consents will later be applied to your templates according to the template language setting.
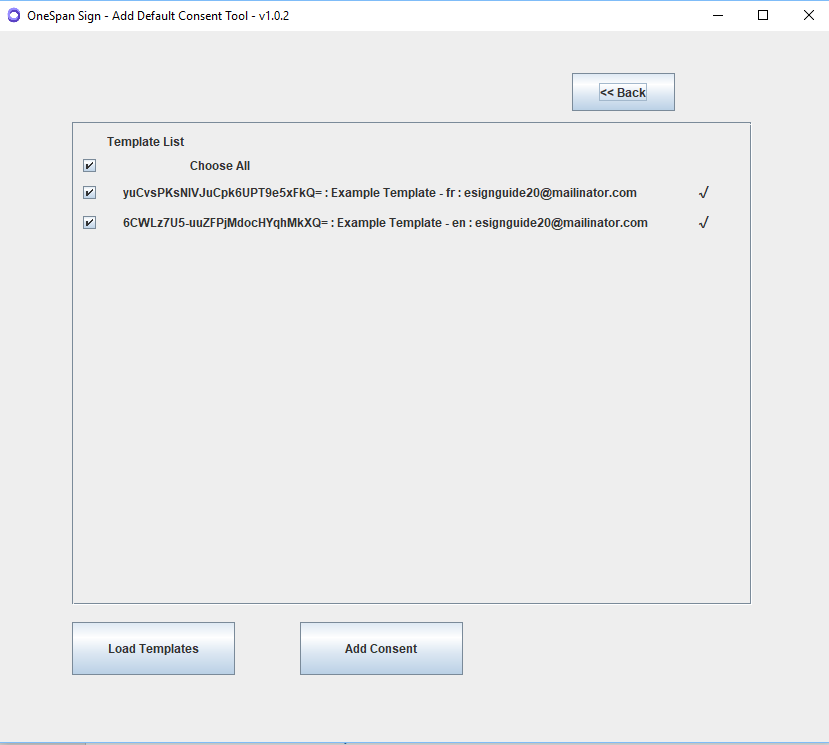
After you have fully configured the uploaded documents, navigate to the next screen. The “Load Template” button pulls the template list from your account. Select the templates you wished to add or replace the default consent document, then click “Add Consent”, a tick or cross mark will appear at the end of each line indicating the status of the process.
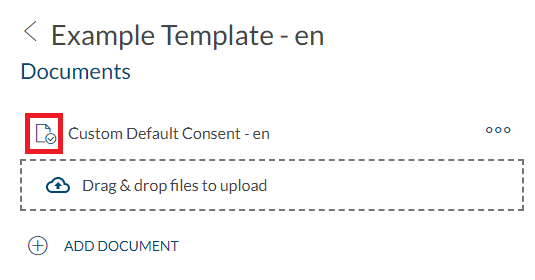
Review the Template
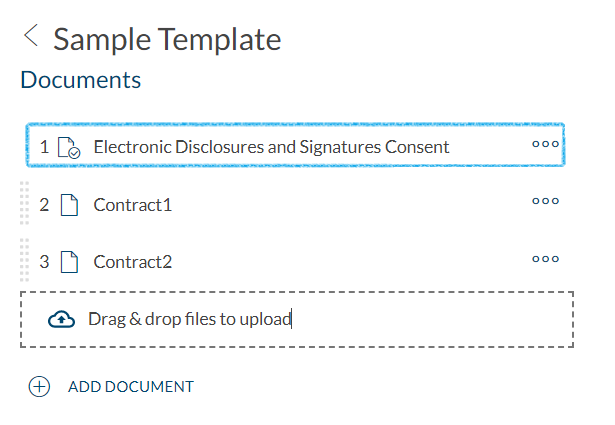
After the tool has completed, log onto your OneSpan Sign sender portal and check the result there. The selected templates will have the default consent form replaced with the corresponding language version.
There it is. This blog covered the value of the Add Default Consent Tool and demonstrated its core functions. If you encountered any problems using the tool or have any enhancement ideas, feel free to reply in this code share post. If you have any further questions concerning integrating OneSpan Sign into your application, visit the Developer Community Forums. Your feedback matters to us!
