OneSpan Sign How To: Integrating with Stripe

For this blog, I thought it would be a good idea to show you how OneSpan Sign can used in conjuncture with another API. In this example, I will create a simple web application that asks the user to fill-in his or her information (e.g. first name, last name, email, etc.) and subsequently present a sample contract to sign. Upon completion of signing, the user is then redirected to another form, where he/she is required to enter his/her credit card information in order to process the payment with Stripe, a software platform that allows web developers to integrate a payment solution into their websites.
Requirements
In order to run this example, you will need the following: • PHP 5.5 or above (link) • OneSpan Sign sandbox account (link) • Stripe sandbox account (link) • Development web server (e.g. XAMPP) • Stripe PHP library (link) Most of the code has been previously covered in a previous blog, which I will not go over again. I will cover everything after the contract has been signed using OneSpan Sign. The complete project is also available on the Developer Community Code Share, here.
The Code
Let's get started. The sample code below is very similar to the contract page of my previous blog, except for a few modifications.
<html>
	<head>
		<title>Purchase Order Confirmation</title>
	</head>
        <script src="https://ajax.googleapis.com/ajax/libs/jquery/1.12.4/jquery.min.js"></script>
	<body>
	<link rel="stylesheet" href="https://maxcdn.bootstrapcdn.com/bootstrap/3.3.7/css/bootstrap.min.css">
			<div class="col-sm-8 col-sm-offset-2 video-container">
<h3 class="video-mobile-headline">Sign the Purchase Order Below:</h3>
    <div class="vid">
       <iframe src="https://sandbox.esignlive.com/access?sessionToken=<?php echo $value; ?>" width="1000" height="700"></iframe>


    </div><!--End vid-->
    <button class="btn btn-lg btn-primary btn-block" type="submit" id="check">Proceed to Payment</button>
</div>

	</body>
</html>
<script>
    $('#check').click(function () {
	    $.ajax({
	      type: "POST",
		  url: "check_session.php",
		  data: { id: "<?php echo $packageId['id']; ?>" },
		  dataType: "json",
		  success: function(data) {
			    if (data['status'] == 'COMPLETED') {
			       	location.href = "stripe.html"
			    }
			    else {
			        alert('Please sign all documents!');
			    }
		  }
		});
	});
</script>
Simply put, I added a button below the iframe that checks for the package status using jQuery and a PHP script (e.g. "check_session.php"). Once the user the clicks on the button to proceed to the payment form, a POST is made to "check_session.php", which takes in the package id and then subsequently executes a GET request to OneSpan Sign to retrieve the package status. If OneSpan Sign returns "COMPLETED", then the user is redirected to the payment form (i.e. "stripe.html"). Otherwise, a pop-up window will appear asking the user to complete signing of the documents. The "check_session.php" script is shown below:
<?php

if (isset($_POST['id']))
{
	$packageId = $_POST['id'];
	$url = "https://sandbox.esignlive.com/api/packages/";
	$headerOptions = array(
		'Authorization: Basic api_key' //insert your esignlive api key here
	);
	$ch = curl_init();
	curl_setopt($ch, CURLOPT_URL, $url . $packageId . "/signingStatus");
	curl_setopt($ch, CURLOPT_RETURNTRANSFER, true);
	curl_setopt($ch, CURLOPT_SSL_VERIFYHOST, false);
	curl_setopt($ch, CURLOPT_SSL_VERIFYPEER, false);
	curl_setopt($ch, CURLOPT_HTTPHEADER, $headerOptions);
	$response = curl_exec($ch);
	$err = curl_error($ch);
	curl_close($ch);
	if ($err)
	{
		echo $err;
	}
	else
	{
		echo $response;
	};
}

?>
The next step is to create the credit card form (i.e. "stripe.html"). I will only go over the jQuery script (shown below), since creating the form itself should be straightforward. The only thing you will have to make sure is that each input must have the data-stripe attribute in order for the Stripe.js library to collect the information.
<script type="text/javascript" src="https://js.stripe.com/v2/">
<script type = "text/javascript">
		Stripe.setPublishableKey('pk_test_'); //stripe publishable test key

		$(function() {
		 var $form = $('#payment-form');
		 $form.submit(function(event) {
		  // Disable the submit button to prevent repeated clicks:
		  $form.find('.submit').prop('disabled', true);

		  // Request a token from Stripe:
		  Stripe.card.createToken($form, stripeResponseHandler);

		  // Prevent the form from being submitted:
		  return false;
		 });
		});

		function stripeResponseHandler(status, response) {
		 // Grab the form:
		 var $form = $('#payment-form');

		 if (response.error) { // Problem!

		  // Show the errors on the form:
		  $form.find('.payment-errors').text(response.error.message);
		  $form.find('.submit').prop('disabled', false); // Re-enable submission

		 } else { // Token was created!

		  // Get the token ID:
		  var token = response.id;
		  console.log(token);
		  // Insert the token ID into the form so it gets submitted to the server:
		  $form.append($('<input type="hidden" name="stripeToken">').val(token));

		  // Submit the form:
		  $form.get(0).submit();
		 }
		};
</script>
Once the user has entered his/her credit card information, the payment details are converted into a single-use representative token by sending the payment details to Stripe. This way, sensitive data is never stored on your server. In other words, a breach of your servers won't result in any stolen credit cards. If you haven't already installed the PHP library at this point, you will need to do so in order to create a charge with Stripe.
<?php
require_once('vendor/autoload.php');

\Stripe\Stripe::setApiKey("sk_test_"); //stripe publishable test key

// Get the credit card details submitted by the form
$token = $_POST['stripeToken'];

// Create a charge: this will charge the user's card
try {
  $charge = \Stripe\Charge::create(array(
    "amount" => 500000, // Amount in cents
    "currency" => "cad",
    "source" => $token,
    "description" => "Purchase Order Software XYZ"
    ));
  	// echo "payment passed!";
} catch(\Stripe\Error\Card $e) {
  // The card has been declined
	// echo "payment declined!";
}

?>
Once you've received the token from Stripe, you will need to pass it to your server and use the Stripe PHP library in order to charge your user immediately, as shown above.
Running Your Code
Once you've run your project and filled-out some sample information, you'll be presented with the purchase contract ready to be signed, as shown below. 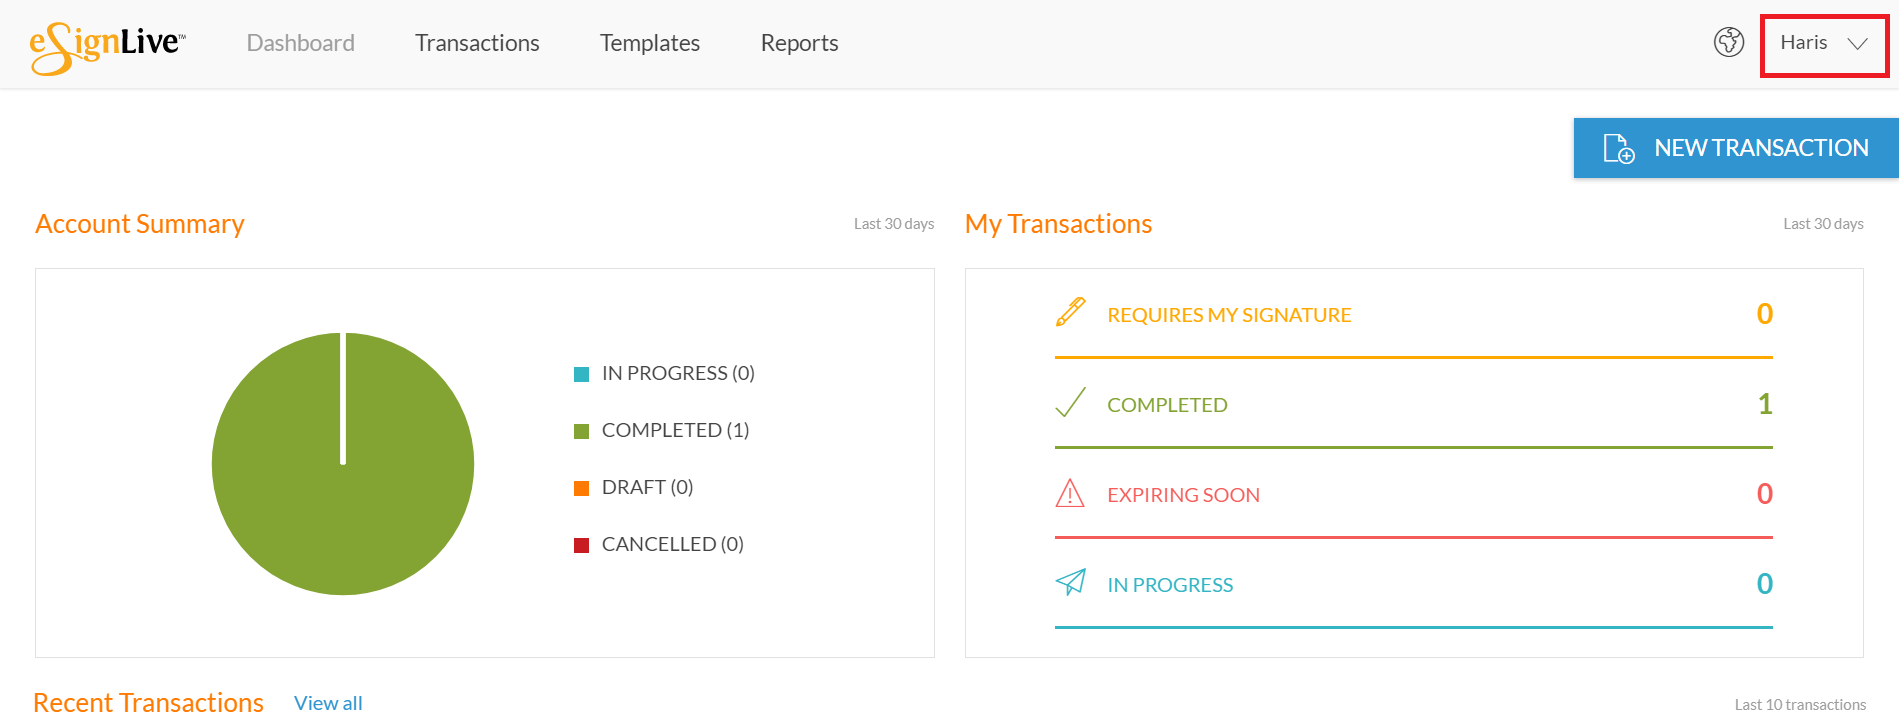 Go ahead and sign it. With that done, you can now click on the "Proceed to Payment" button. You can use the following sample credit information provided from Stripe to test the integration: Credit Card Number: 4242 4242 4242 4242 Expiration Date: 12/17 CVC: 123
  Once the payment has been processed, you will be redirected to the completion page.
  You can also login to your Stripe account and look into the logs to verify that the transaction was successful.
 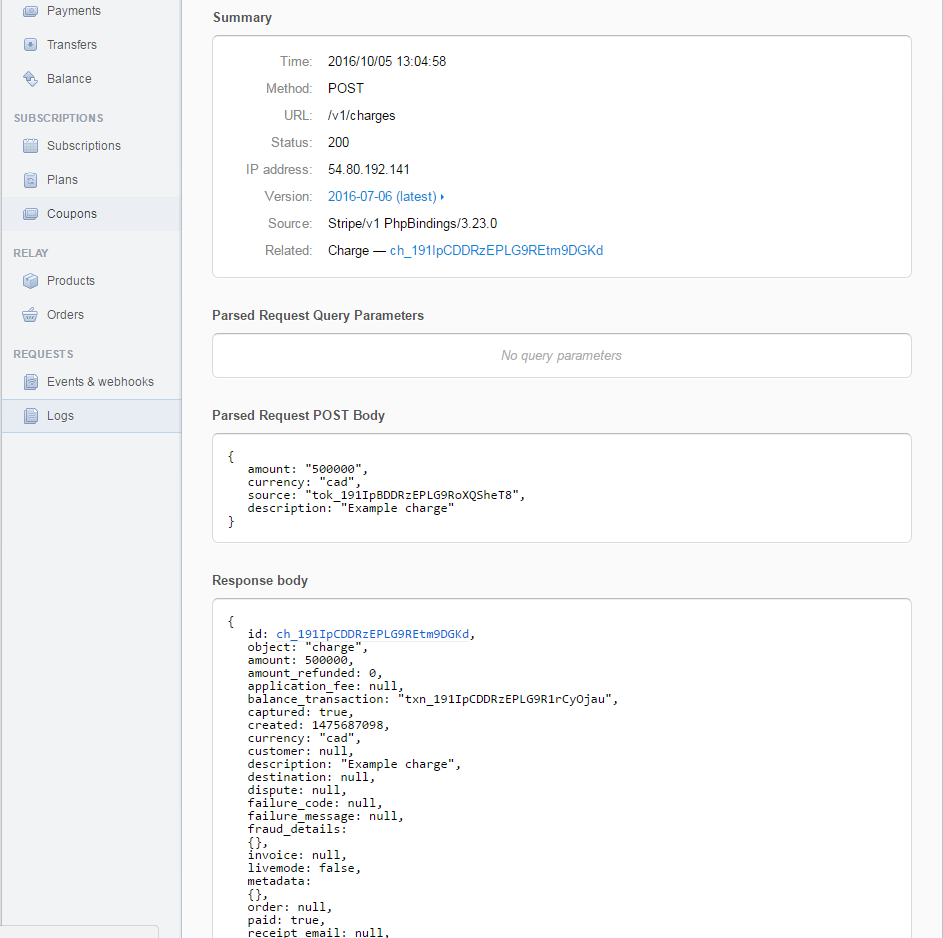 If you have questions regarding this blog or anything else concerning integrating OneSpan Sign into your application, visit the developer community forums: https://developer.OneSpan.com. That's it from me. Thank you for reading! If you found this post helpful, please share it on Facebook, Twitter, or LinkedIn.
Haris Haidary Junior Technical Evangelist LinkedIn | Twitter